Jorts: How To Sew Jeans Into Shorts
Today I’m going to show you how to quickly and easily sew jeans into shorts. This post may be way too simple for some of you, but if you’re new to sewing and want to learn how to save some money on your summer wardrobe, read on! (Also, a warning: I wrote this post late at night and my ‘close friends and family’ sense of humor has come out. Read at your own risk.)
The Motivation
I have a 12 year old boy – is that enough explanation? He outgrows his clothing as fast as I can buy it! All the shorts I bought him last summer are too small this year, and I can assume that nothing I buy this summer will fit next year. He has several pairs of khakis, but wanted some jean shorts too. We went shopping and discovered that jean shorts were a whopping $15 a pair at Wal-Mart! Maybe $30 for two pairs of shorts that will last exactly three months is not a big deal in your family… but for my family that feels excessive. My inner miser came out and I clutched my wallet to my chest like Scrooge, crying dramatically, “There HAS to be a better way!”
(Side note: Now I understand why so many teenage boys wear stretchy basketball shorts. Their moms have convinced them that these are cool. They not only fit longer, but they’re much cheaper! Way to go, moms who came before me.)
Anyway, by sheer luck or Providence, we spied two pairs of jeans on clearance for – get this – ONE DOLLAR each. And they were the right size! For $2 I knew I could sew those jeans into shorts and round out my son’s closet… er, bedroom floor. This also works great if you have a kid whose jeans fit well at the waist but have gotten too short. Unless you live in an area that floods often, there’s no sense wasting a perfectly good pair of pants!
Let’s Talk About Jorts
My husband and I have been informed by our younger siblings that jean shorts are now called “jorts”, and are by no means cool anymore. We had several long, hard discussions about this late into the night, and finally decided that we’re okay with that. We continue to wear our jorts proudly. My husband did acquiesce a little and buy no-show socks and flip flops, so at least he’s not rocking the ankle socks and tennis shoes with his jorts and dad bod. You’re welcome, Younger Siblings.
My son is aware of this new cultural standard, but he chose not to give in to peer pressure. I just know this is the homeschooling… he’s standing firm in his beliefs! He knows who he is! He doesn’t care one lick if he’s not cool!! And people expect homeschoolers to dress weird, anyway.
Back to the Project
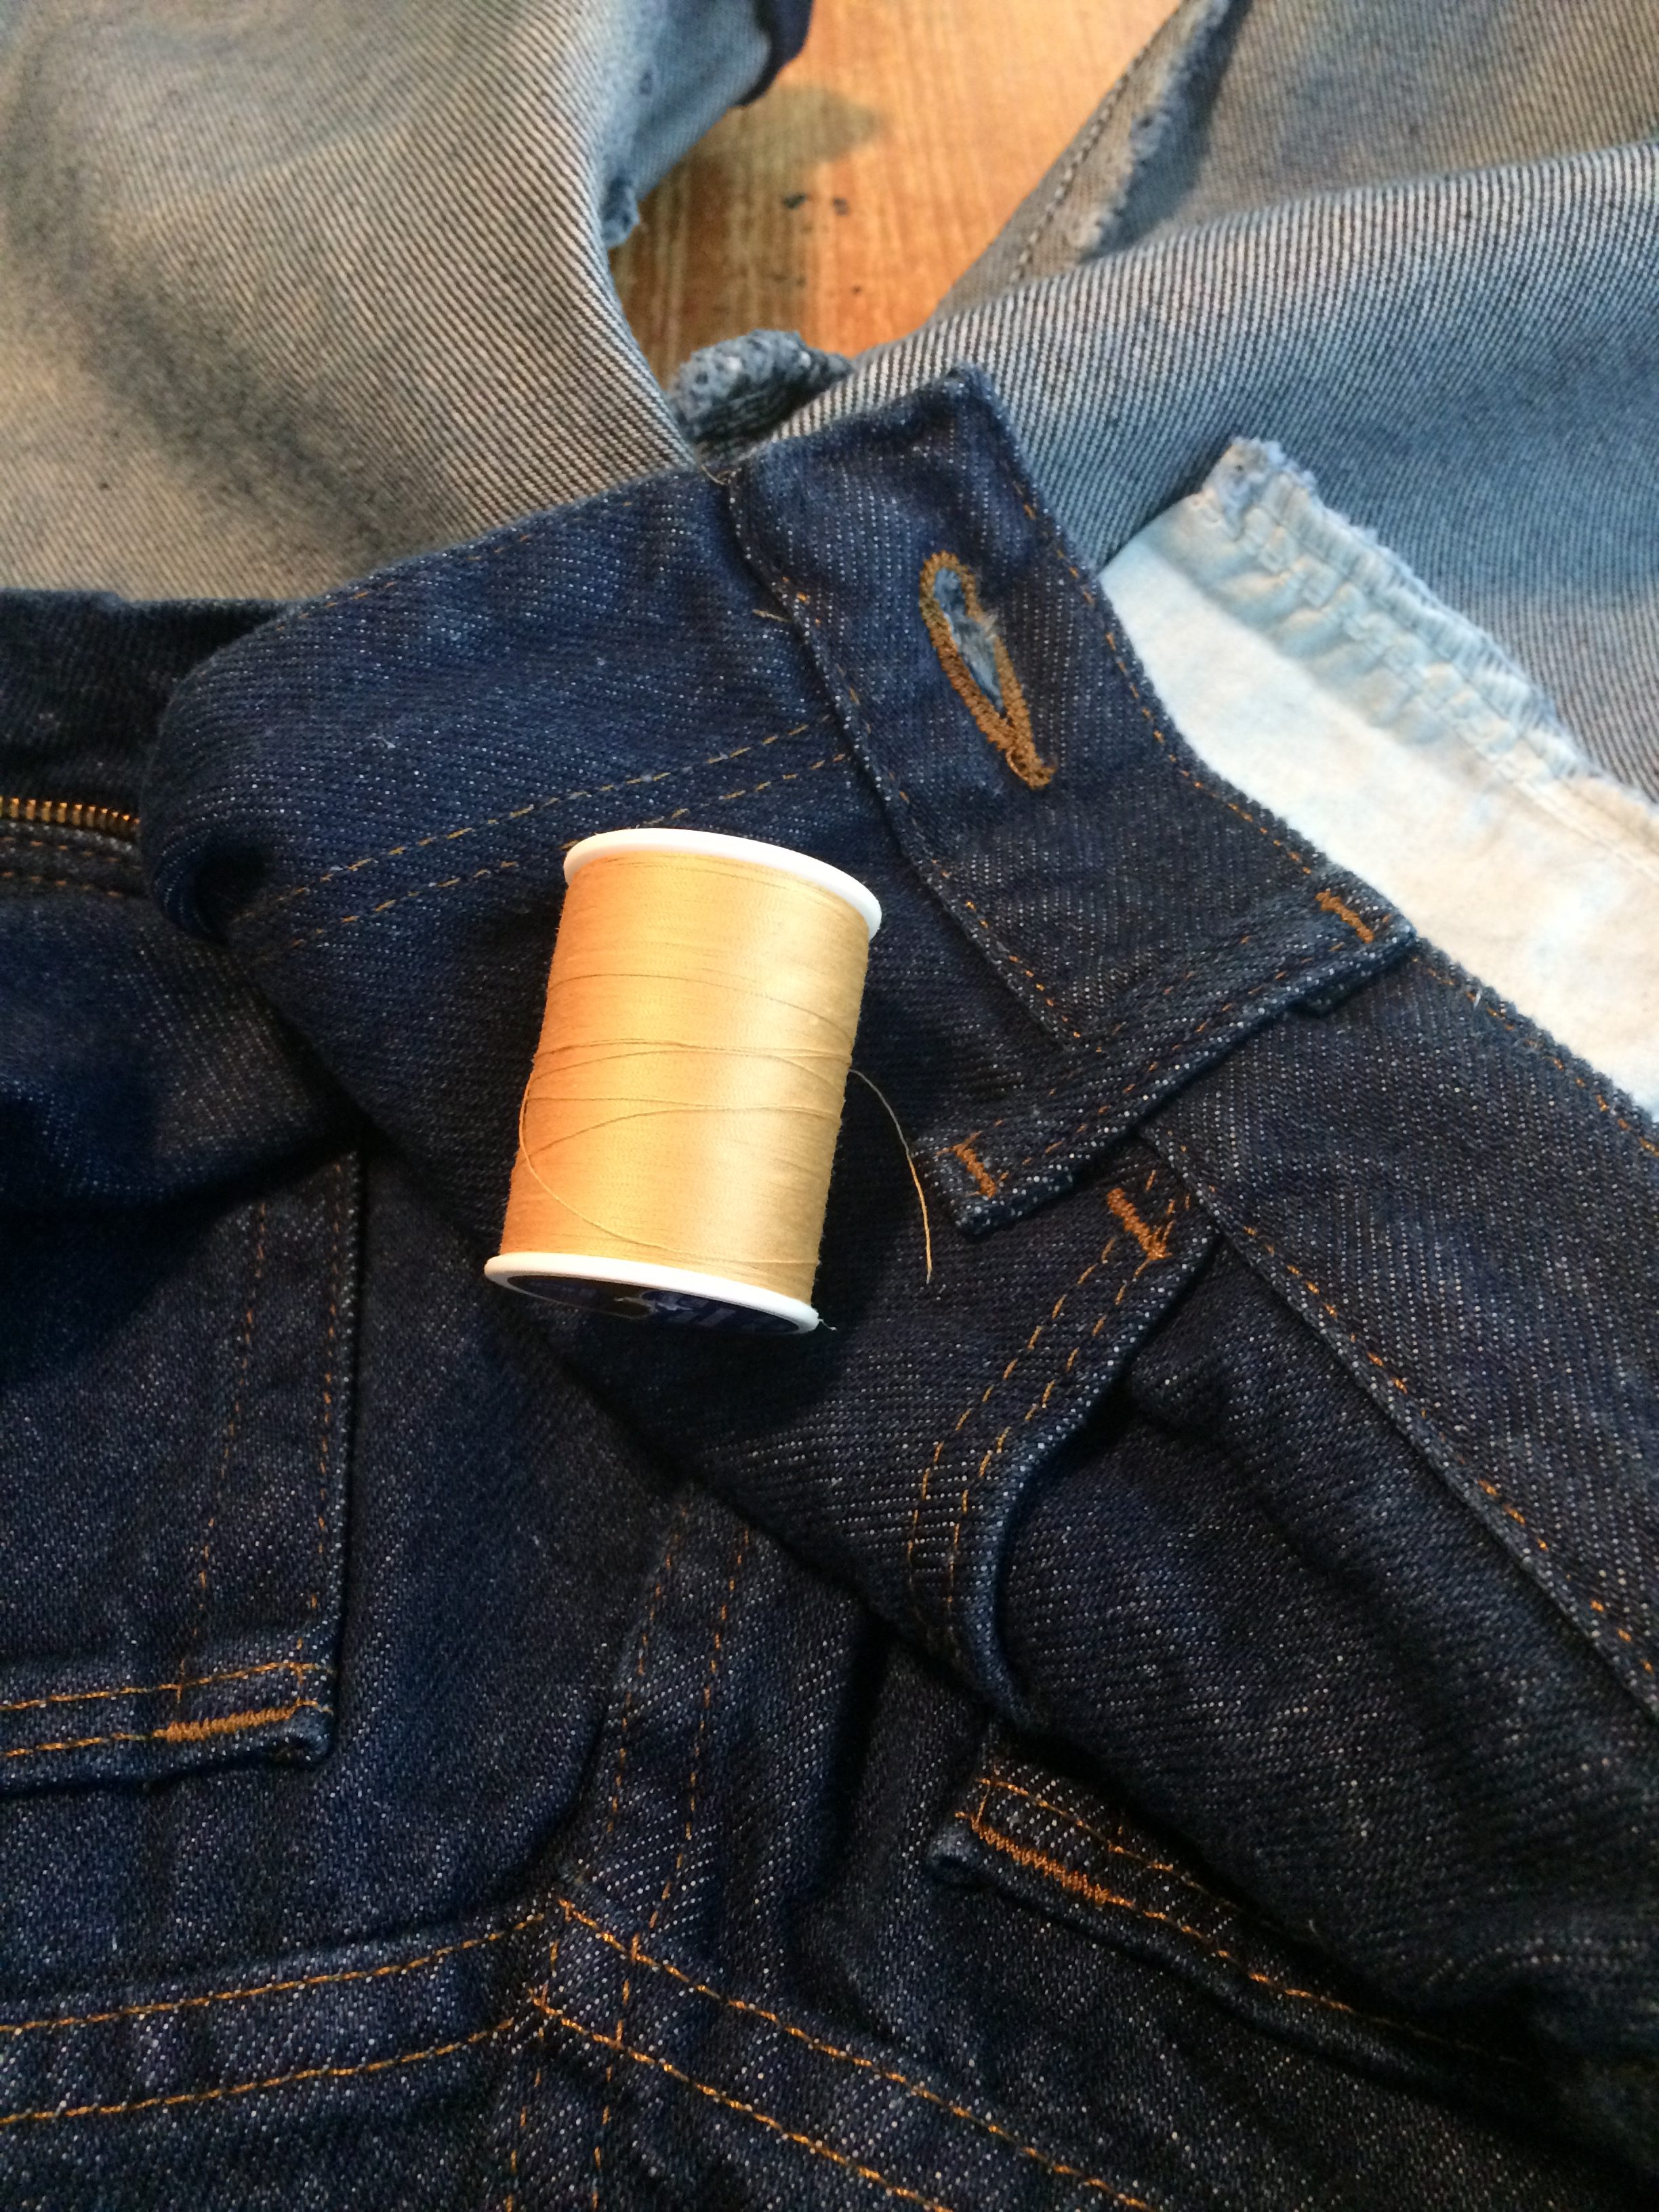
For this project you’ll need a pair of jeans, a good pair of fabric scissors, pins, a sewing machine, a piece of chalk, and thread in the color of your choice. Typically jeans are sewn with a copper colored thread, and ideally you’ll use that. You can also use a dark blue thread, which I’ve done before, but it gives the shorts an odd unfinished look. You definitely don’t want to walk around looking like a weirdo in your jorts.
Step 1 – Mark the length you want.
Your child (or you) will almost definitely need to try the jeans on to get the correct length. Once you decide what length you want, use your chalk to mark a spot about an inch and a half lower on one leg (just one). I cannot stress this enough: go longer than you think!! You can always cut off more later, but you can’t ever add length back if they’re too short.

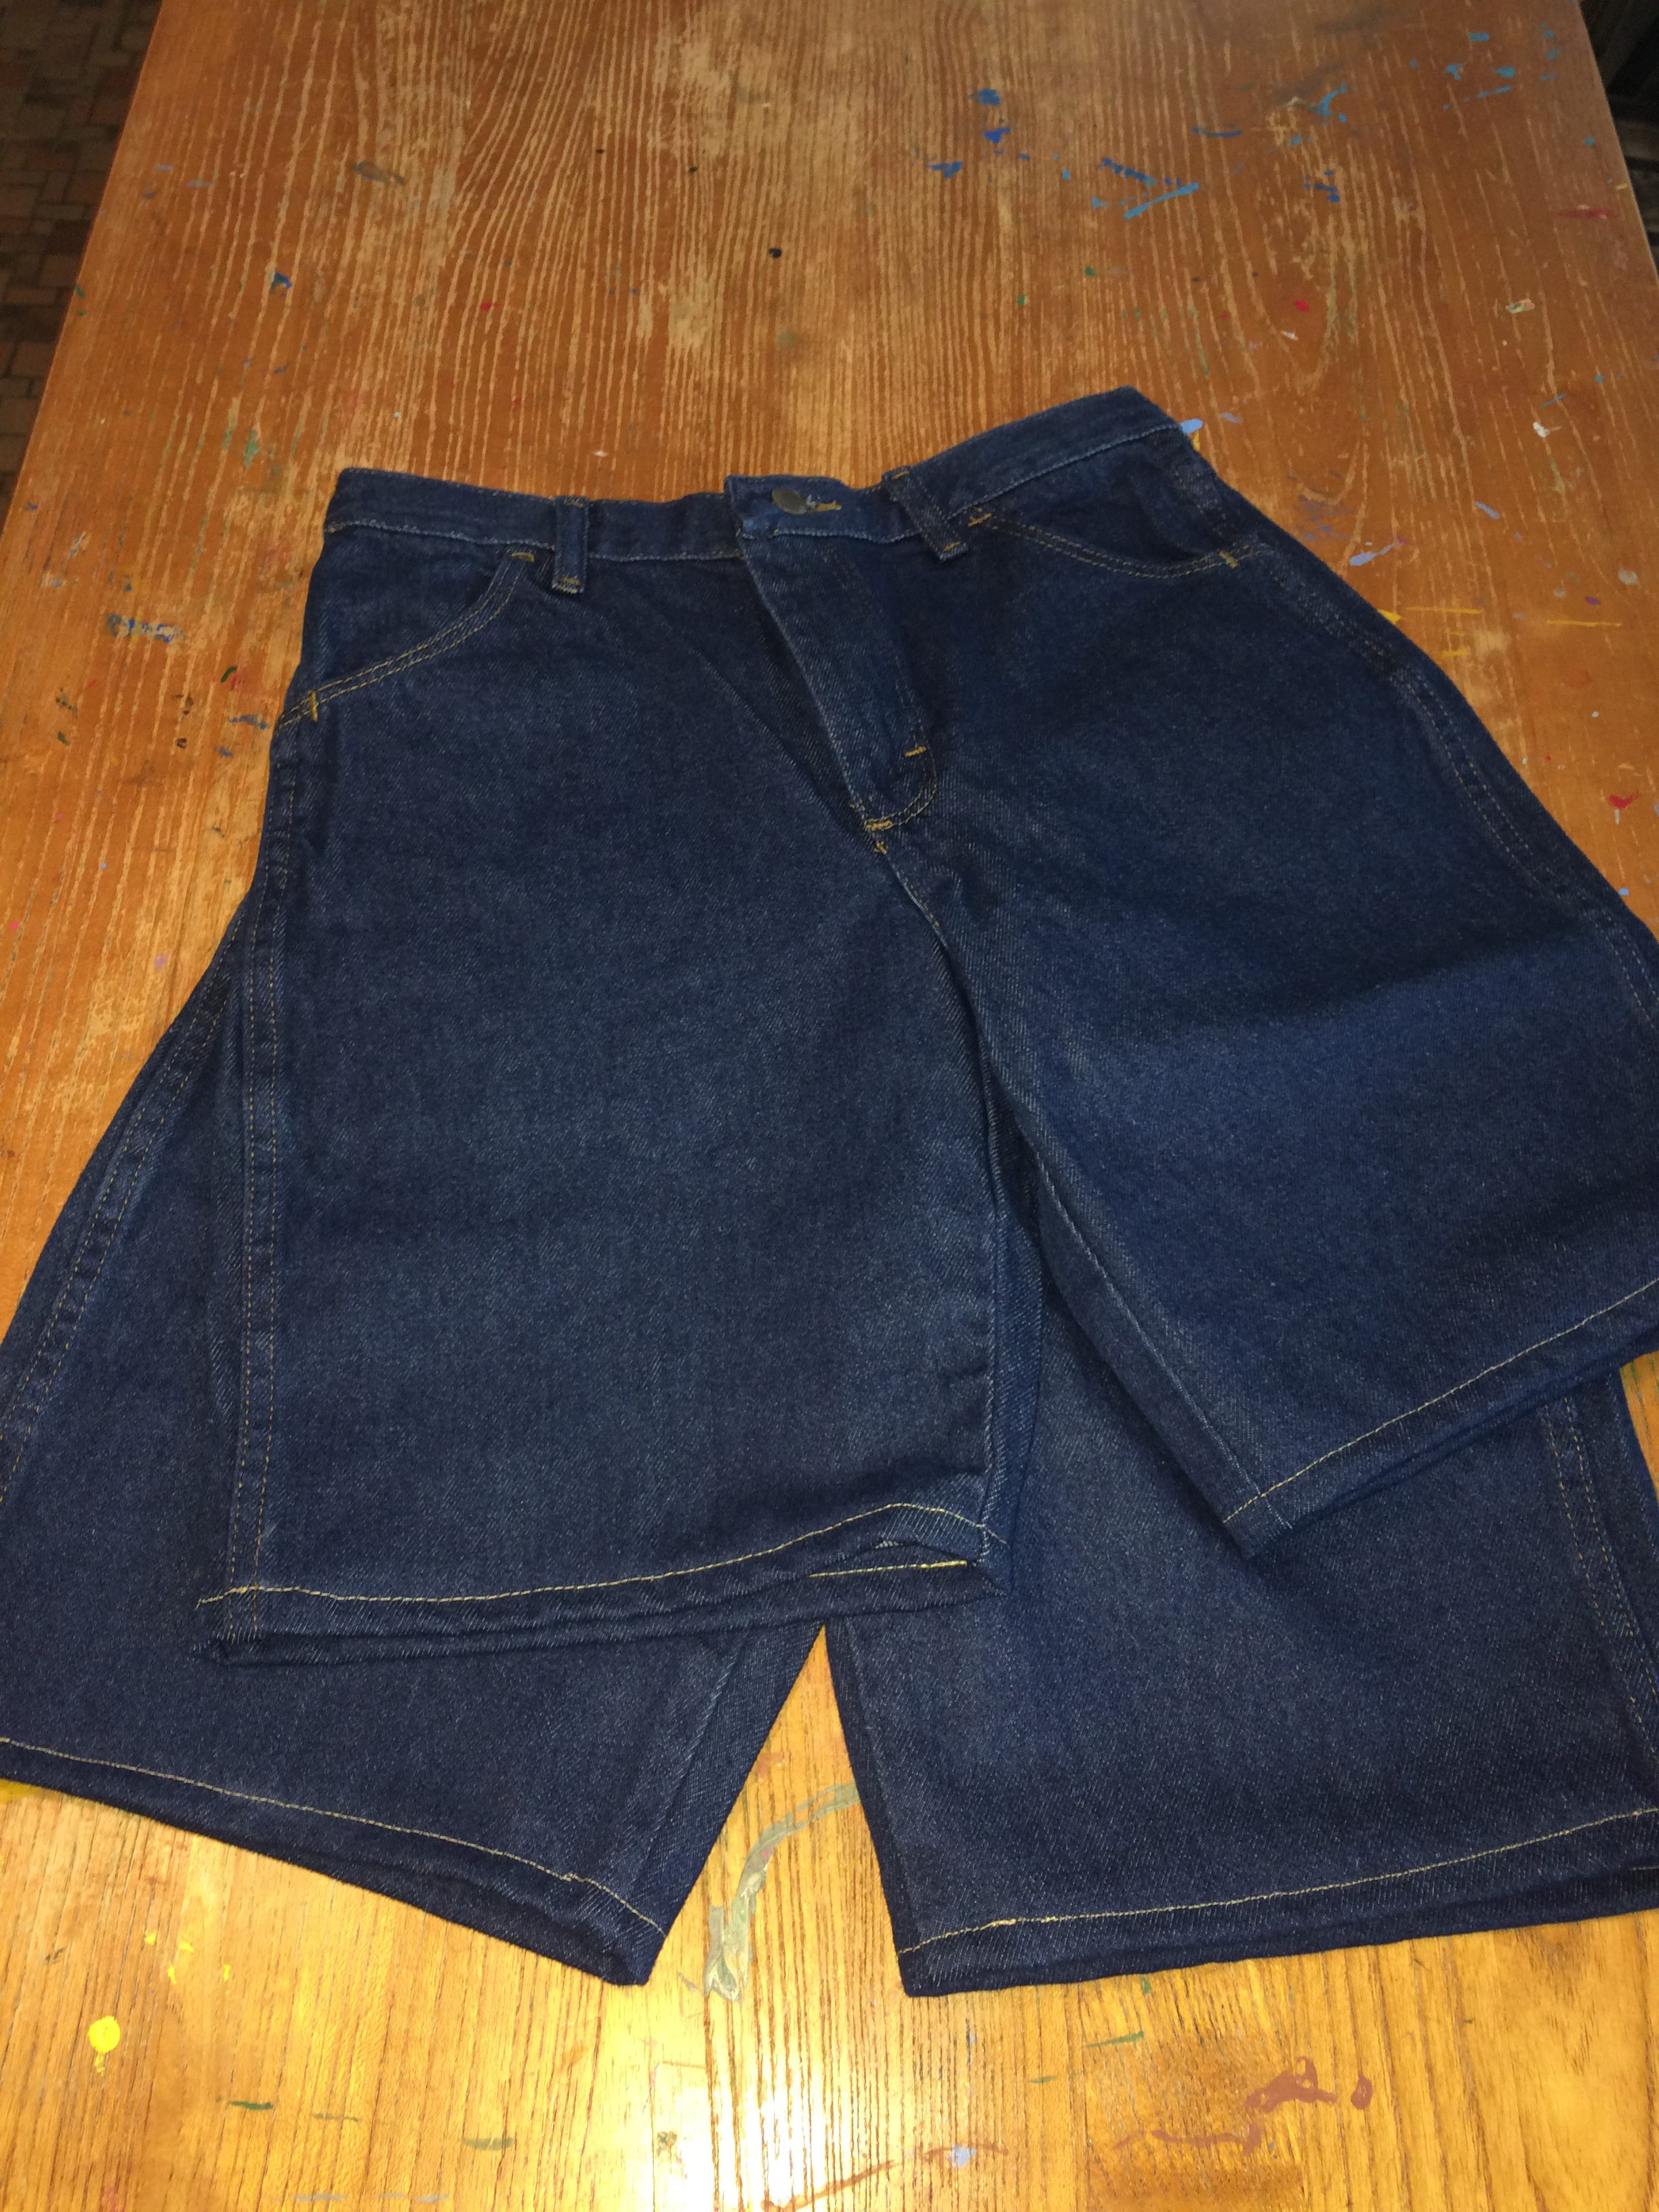
Step 2 – Cut the jeans into shorts.
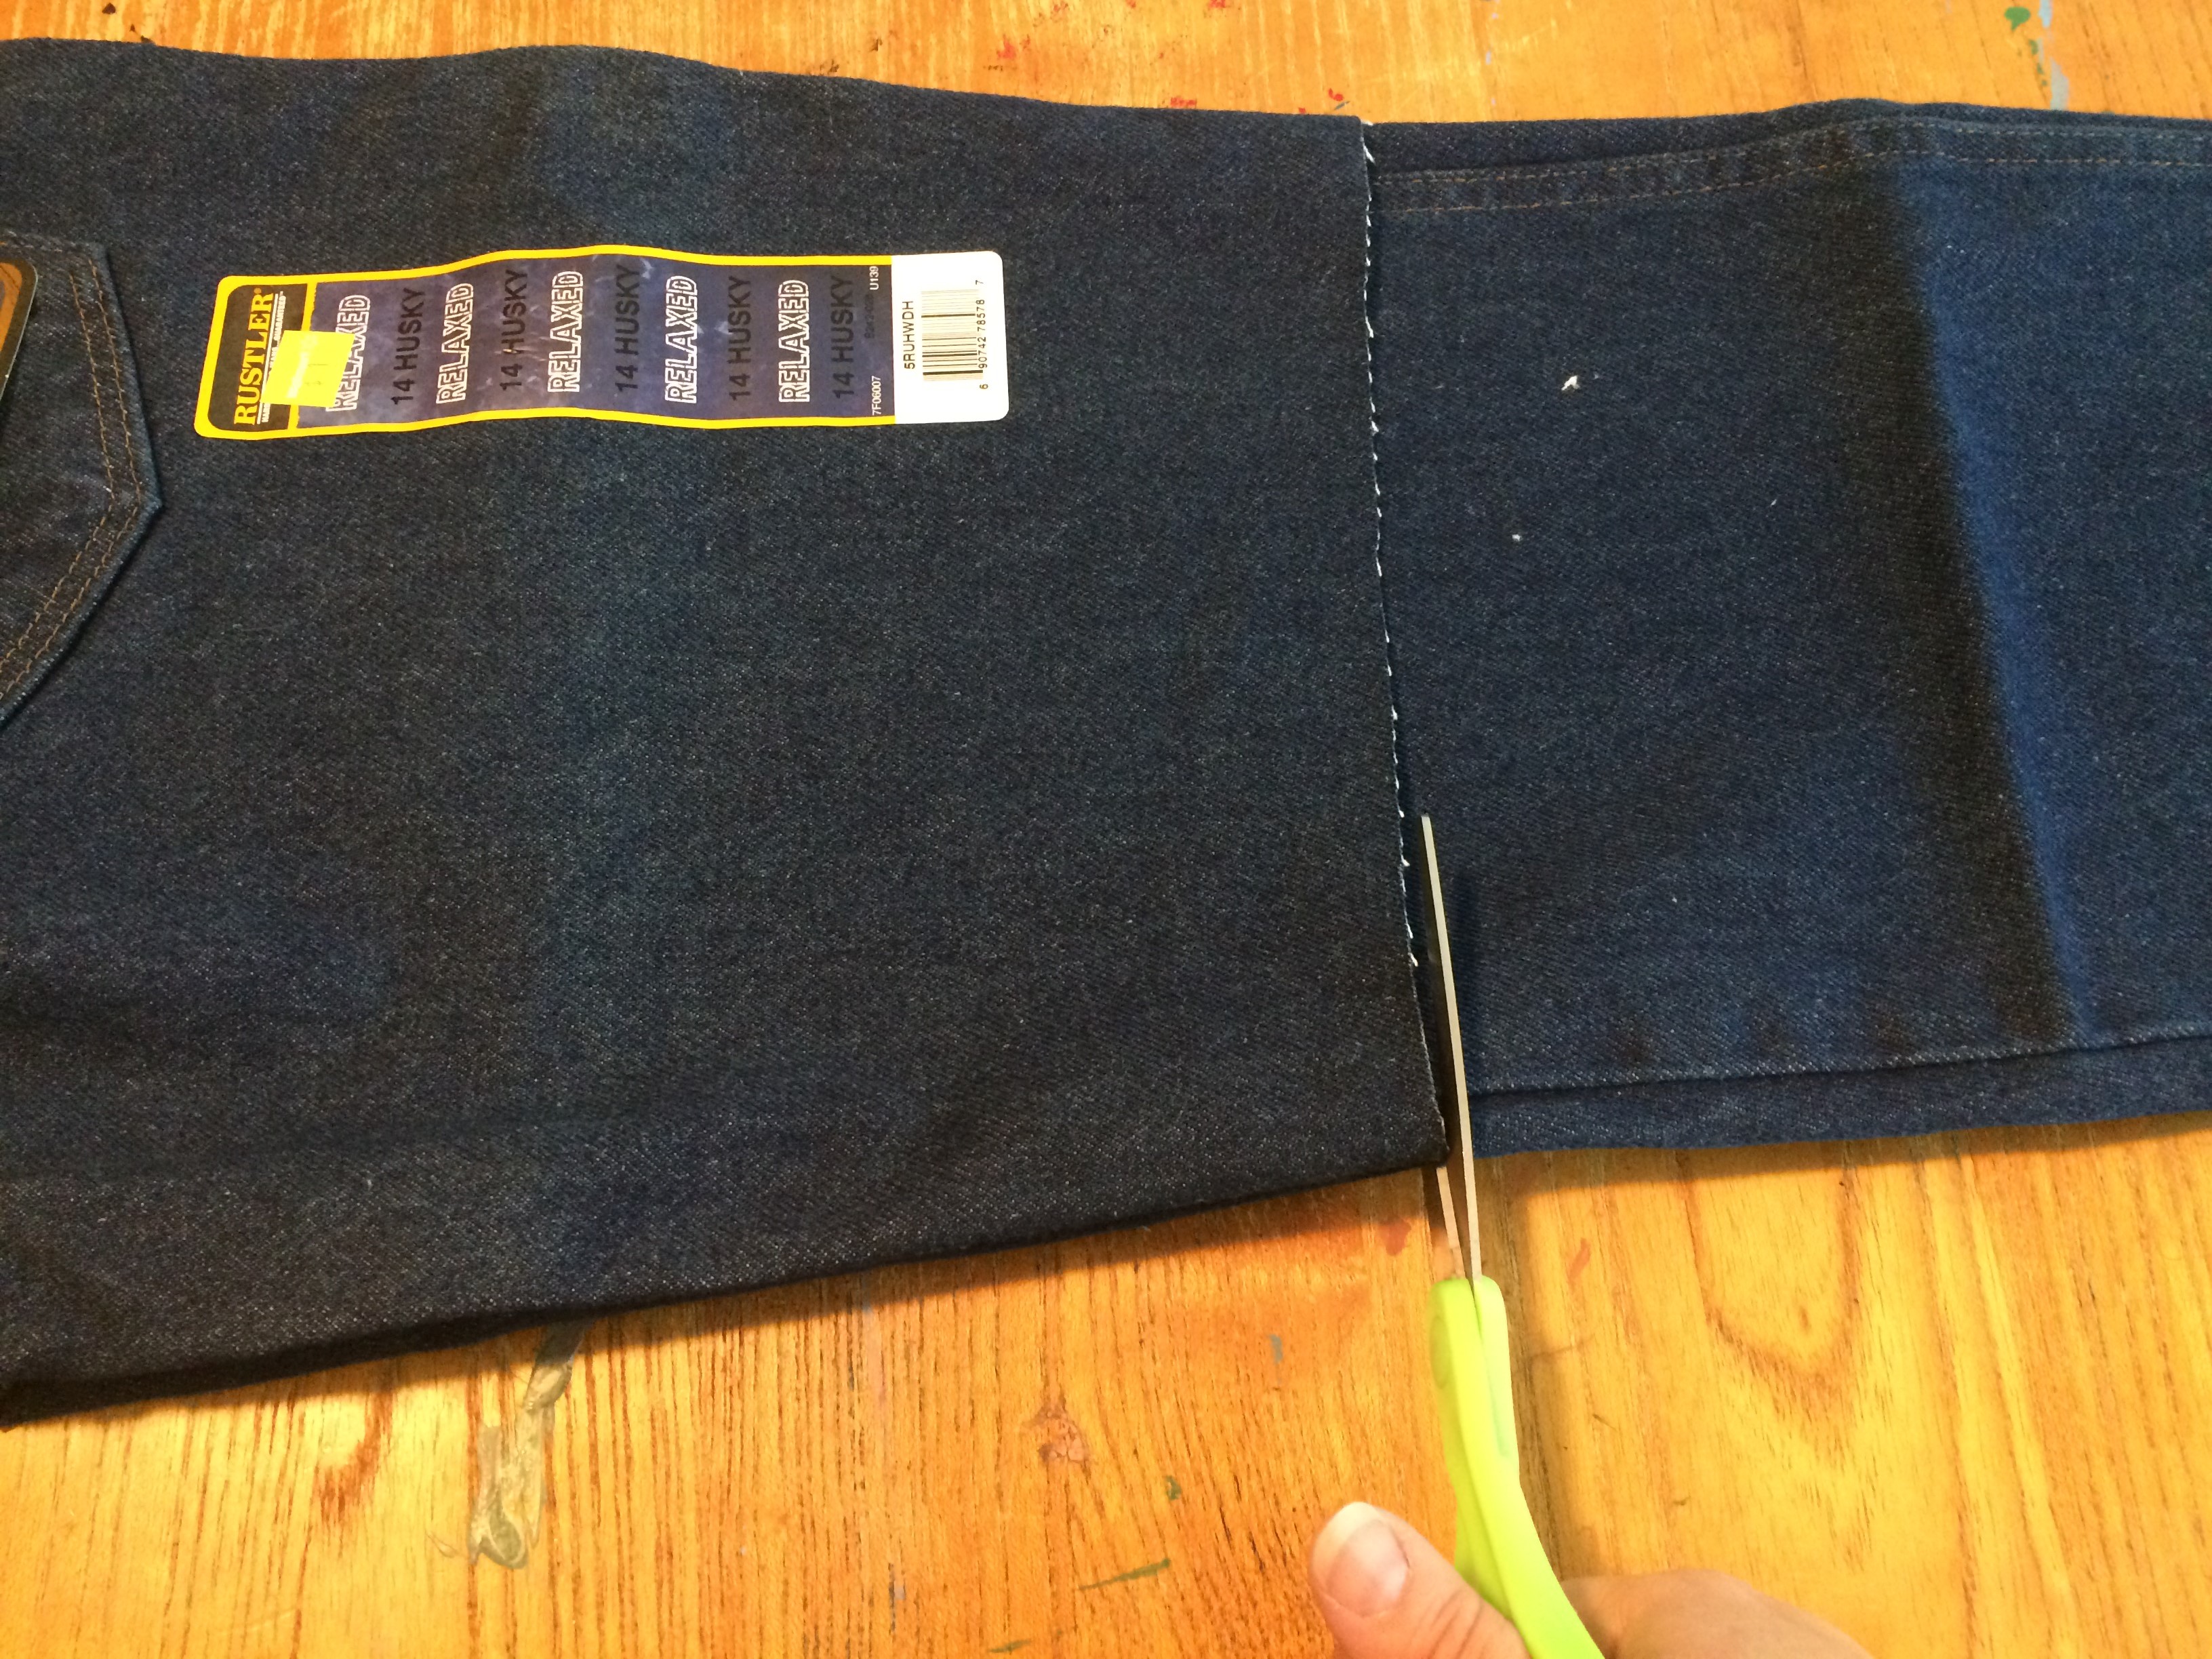
Though I had made my mark lower than my son said he wanted, I decided to cut the jeans even lower – another inch and a half to give him room to grow. And I’m so glad I did! Cut the marked pant leg straight across. You may want to use a measuring device for this, but I just eyeballed it. A good pair of scissors will cut through both layers at once. Now I understand why my grandma lost her brain if we used her fabric scissors on paper!
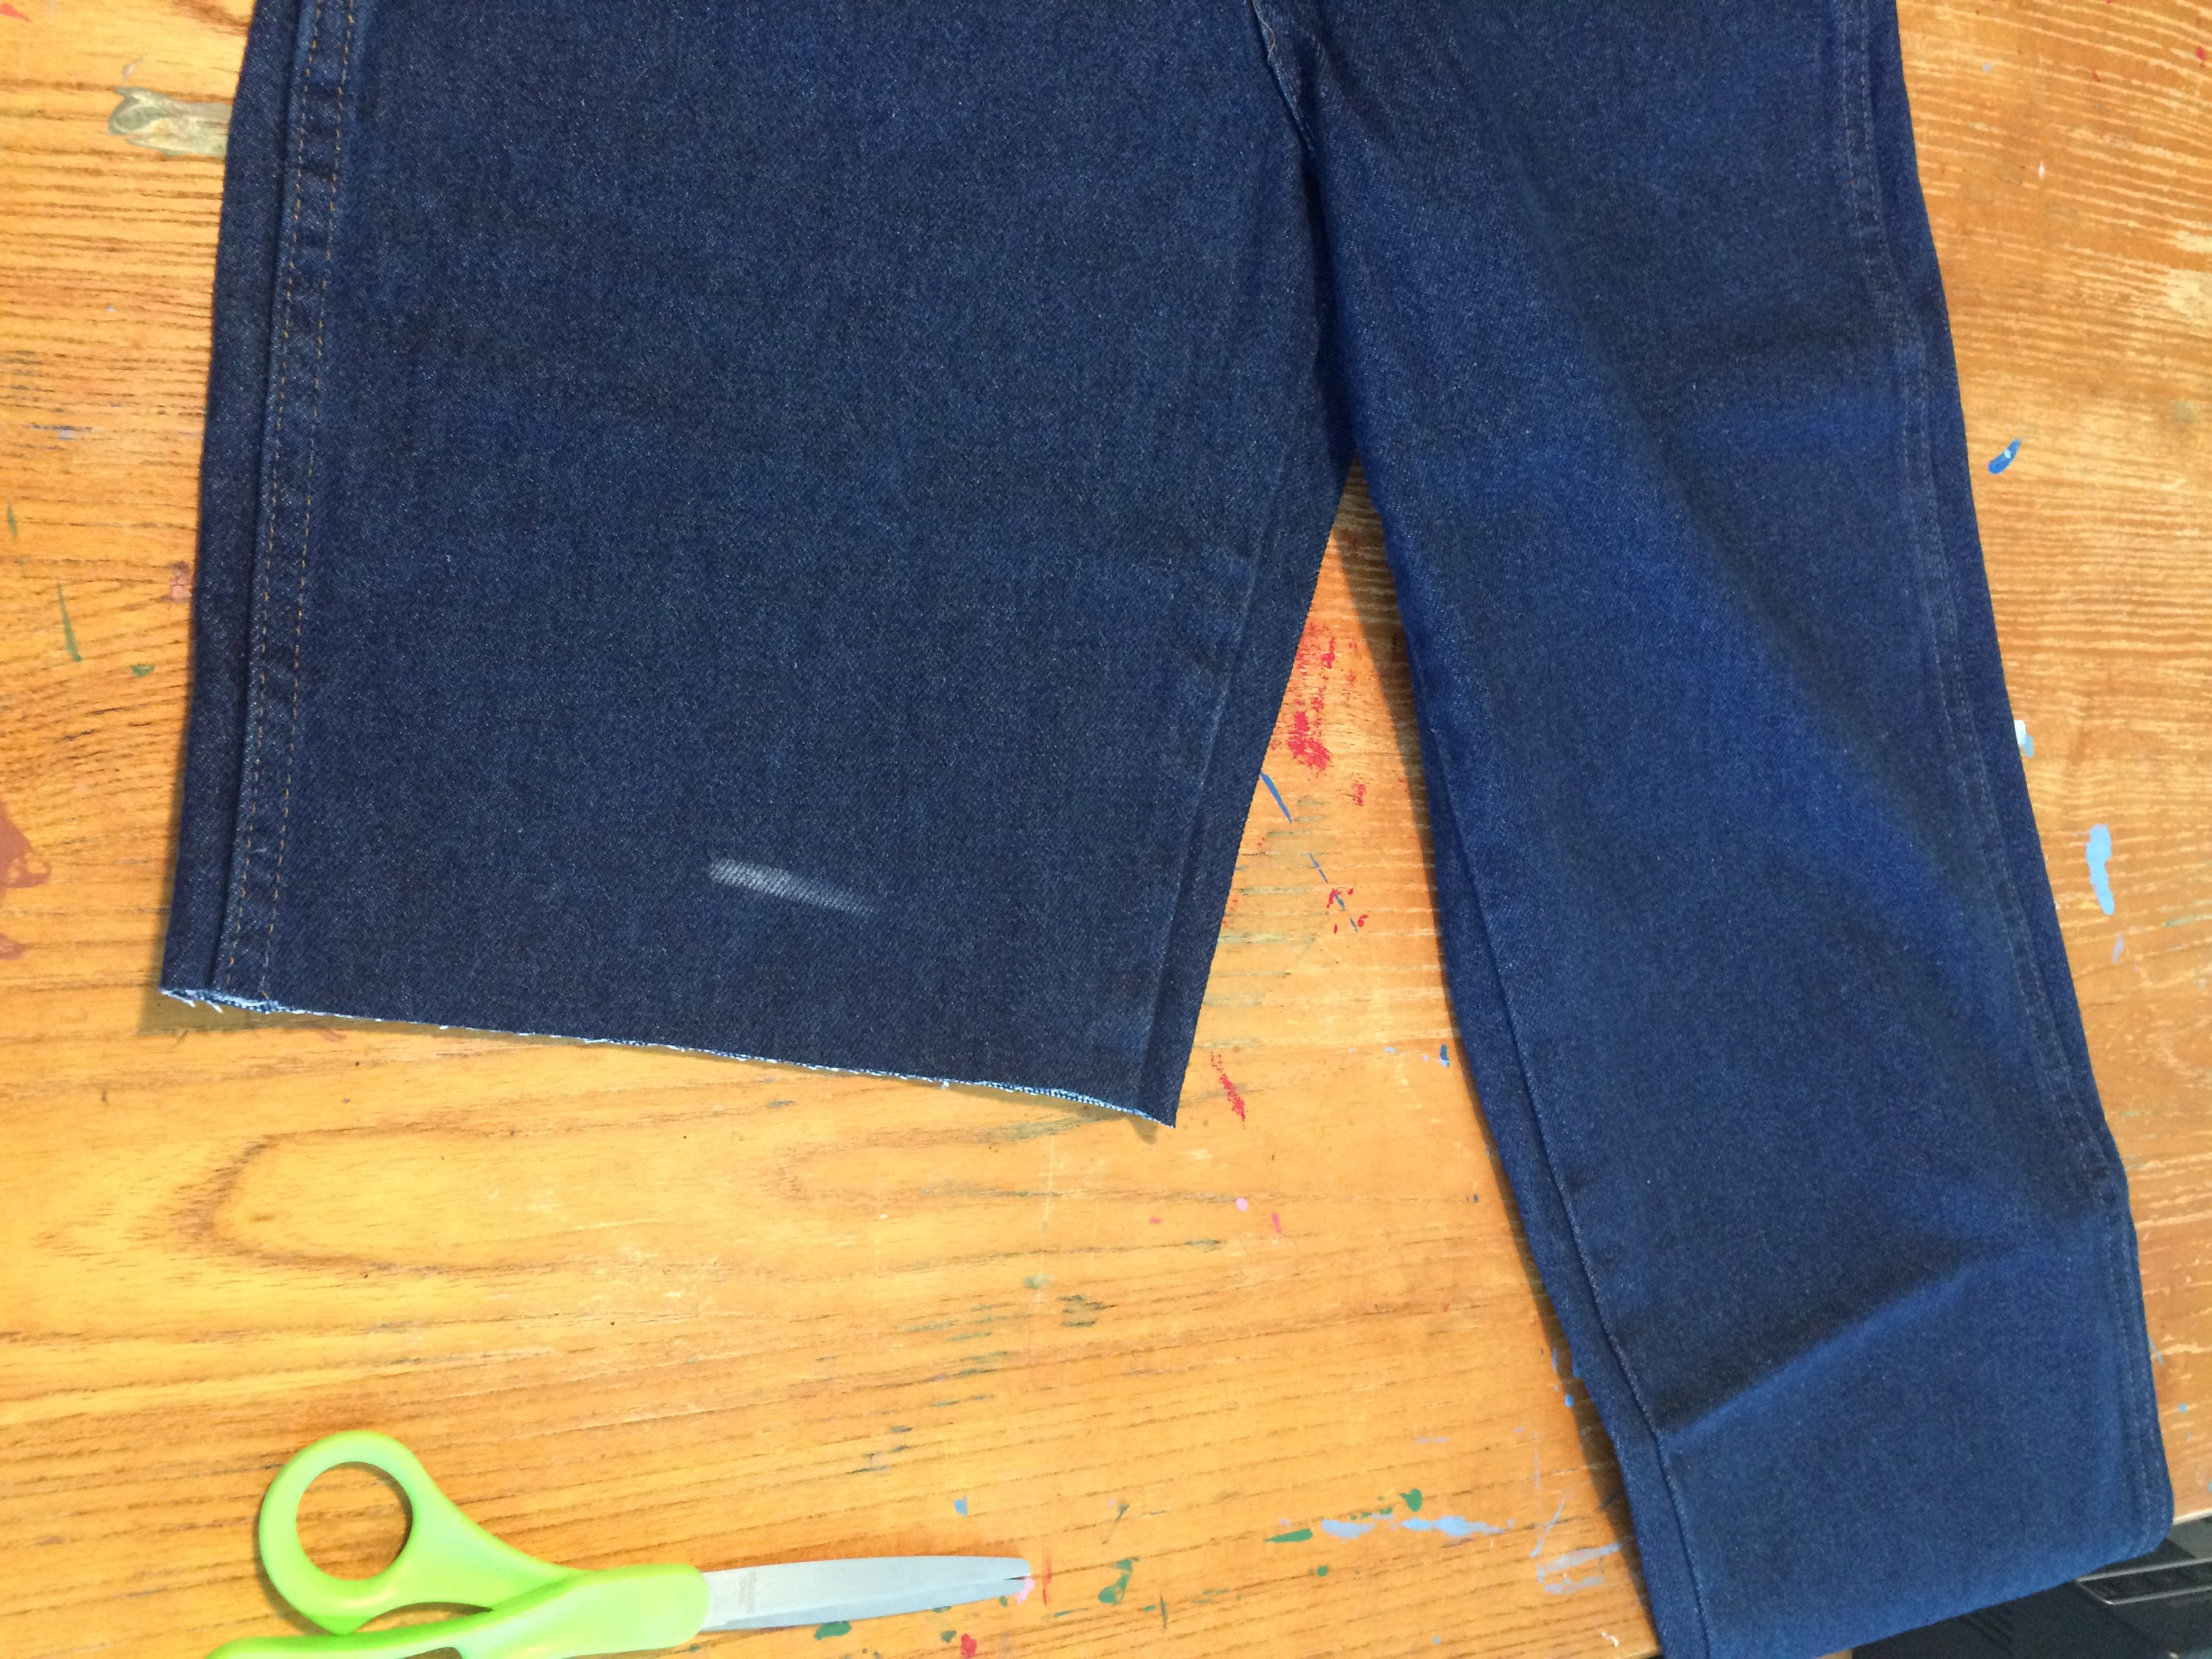
After you cut through the first pant leg, fold the jeans in half and smooth them out, lining up all seams and the waistband evenly. Then cut through the second pant leg, using the first as your guide. This will ensure that both legs are the same length. Trust me, you don’t want one to be shorter than the other! I tried measuring from the bottom of the pants up on the first pair of shorts I ever made, thinking it would be very scientific and accurate… it did not end well. It’s best to just line them up together and cut.
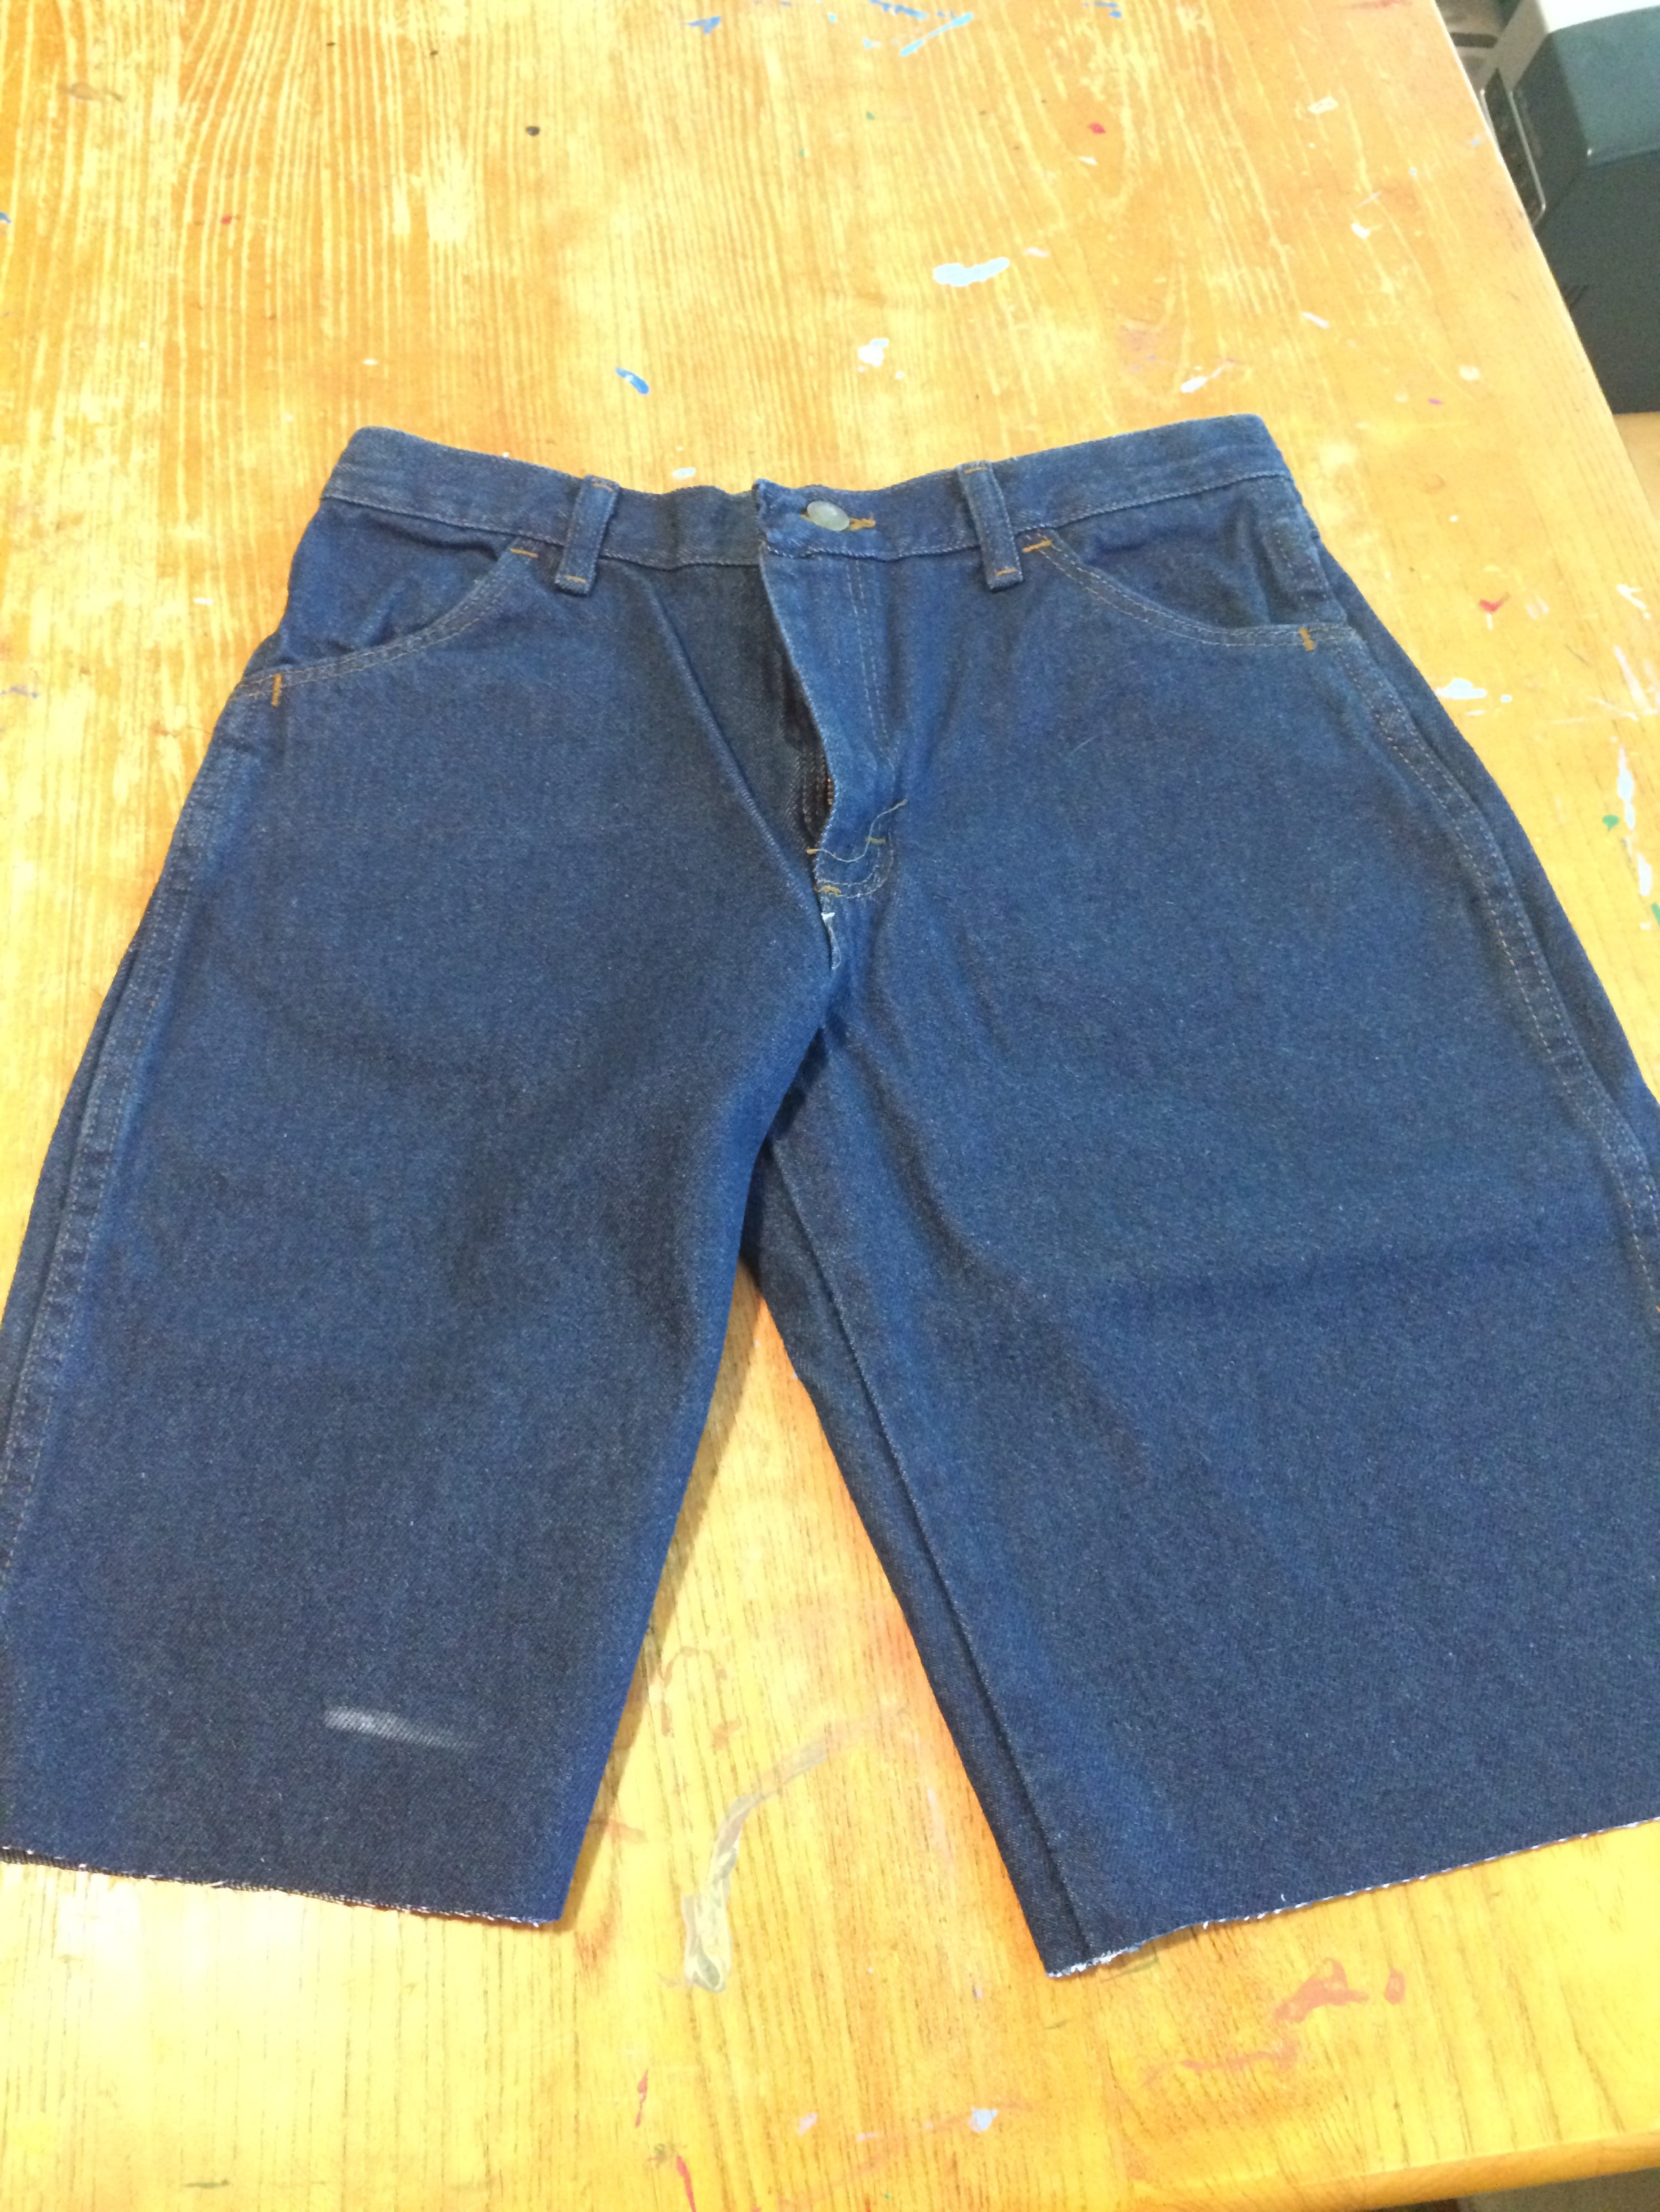
Technically you’ve just made jeans into shorts! (I know these look uneven, but they’re not. It’s because of the puffy butt fabric being off to one side.) You can leave the shorts as cutoffs if you like, but they will unravel quickly and you will look like Brooke Shields in the Pepsi commercial. Most of us don’t have the legs for that, so it’s better to go ahead and sew up that hem.
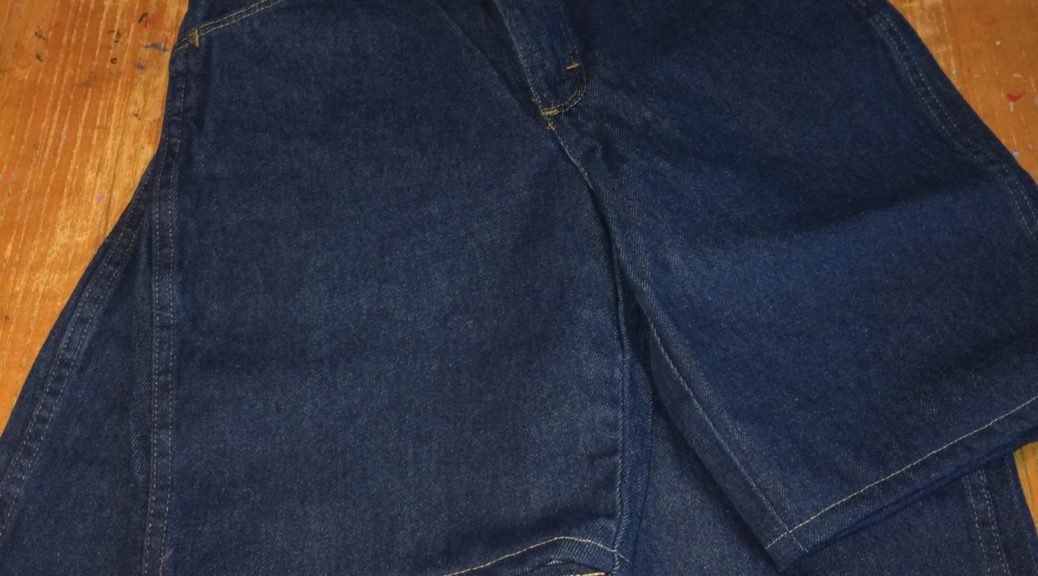
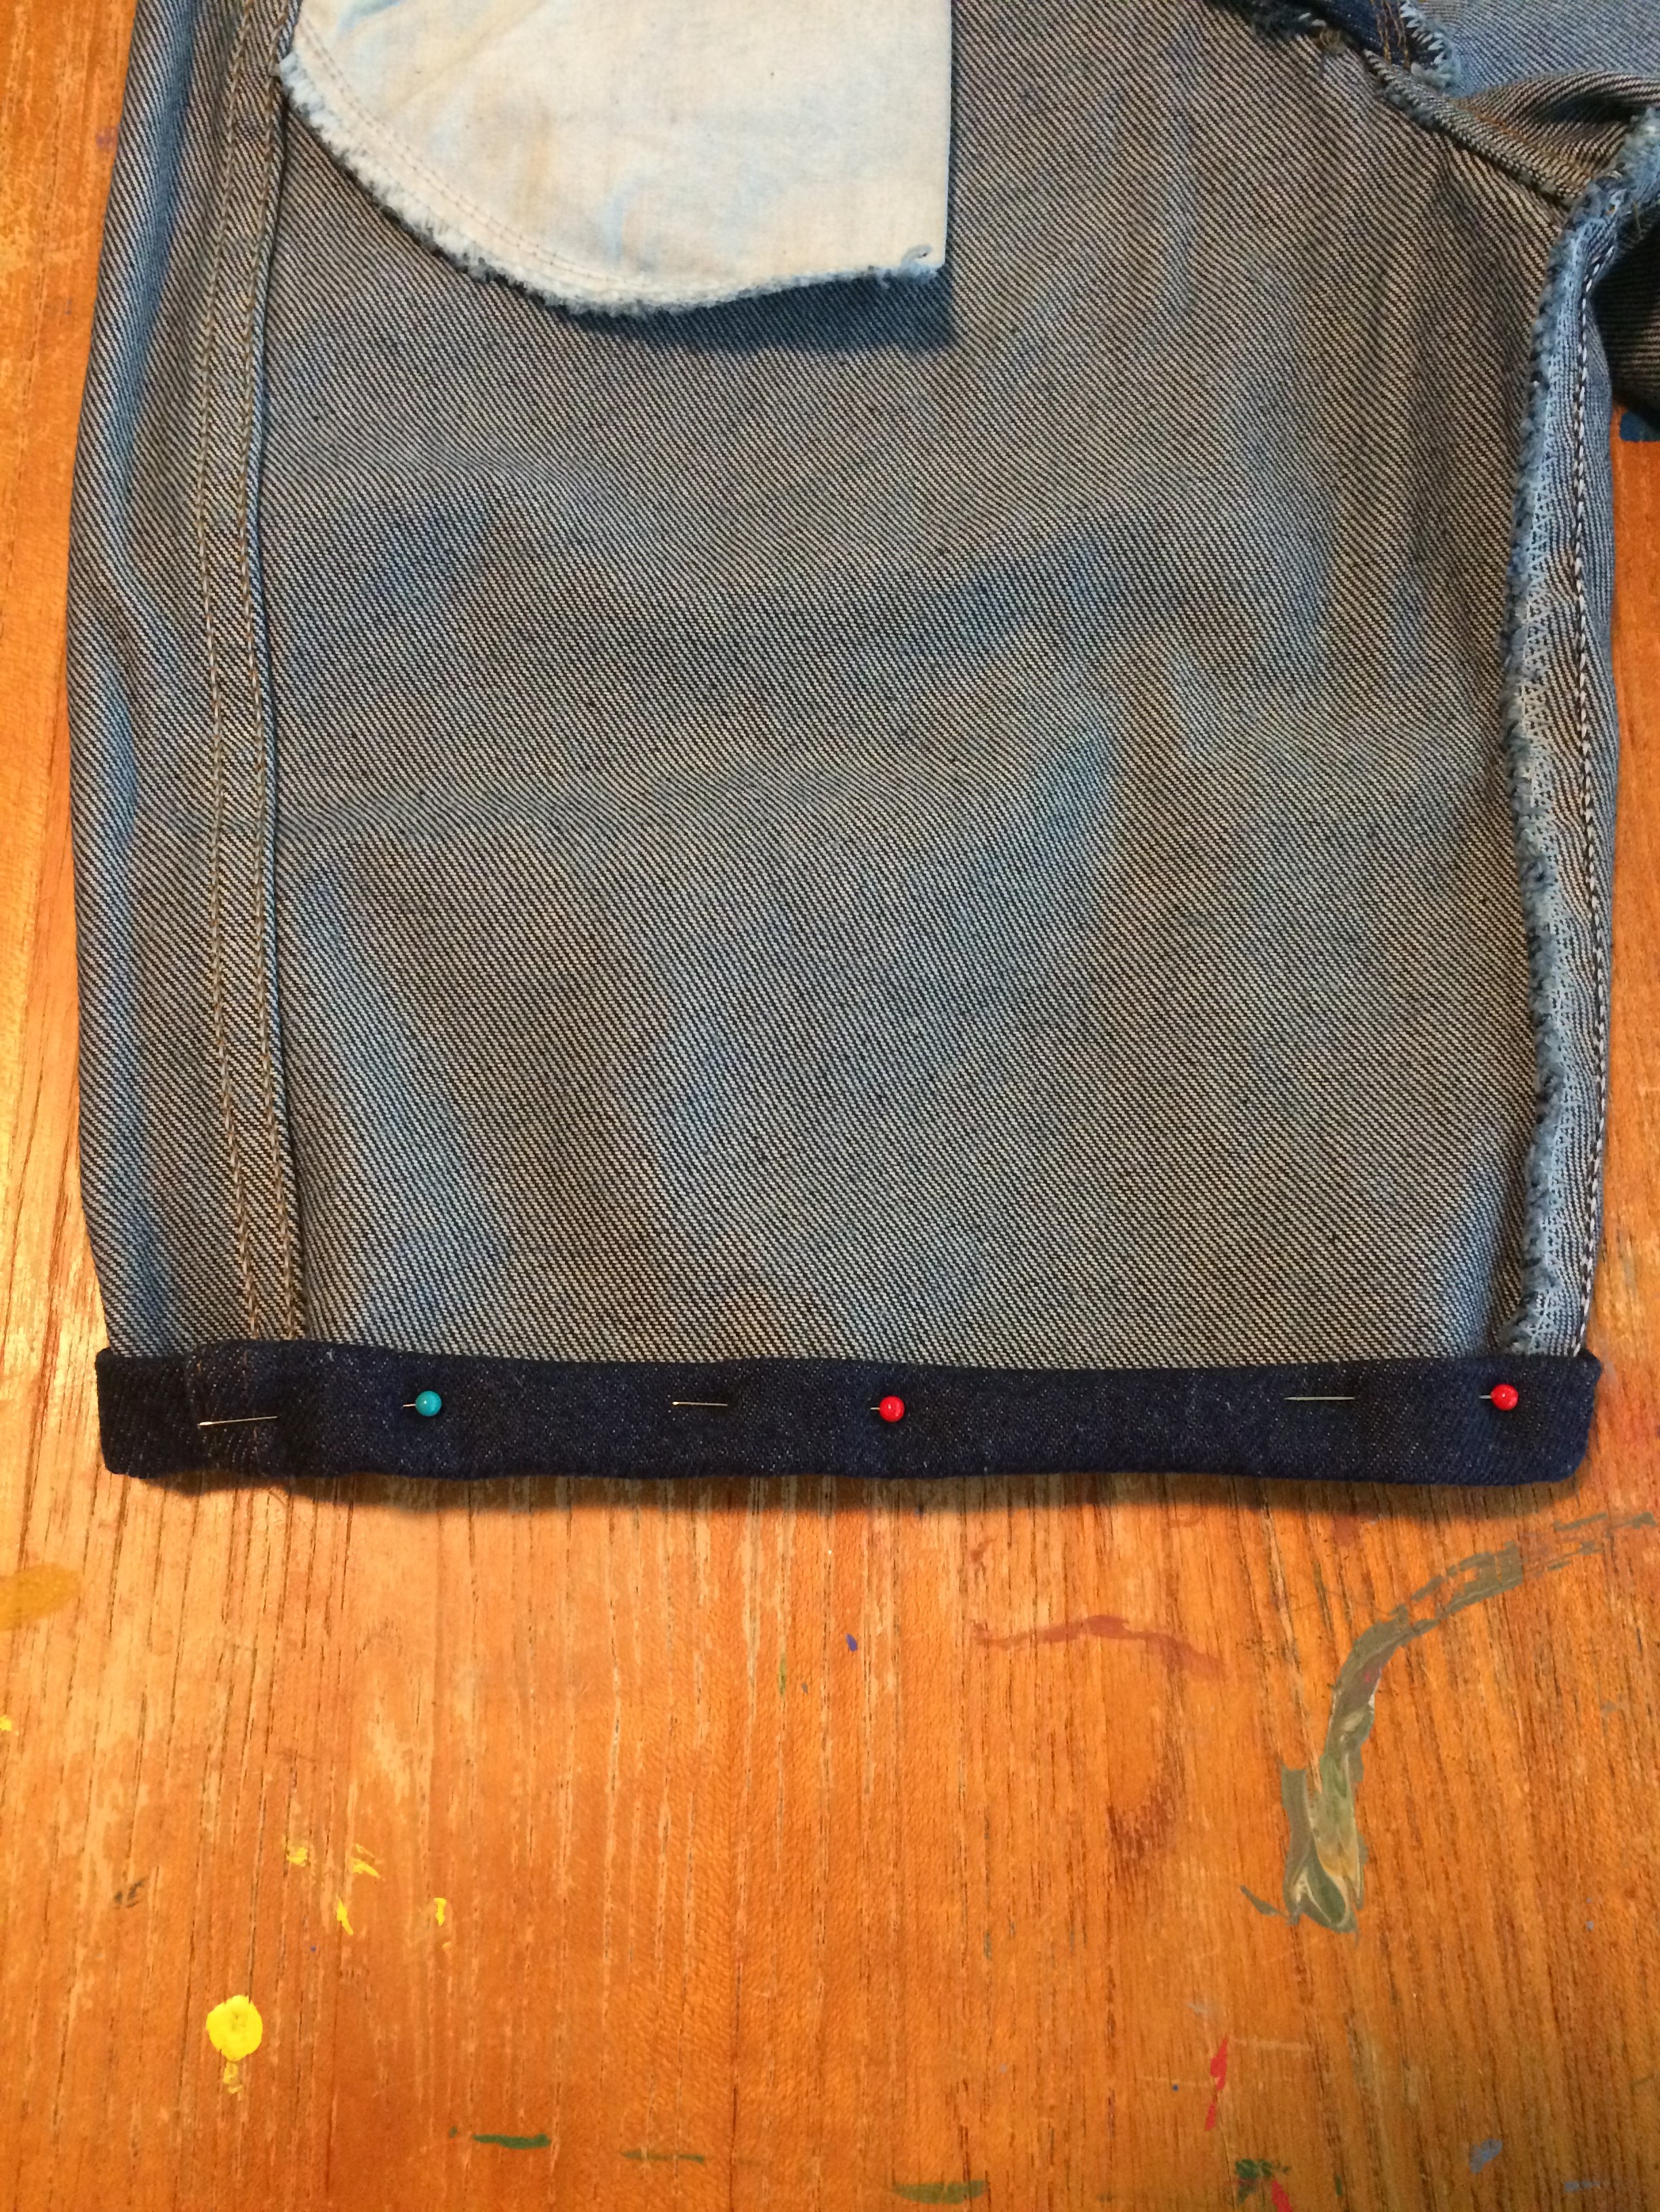
Step 3 – Pin your hem.
Flip the jeans (shorts) inside out. Fold the cut edge up about half an inch, then fold it again and pin it in place to make your hem. Continue all the way around the leg opening, then repeat on the other leg.
Tip: Think about how you’ll be feeding the shorts into your sewing machine, and place your pins so they’ll point at the machine. This will make them easier to remove as you sew. I didn’t do that.

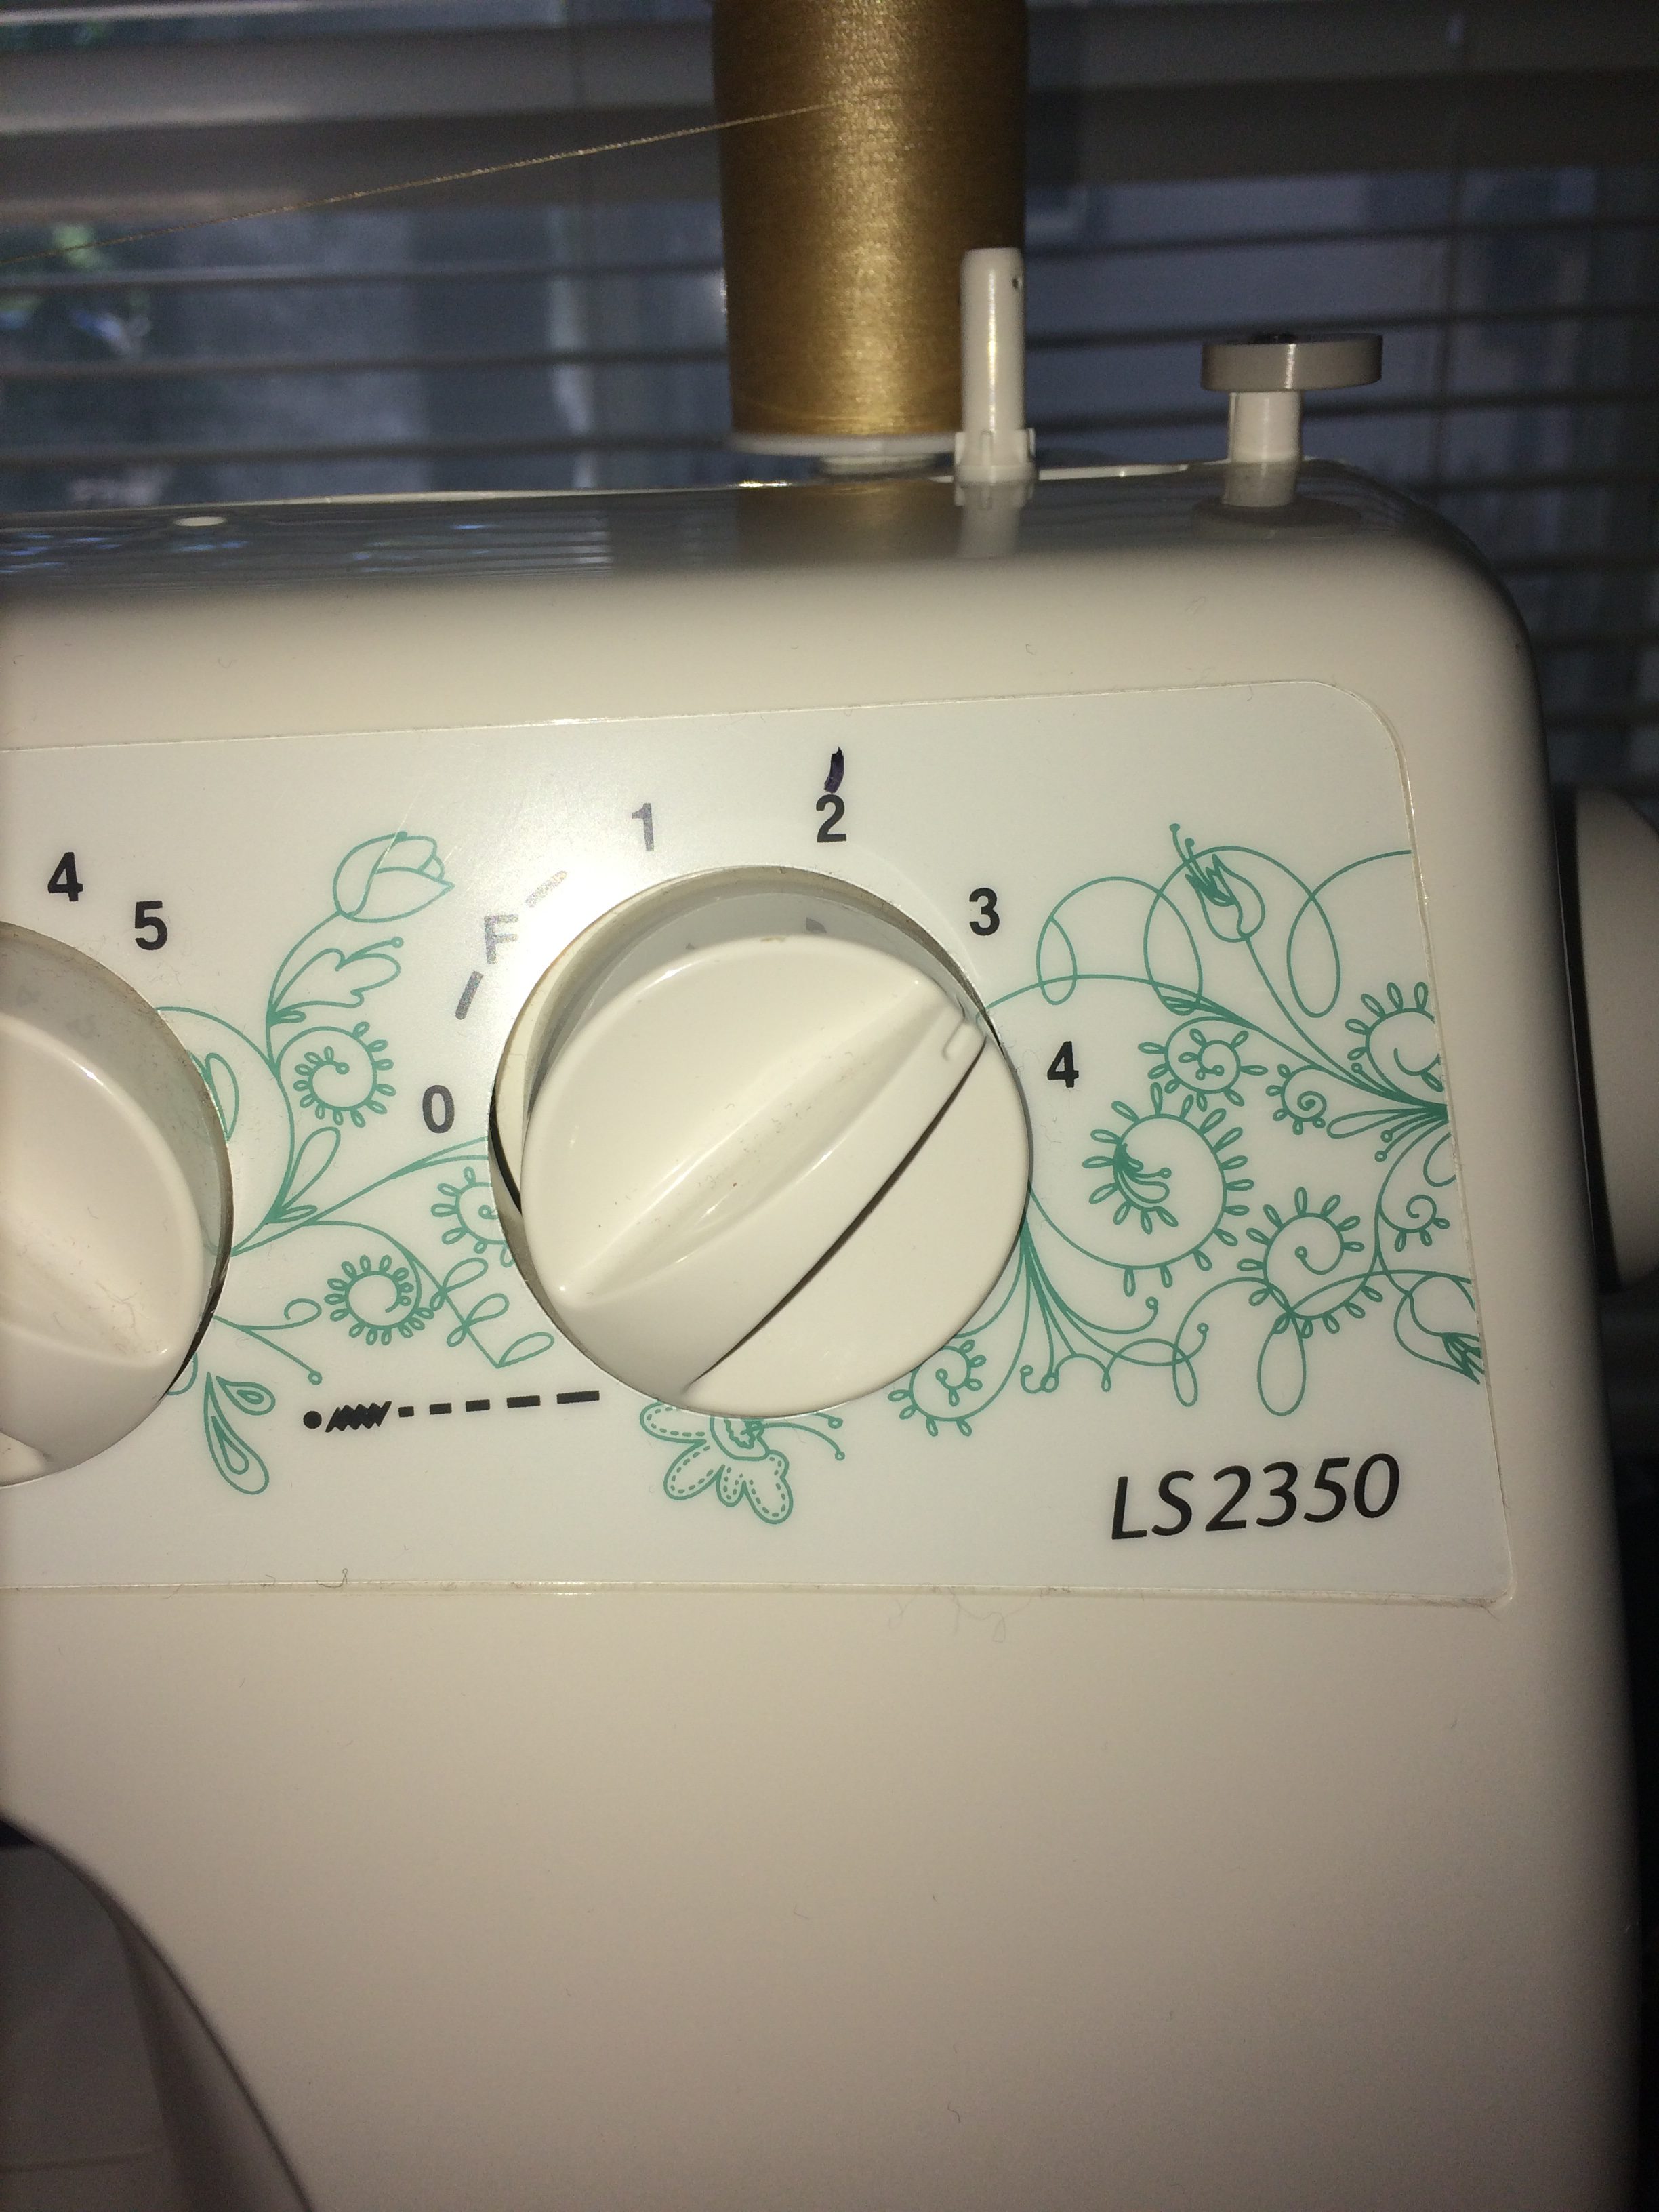
Step 4 – Prep your machine.
Thread your machine and set your stitch length and width. Width should be set at 0 so that your seam is straight, and not zigzagged. You’ll want your stitch length to be set a little longer, at a 3 or even 4, for it to look like a normal long jean stitch.
Be sure to use a heavy duty needle!! Denim is a thick, heavy material. You know that first pair of shorts I made that didn’t come out even? Well, I also used a normal needle while sewing them. The needle broke when going over the inseam bump, and flew up and hit me about a millimeter away from my eye, cutting me. I can’t even imagine what could have happened if it had hit just a tiny bit further over. Now I not only use heavy duty needles, but I close my eyes when going over those bumps. Apparently I prefer to risk losing a finger rather than my eyeballs.
Step 5 – Begin sewing your jeans into shorts.
The hardest places to sew are always going to be the thick spot where the vertical inseam overlaps itself. I like to start right after that bump, because it’s almost impossible to back-sew. (I don’t know if that’s a real term or not, but it’s when you sew in reverse for a few stitches to keep the thread from pulling itself out.)
Keep sewing all the way around the leg opening until you’re back to where you started. Repeat on the other leg.
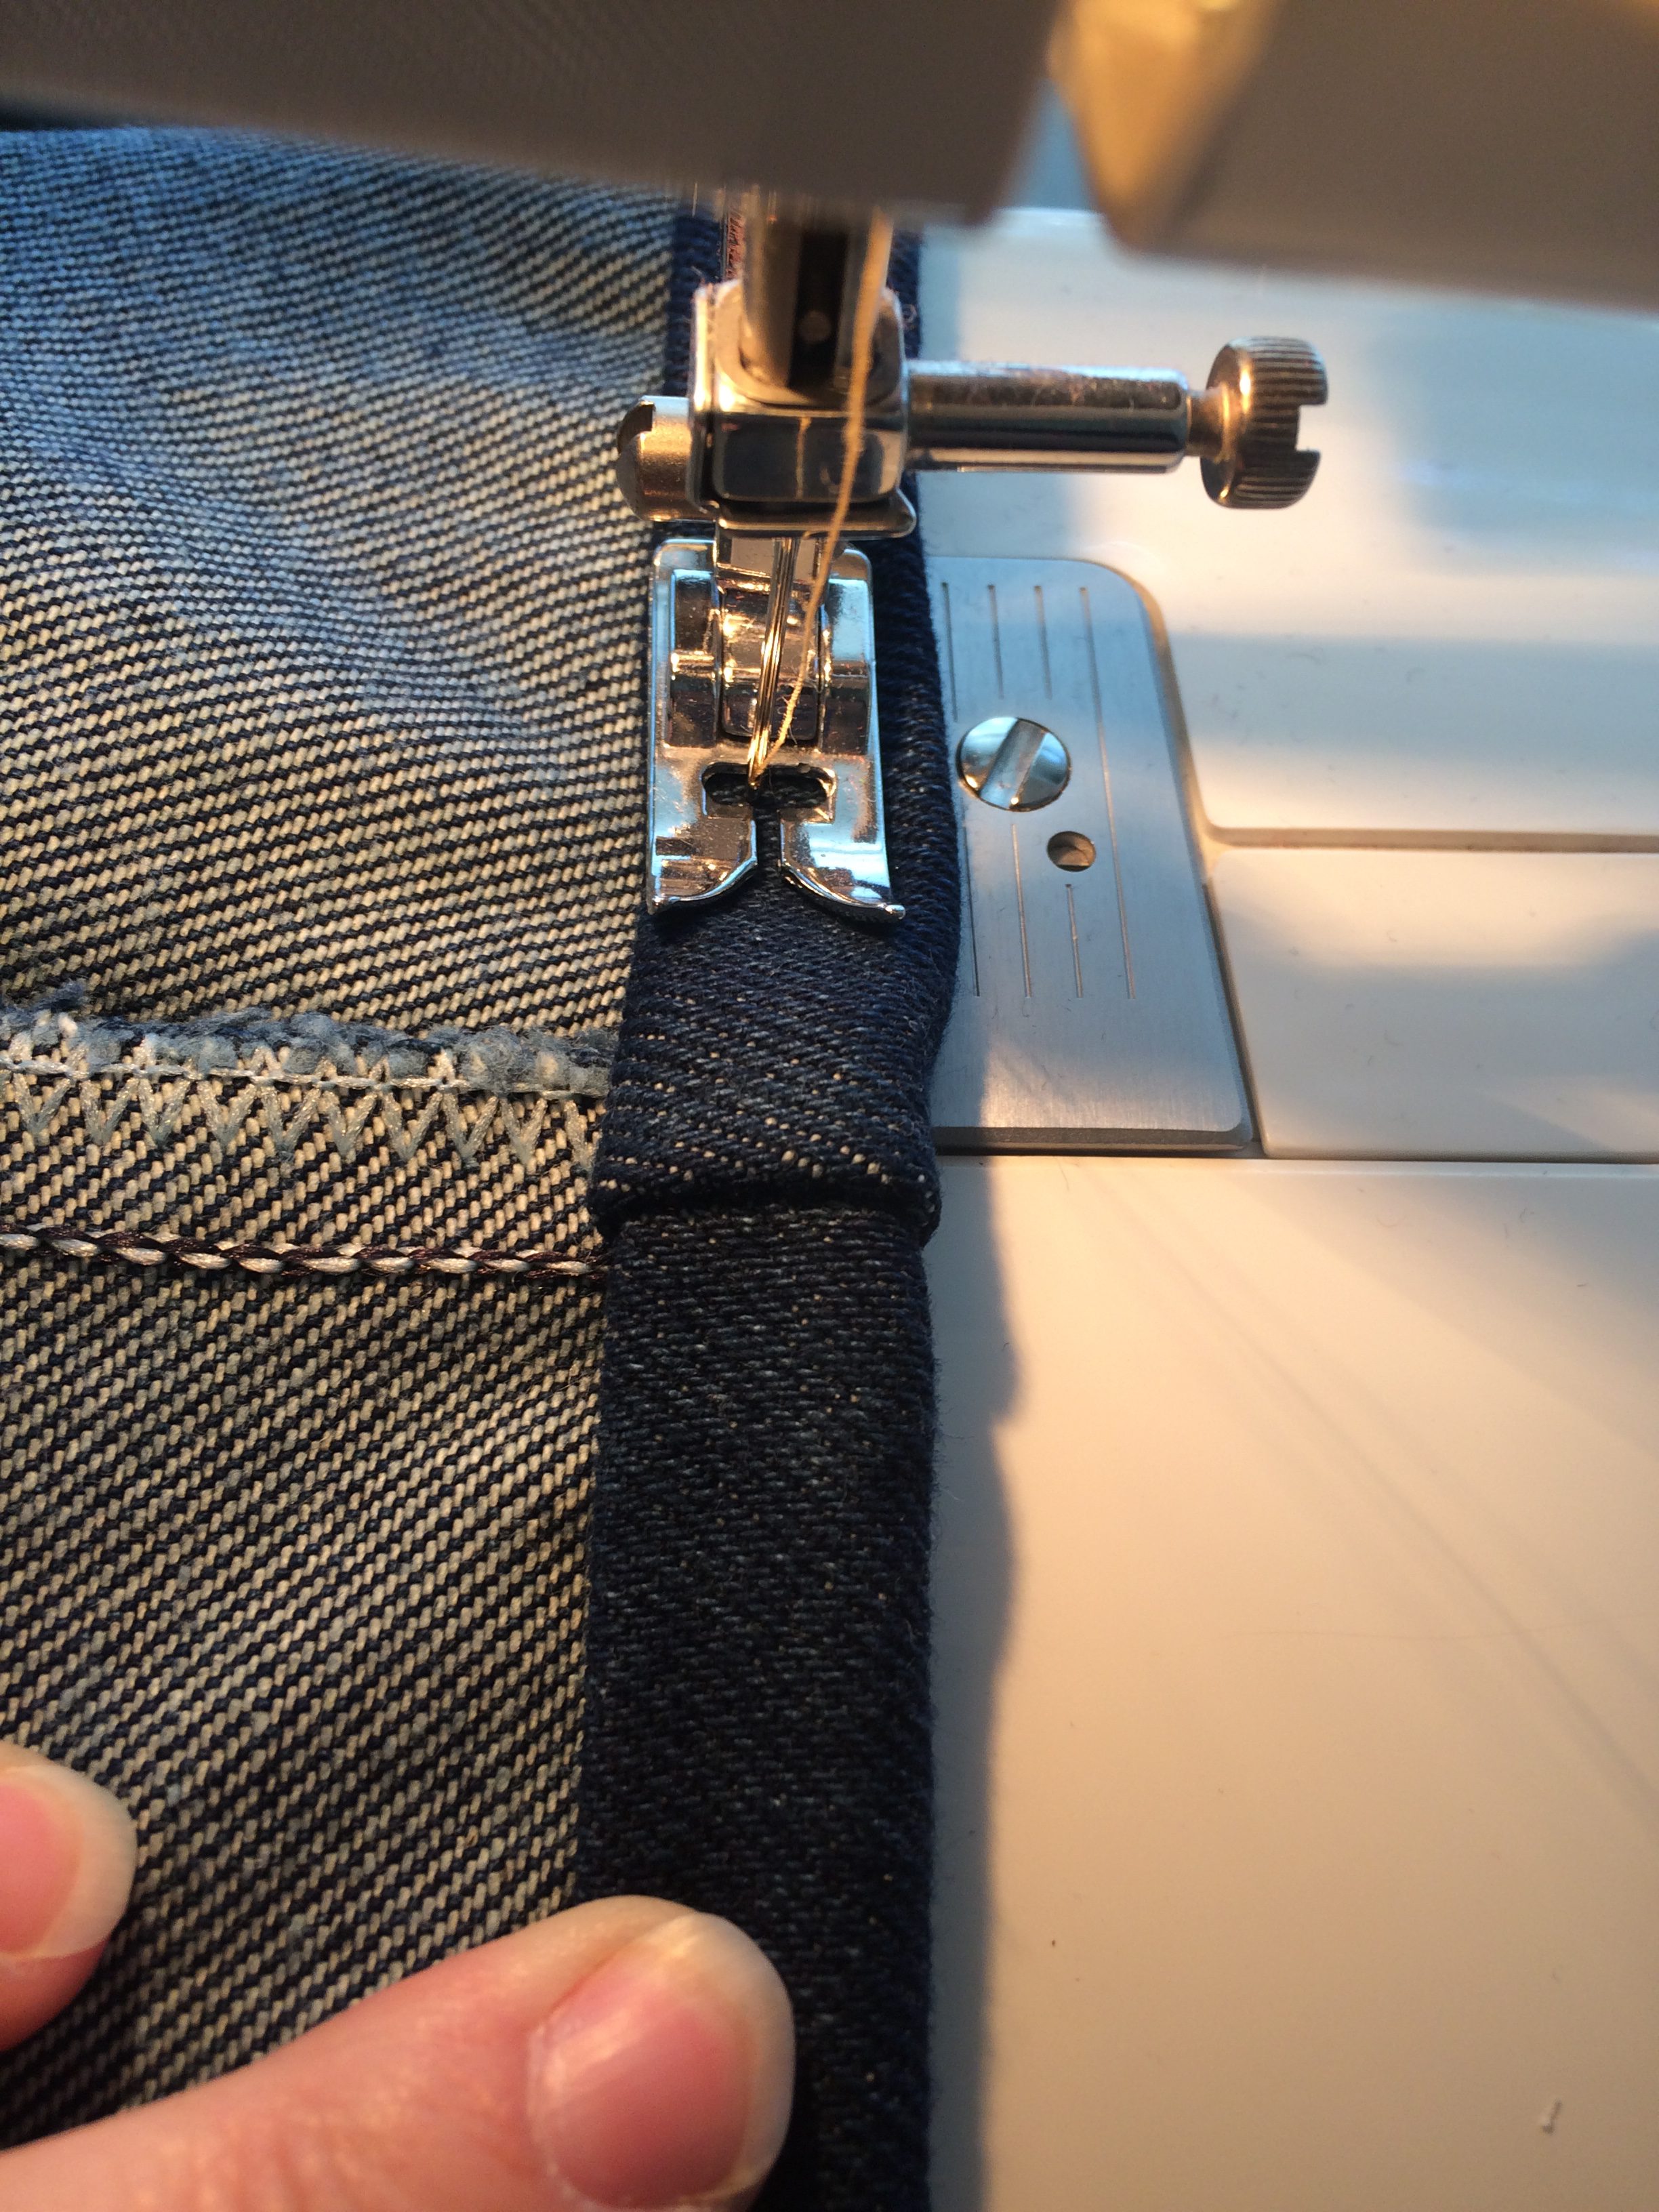
Tip: Start on the back side of the shorts so you don’t see the extra thread of the back-sewn area on the front. I did not do that.
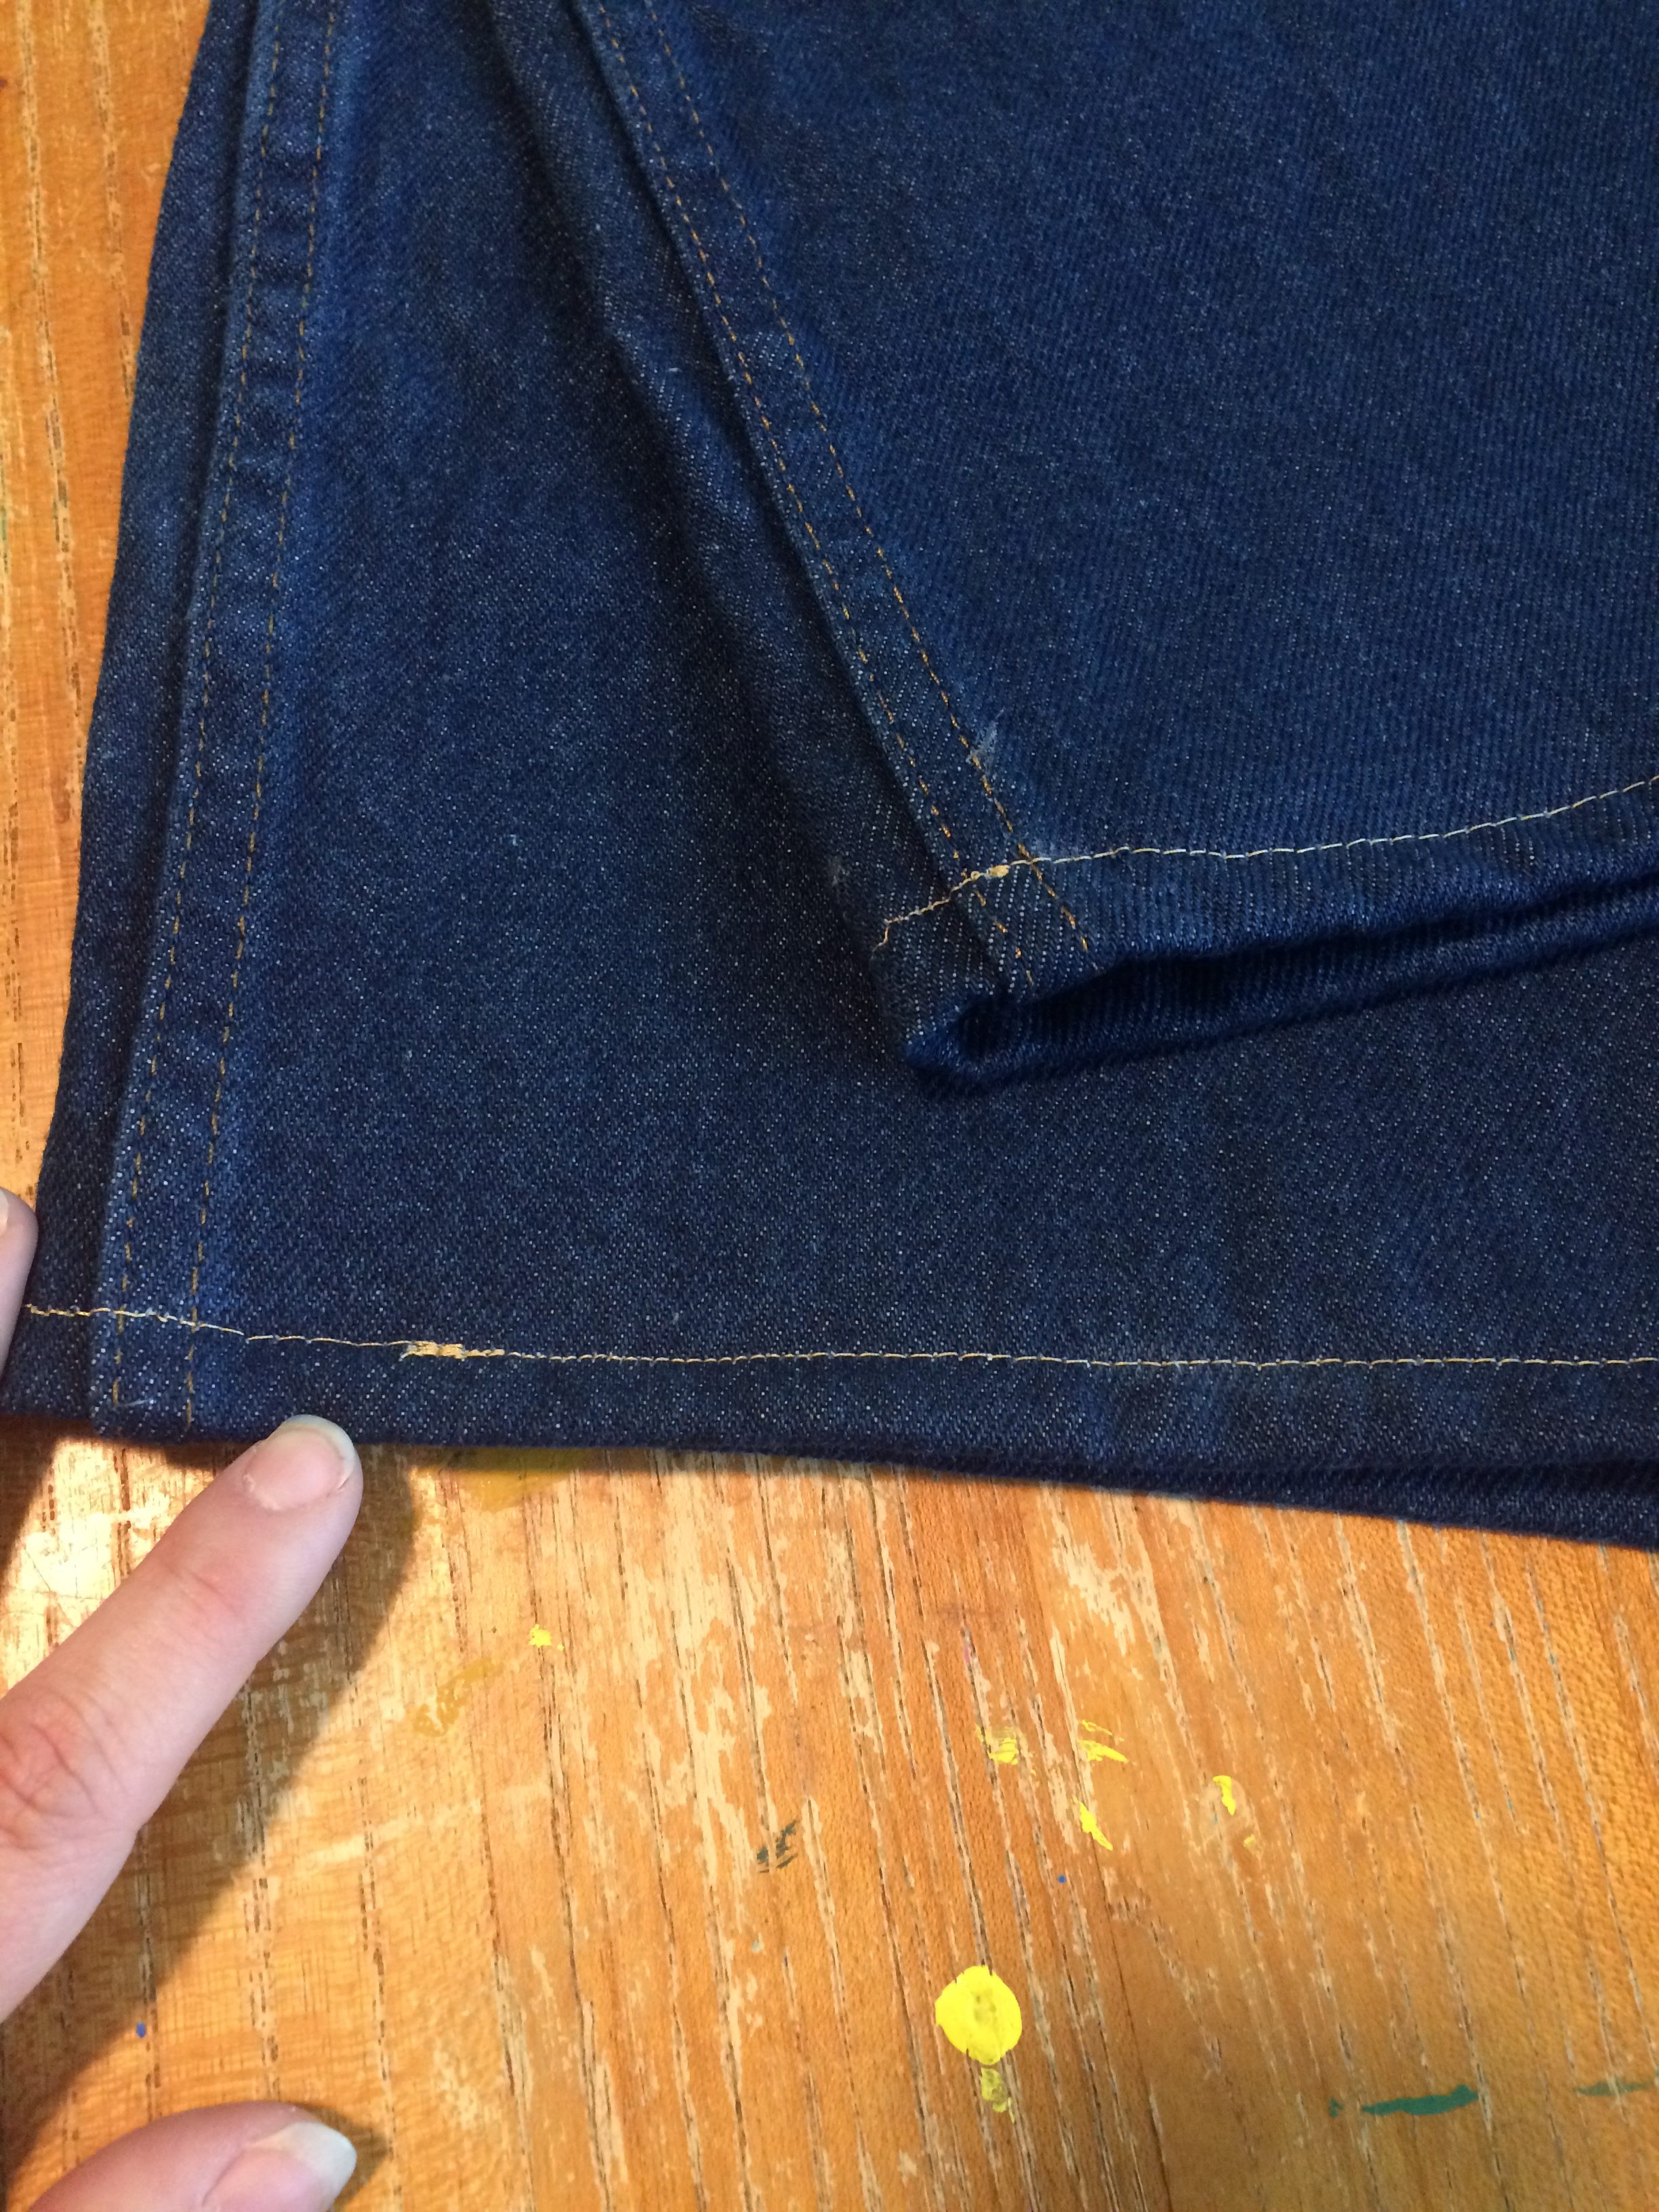
Step 6 – Wear your jorts proudly.
Cut your long threads, flip the shorts inside out, and voilá – a perfect pair of jorts. Or two, in my case. Just please don’t wear them with socks and sandals.