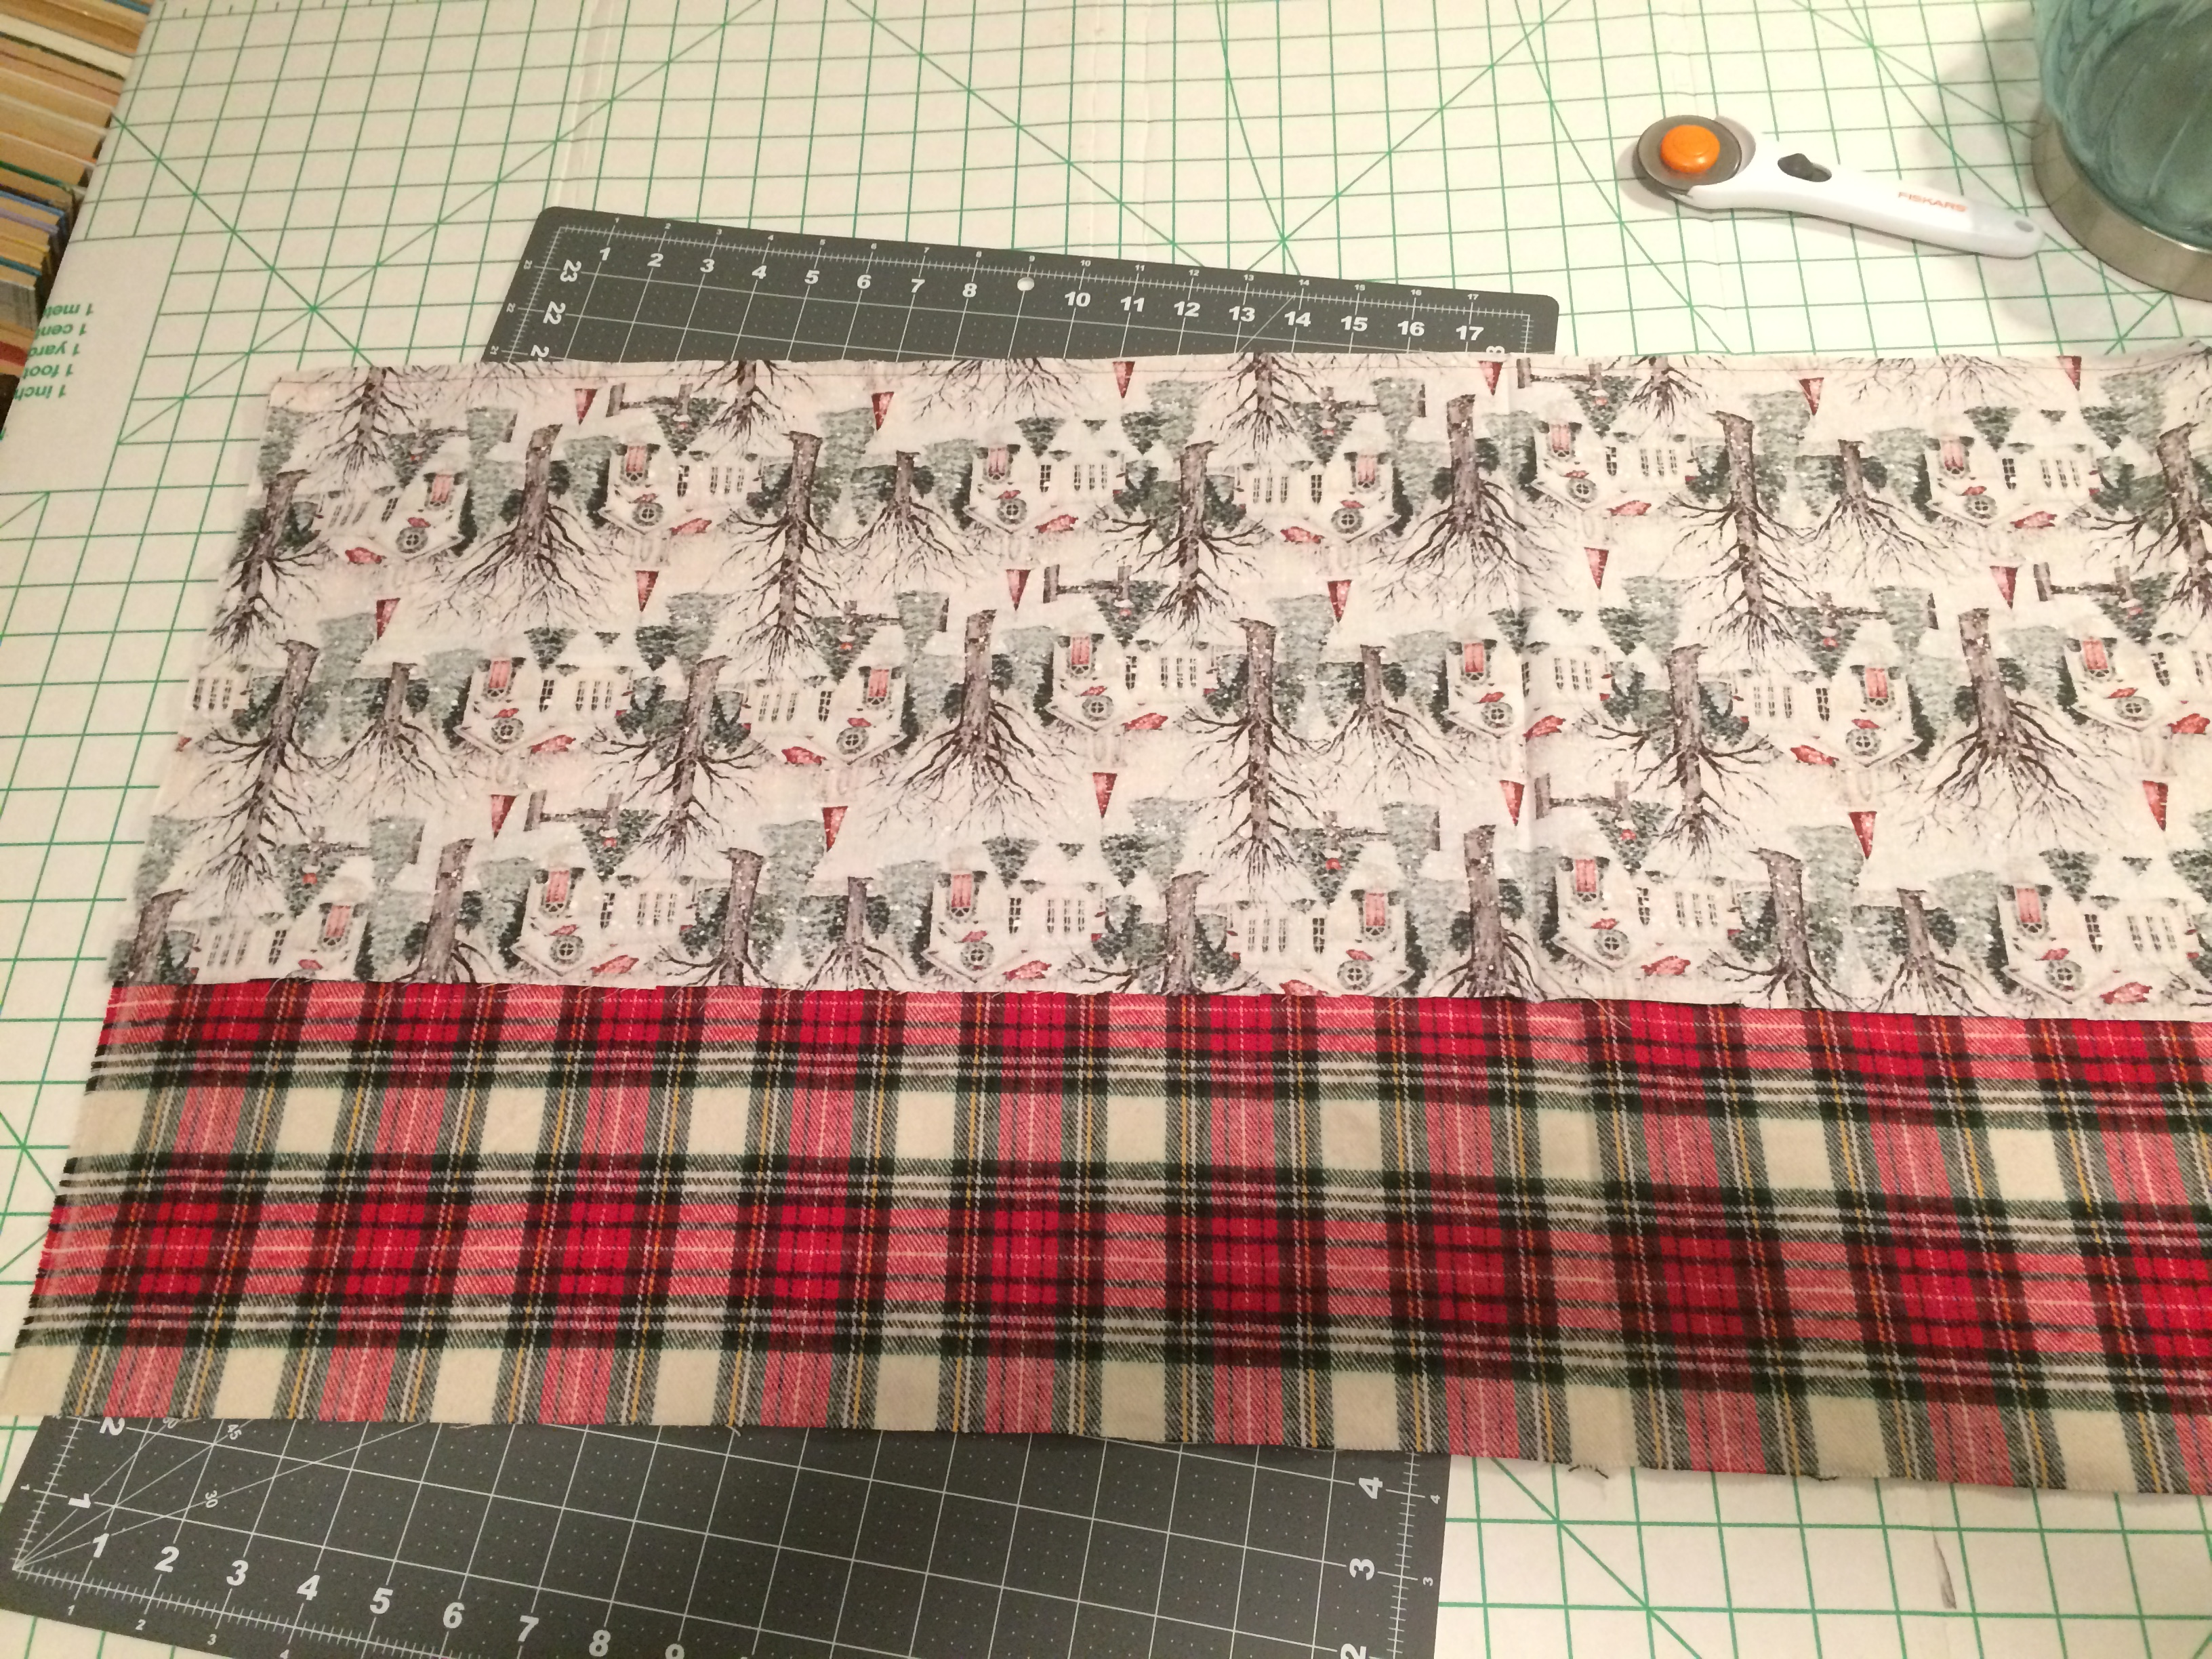
Country Christmas: Tablerunner and Pillows
Today I want to show you how fast and easy it is to sew your own tablerunner and pillow covers! These are a great way to decorate your home for Christmas with very little time, money, and effort. The material can be bought for less than $10, and sewing them only takes around an hour – even if you’re a beginner. They’re so simple, you’ll want to make a set for every holiday!
A Frugal Country Christmas
In my ruffle-edge tree skirt tutorial, I mentioned that we’re wanting to do a rustic “Country Christmas” this year. That means lots of wood, burlap, and plaid. (Check out my Country Christmas Pinterest board for some great ideas!) I’ve been slowly stocking up on little decorations and craft items from Hobby Lobby (only the 50% off items!) and our local Goodwill. I’m a very frugal person; other than groceries and sometimes books, I don’t buy anything that’s not pre-owned, on clearance, or on a really good sale.
I also love looking at items around my home and knowing I made them. They’re so much more special that way! Years ago, for our second Christmas after we got married, I made an advent calendar using just felt, scissors, and hot glue. That advent calendar still goes up every year, and it’s my favorite Christmas decoration! When we decided to do a Country Christmas, I knew I would need to make a lot of the decorations myself.
Tablerunner Materials
I’ve been making these simple tablerunners for a couple years now. They’re reversible too, which means you basically get two tablerunners for the work of one! My inspiration originally came from this tutorial from Megan Barr. I’ve changed the fabric measurements slightly from hers, because I prefer having a thinner tablerunner with less edging. It’s crazy easy – I can sew one of these up in about 20 minutes! If you get your fabric cut to the correct size at the store, you’ll have it done in no time. Here’s what you’ll need:
- 1/3 yard main/middle fabric
- 1/2 yard backing/edging fabric (if you reverse your tablerunner, this fabric will end up being the only one you’ll see)
- Thread in a coordinating color
- An iron
- Sewing machine and fabric scissors
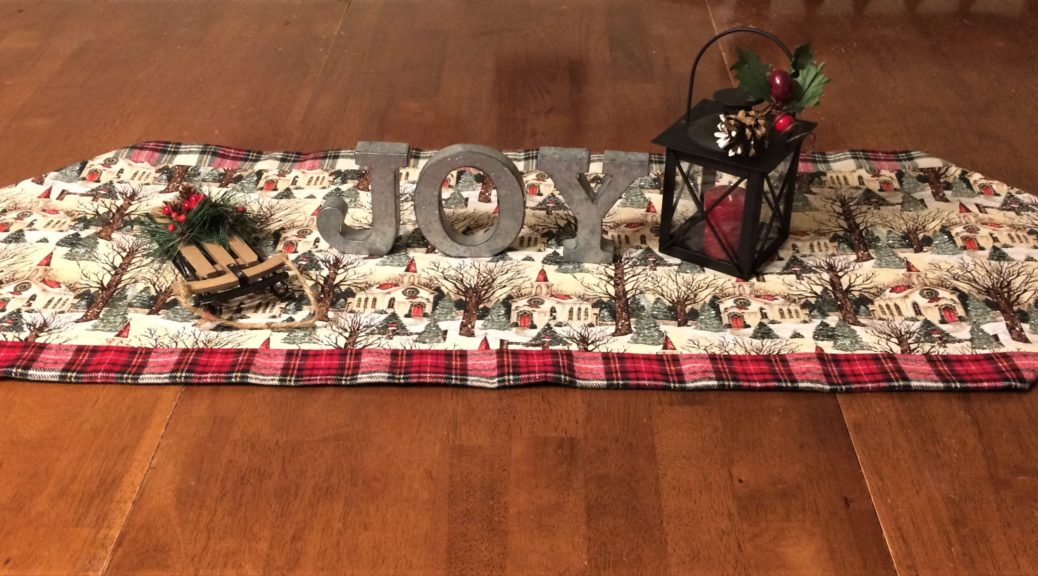
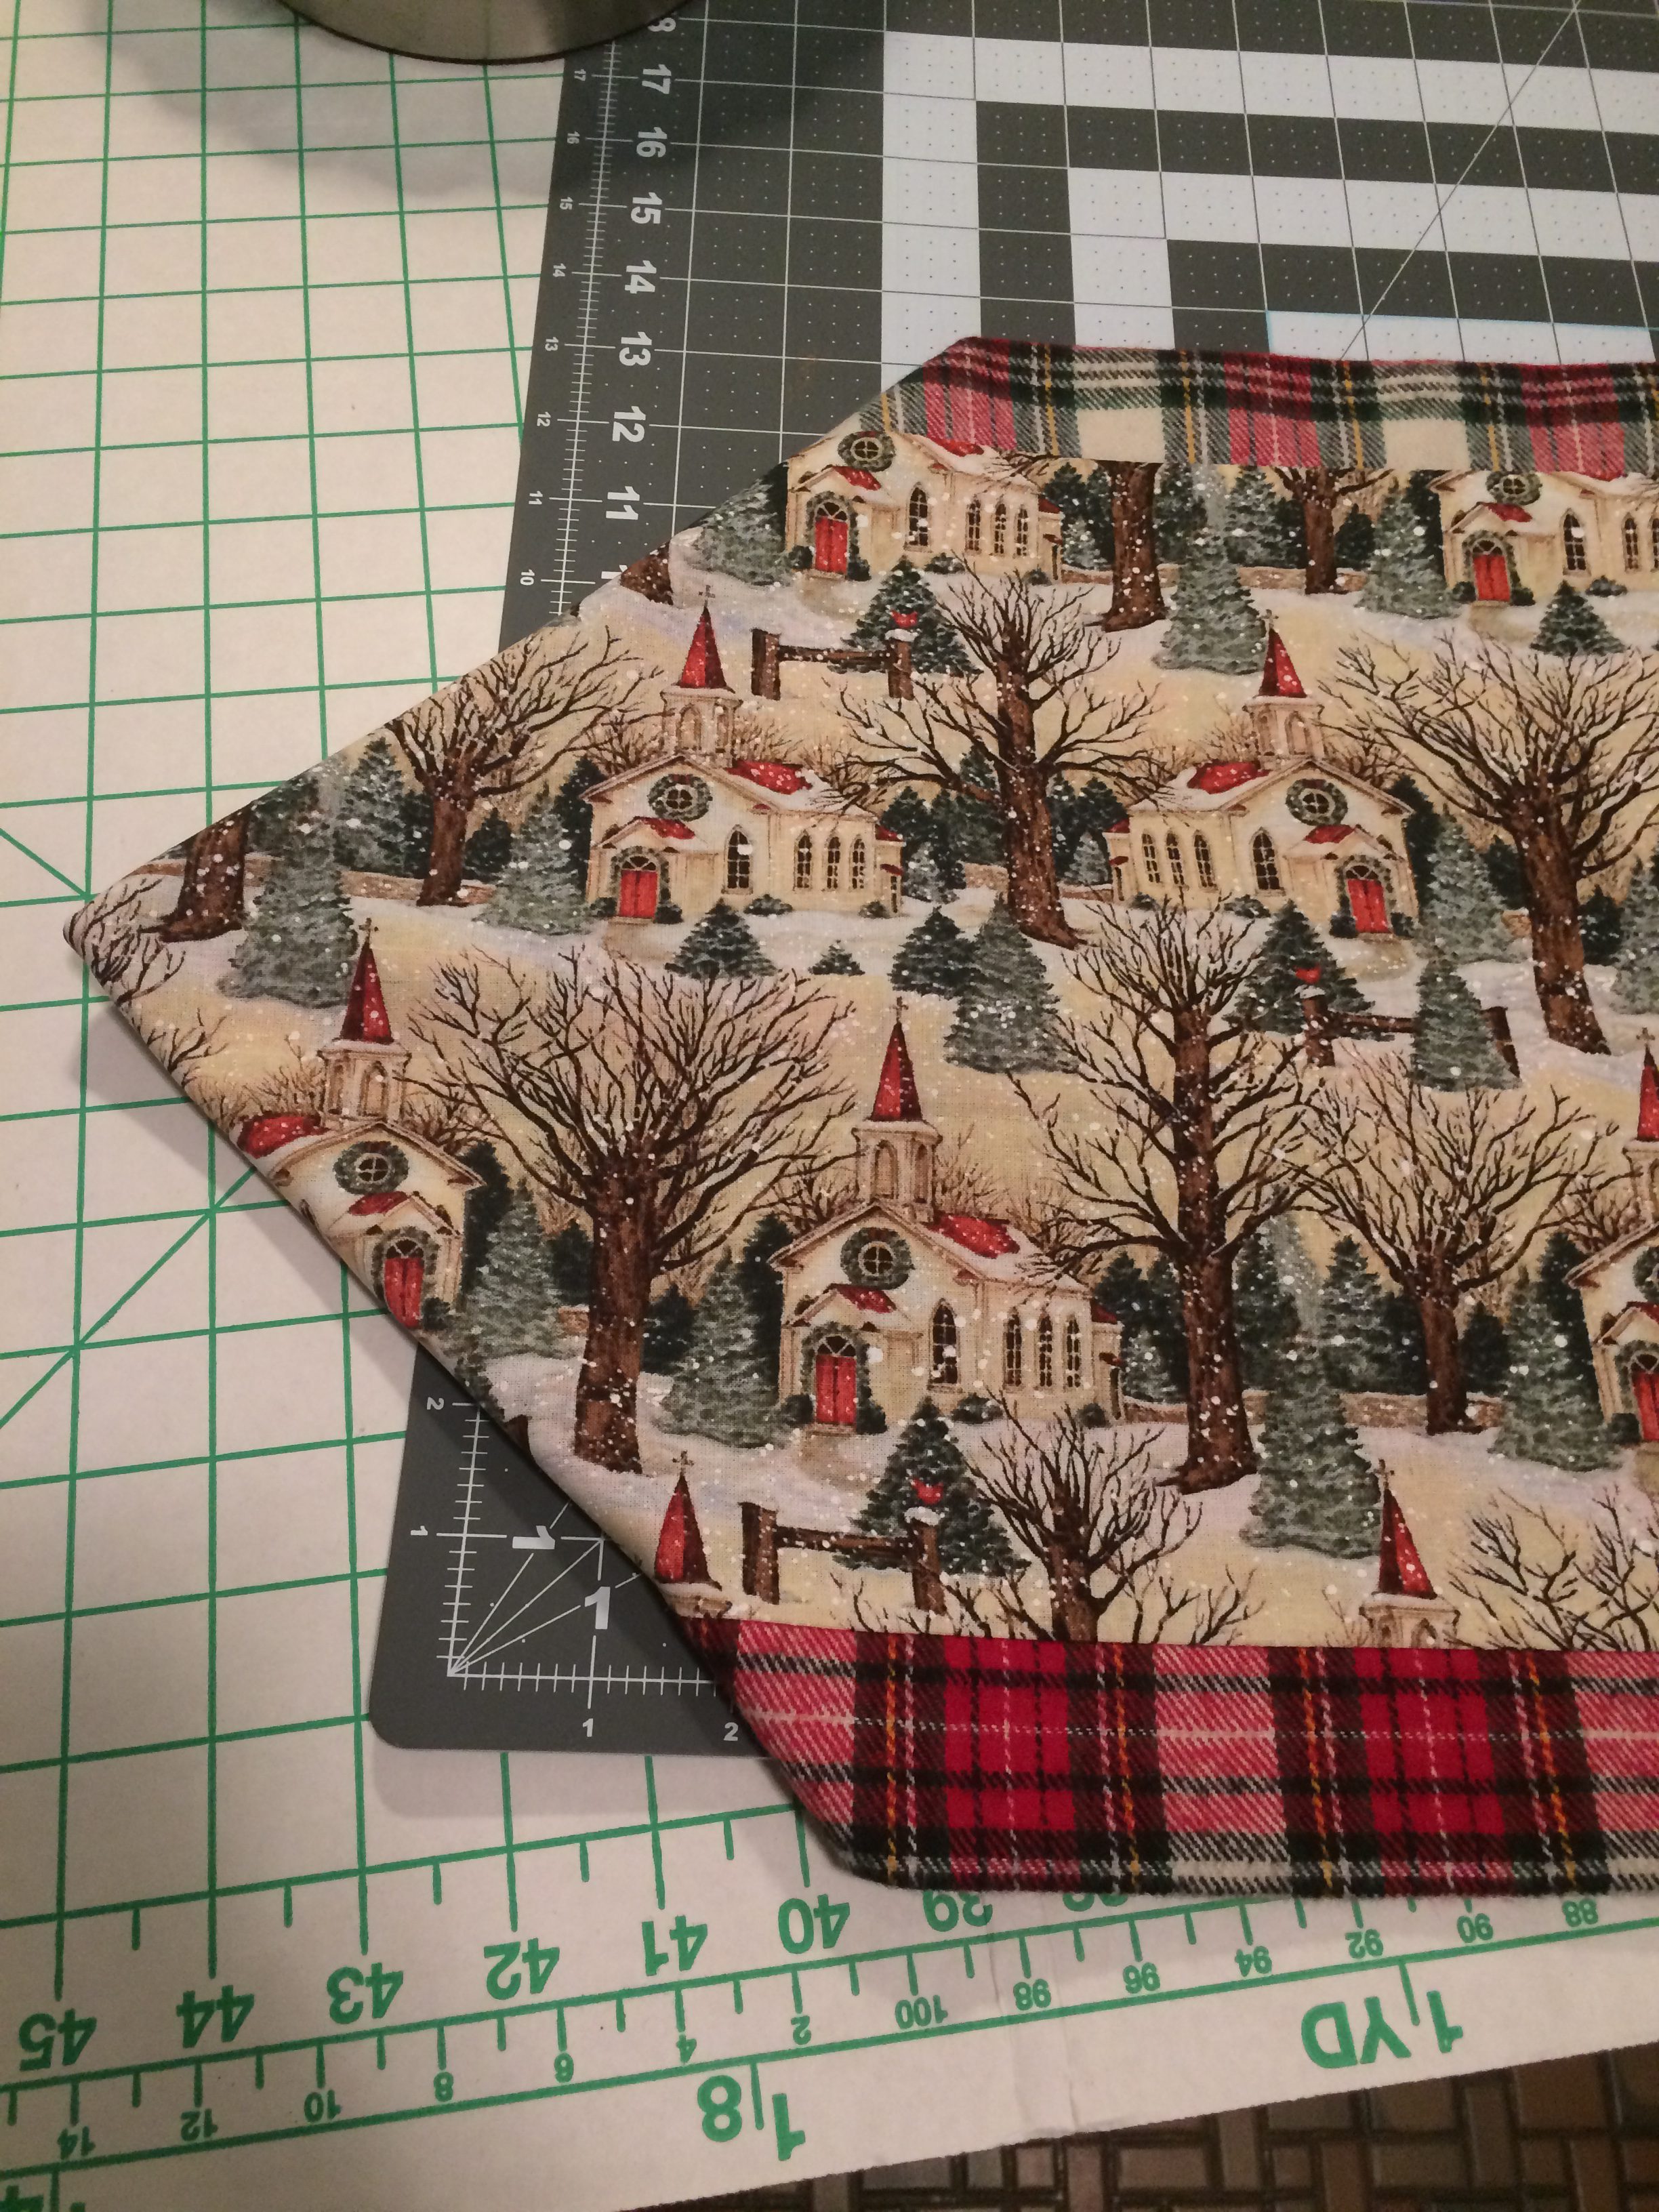
As long as your fabric is cut correctly, you can jump right in to pinning and sewing. If you’re using fabric you have on hand, cut it to the sizes specified above. I highly recommend using a cutting mat, acrylic ruler, and rotary cutter for this! It’s almost impossible for me to cut straight without these.
How to Sew A Simple, Reversible Tablerunner
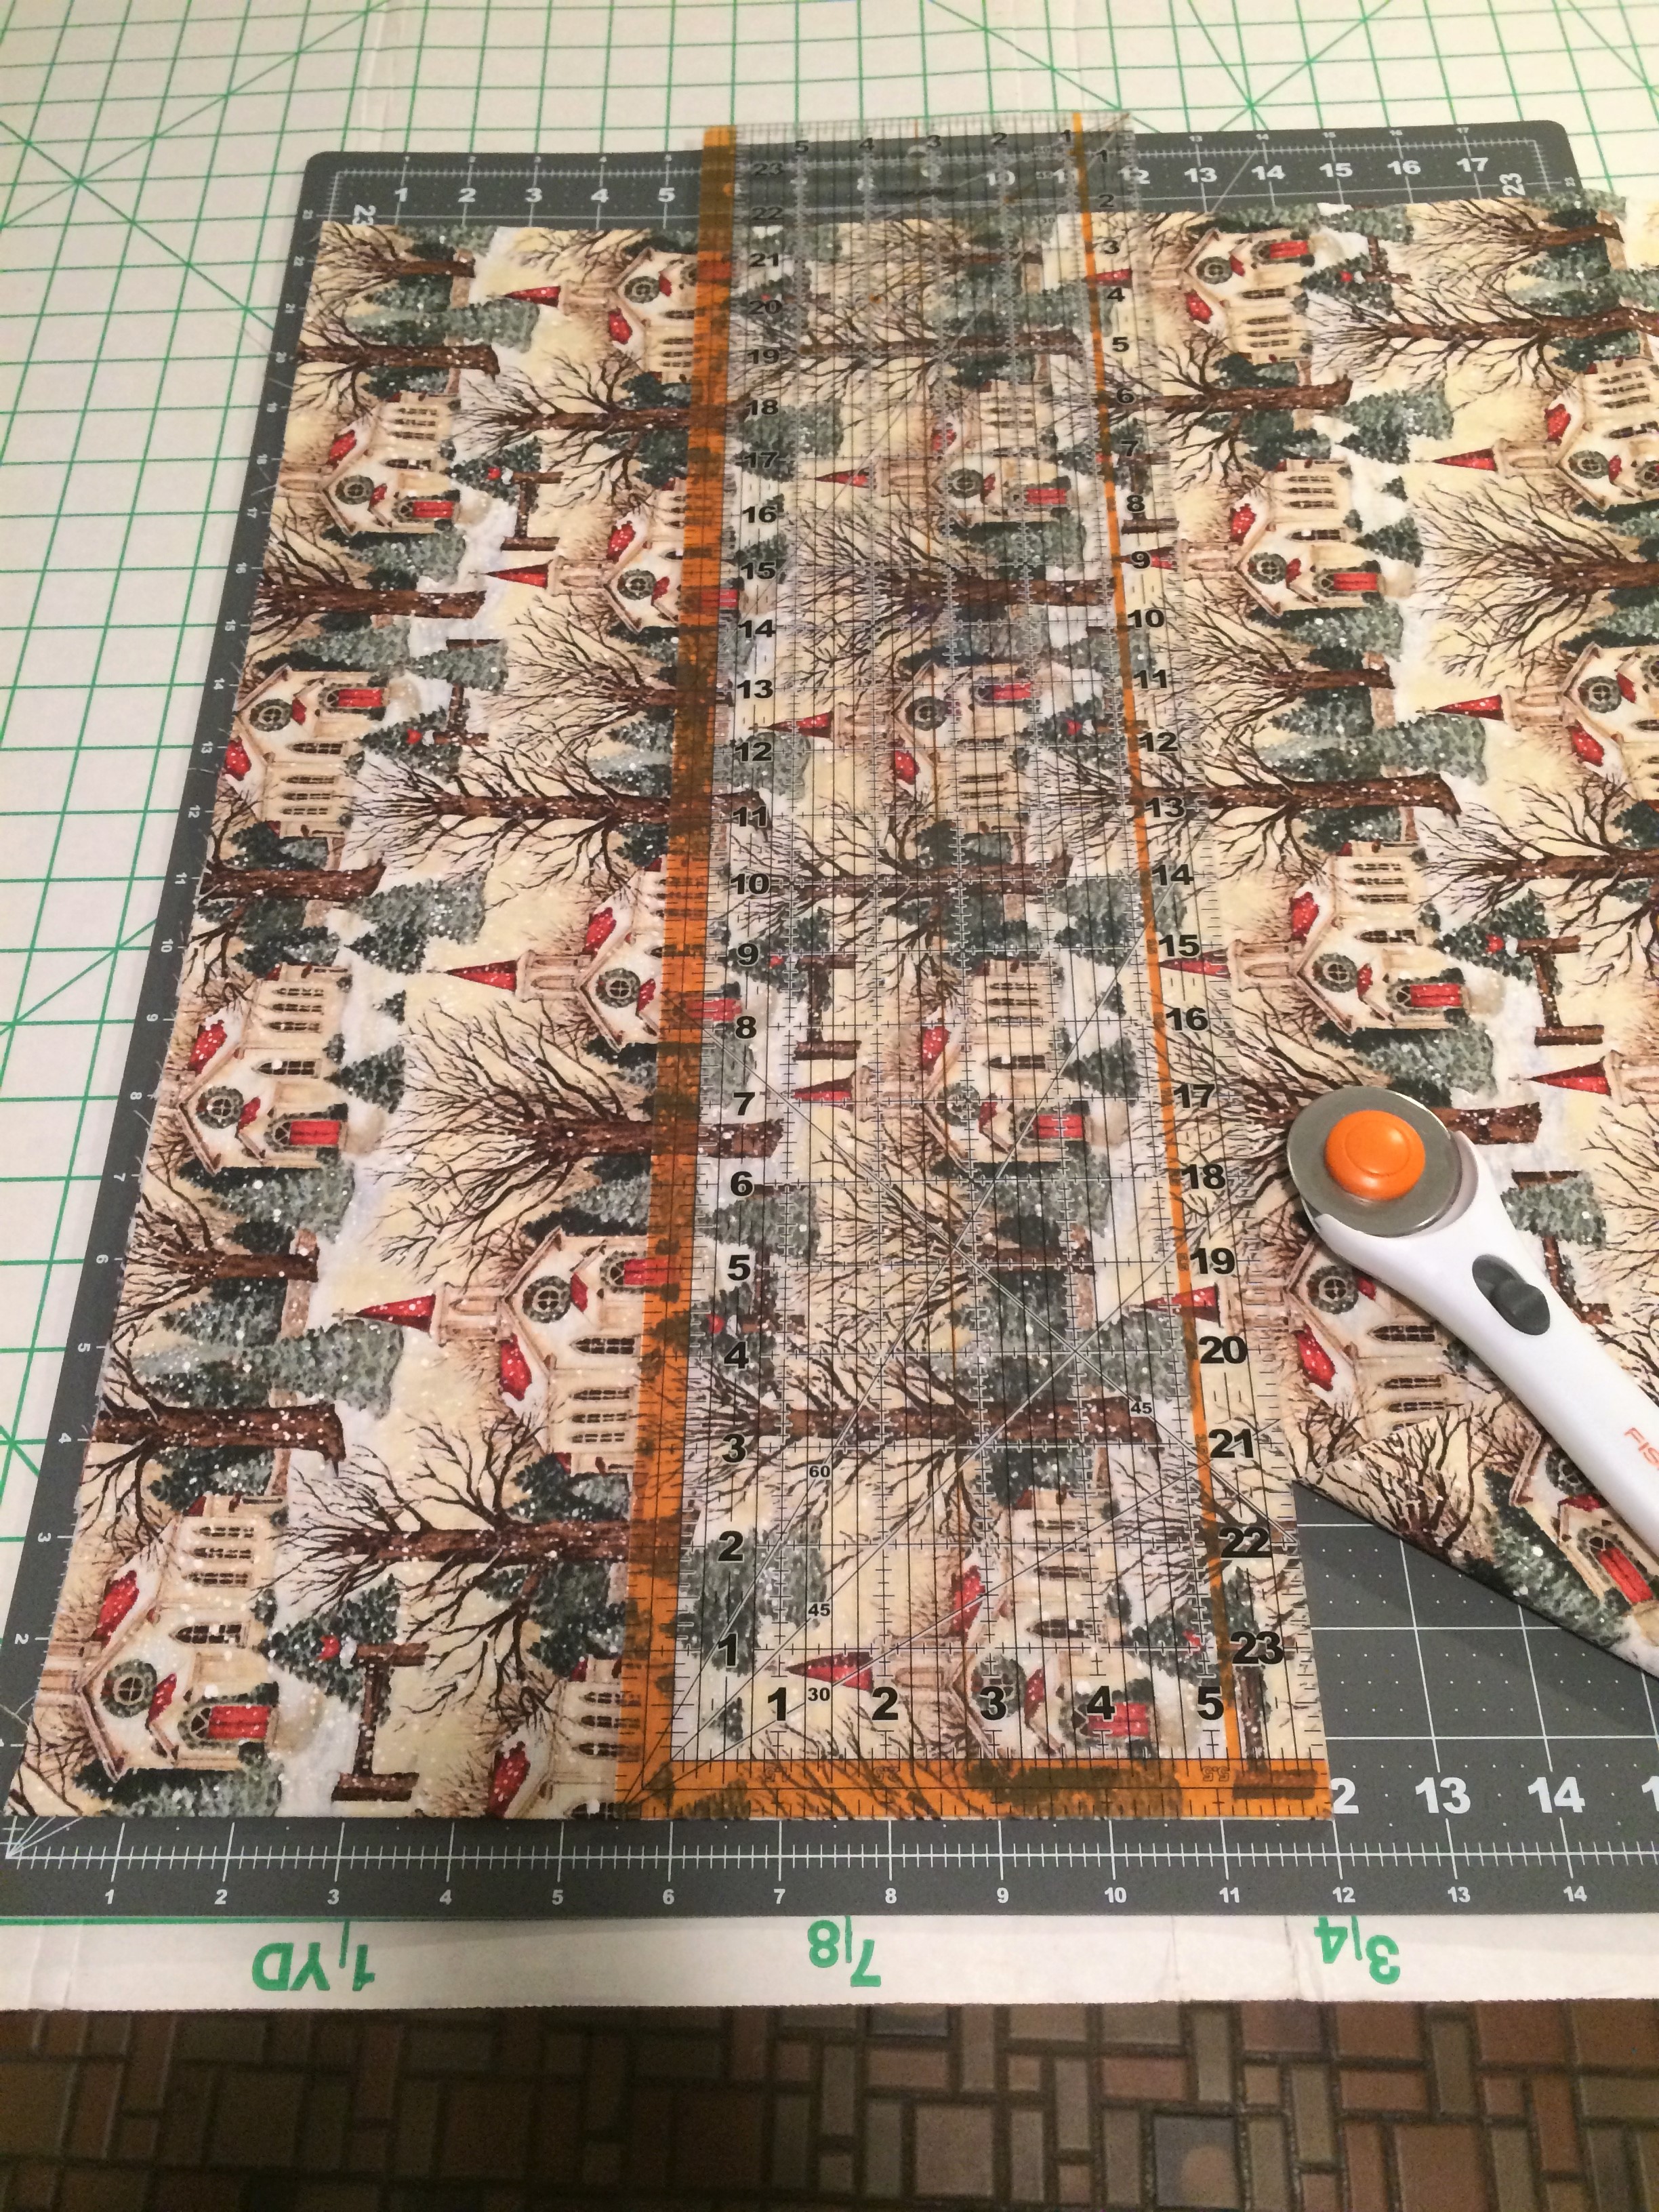
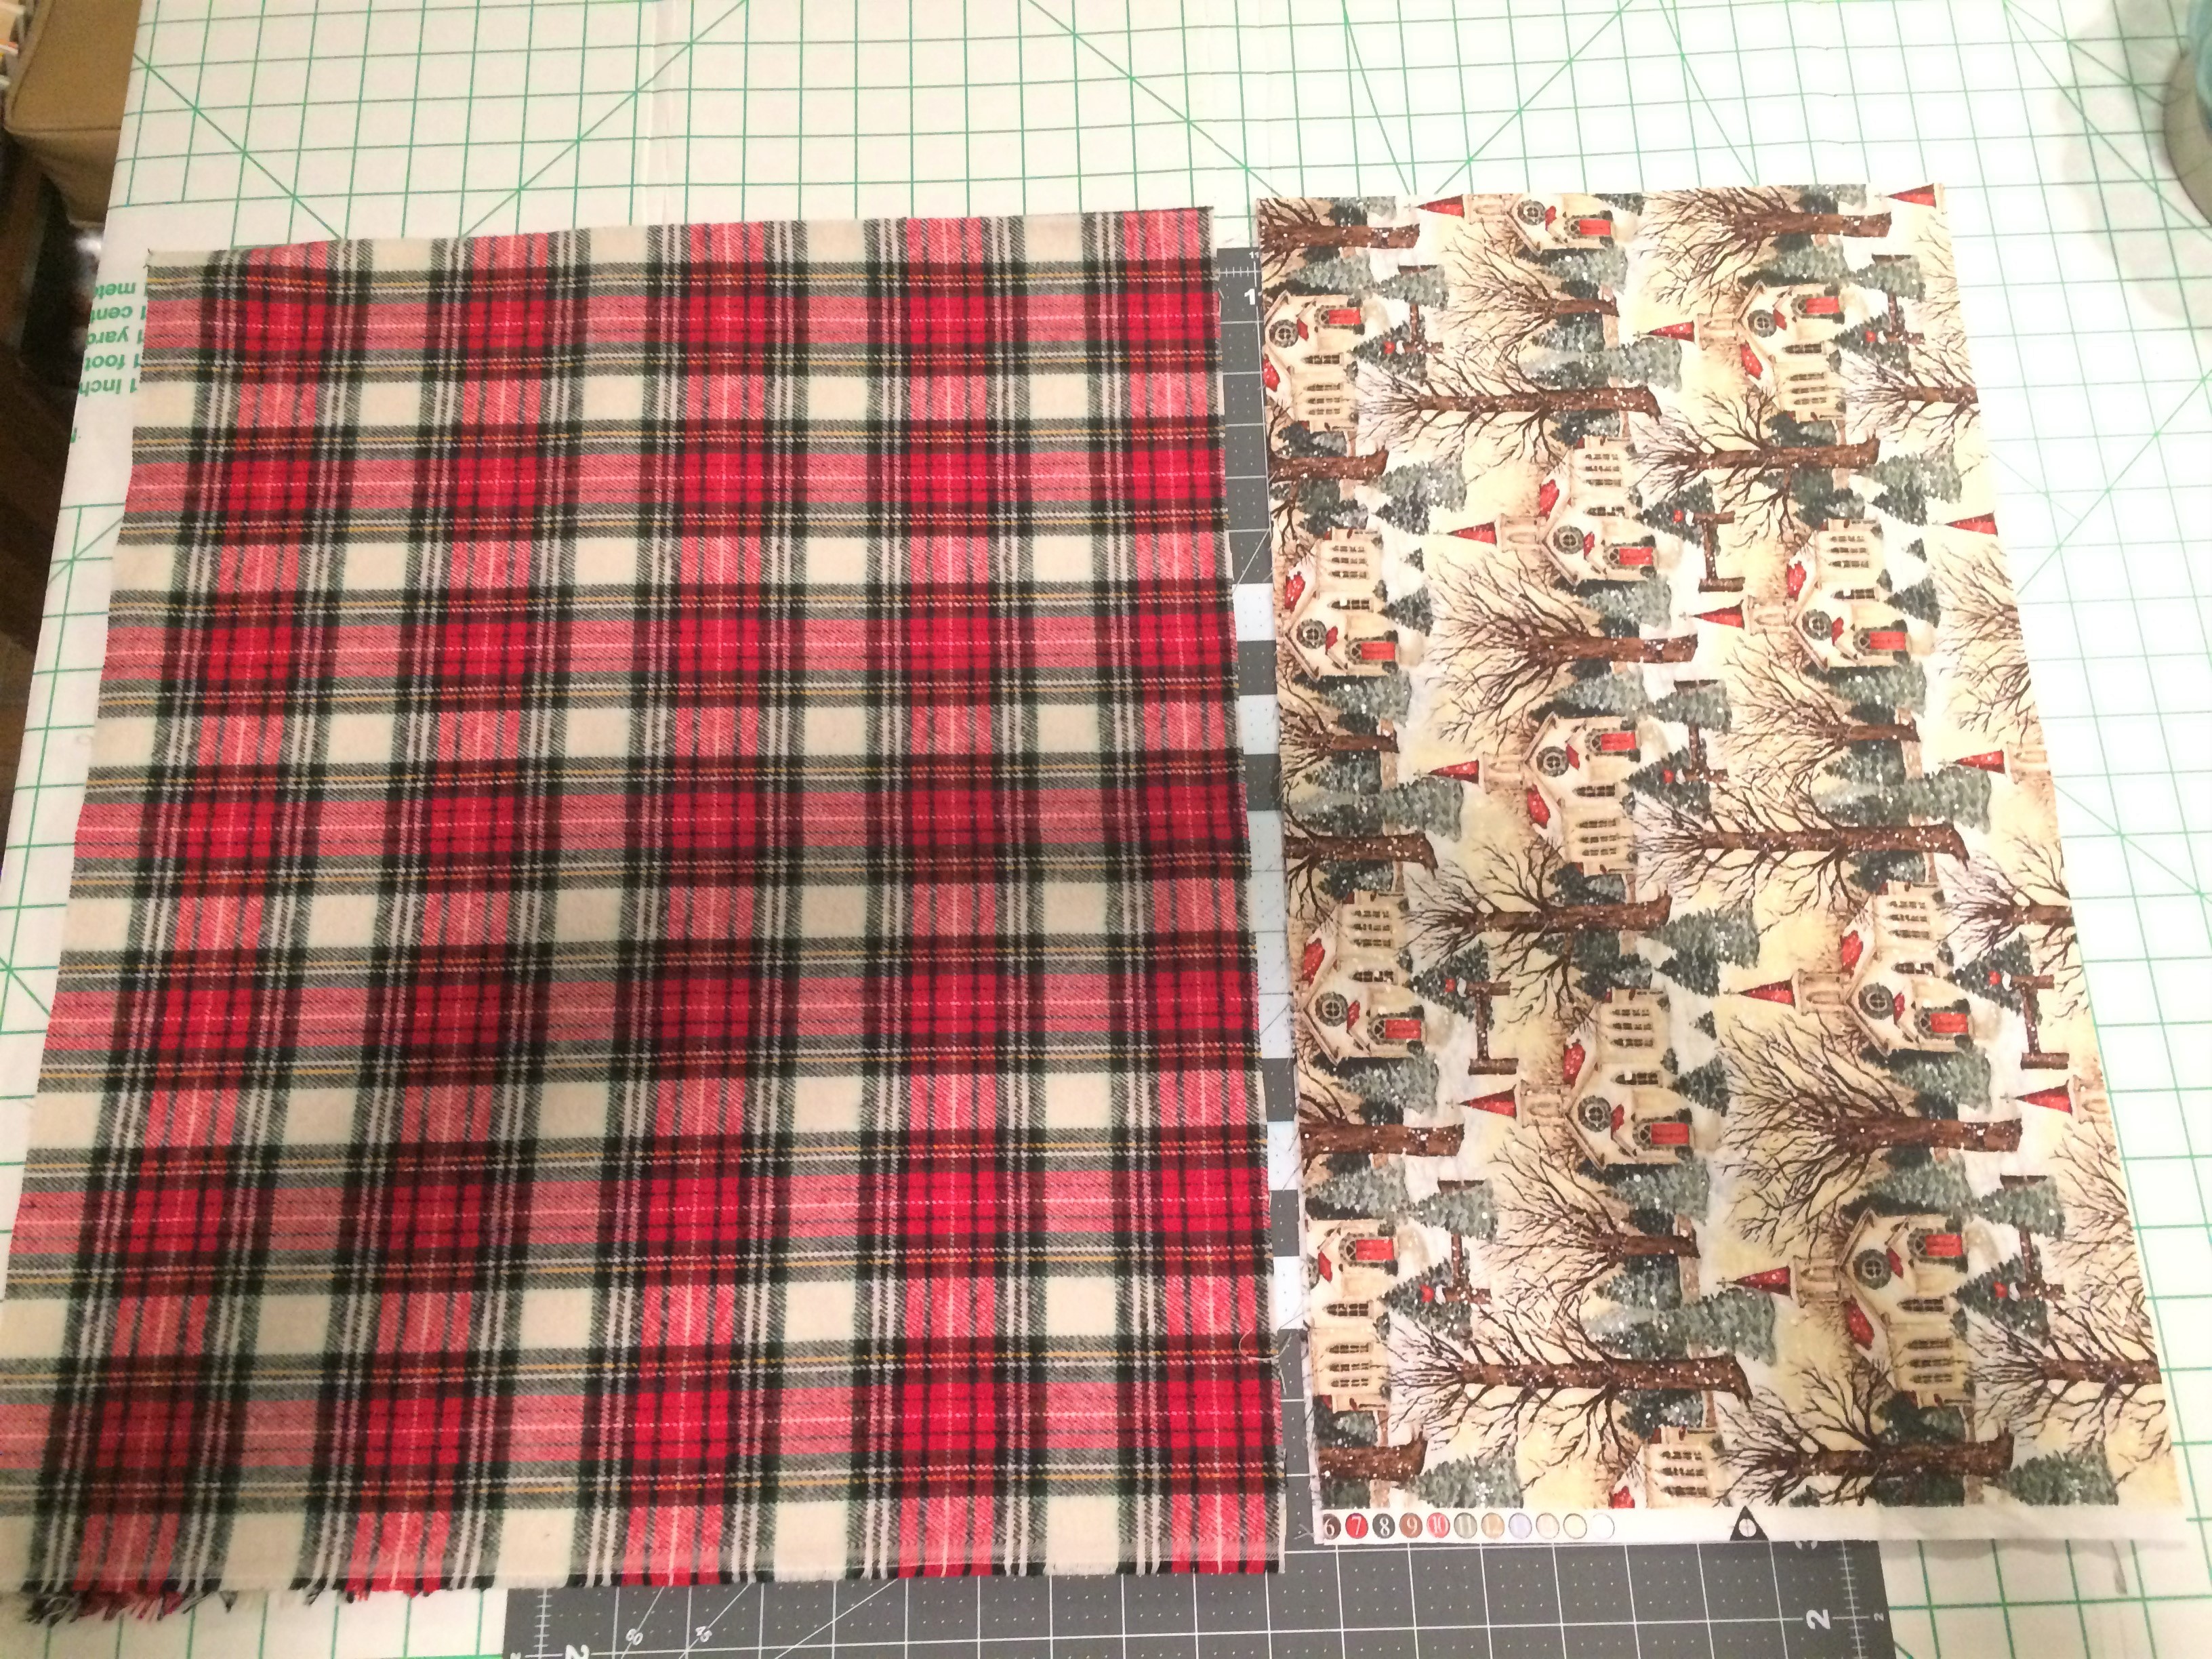
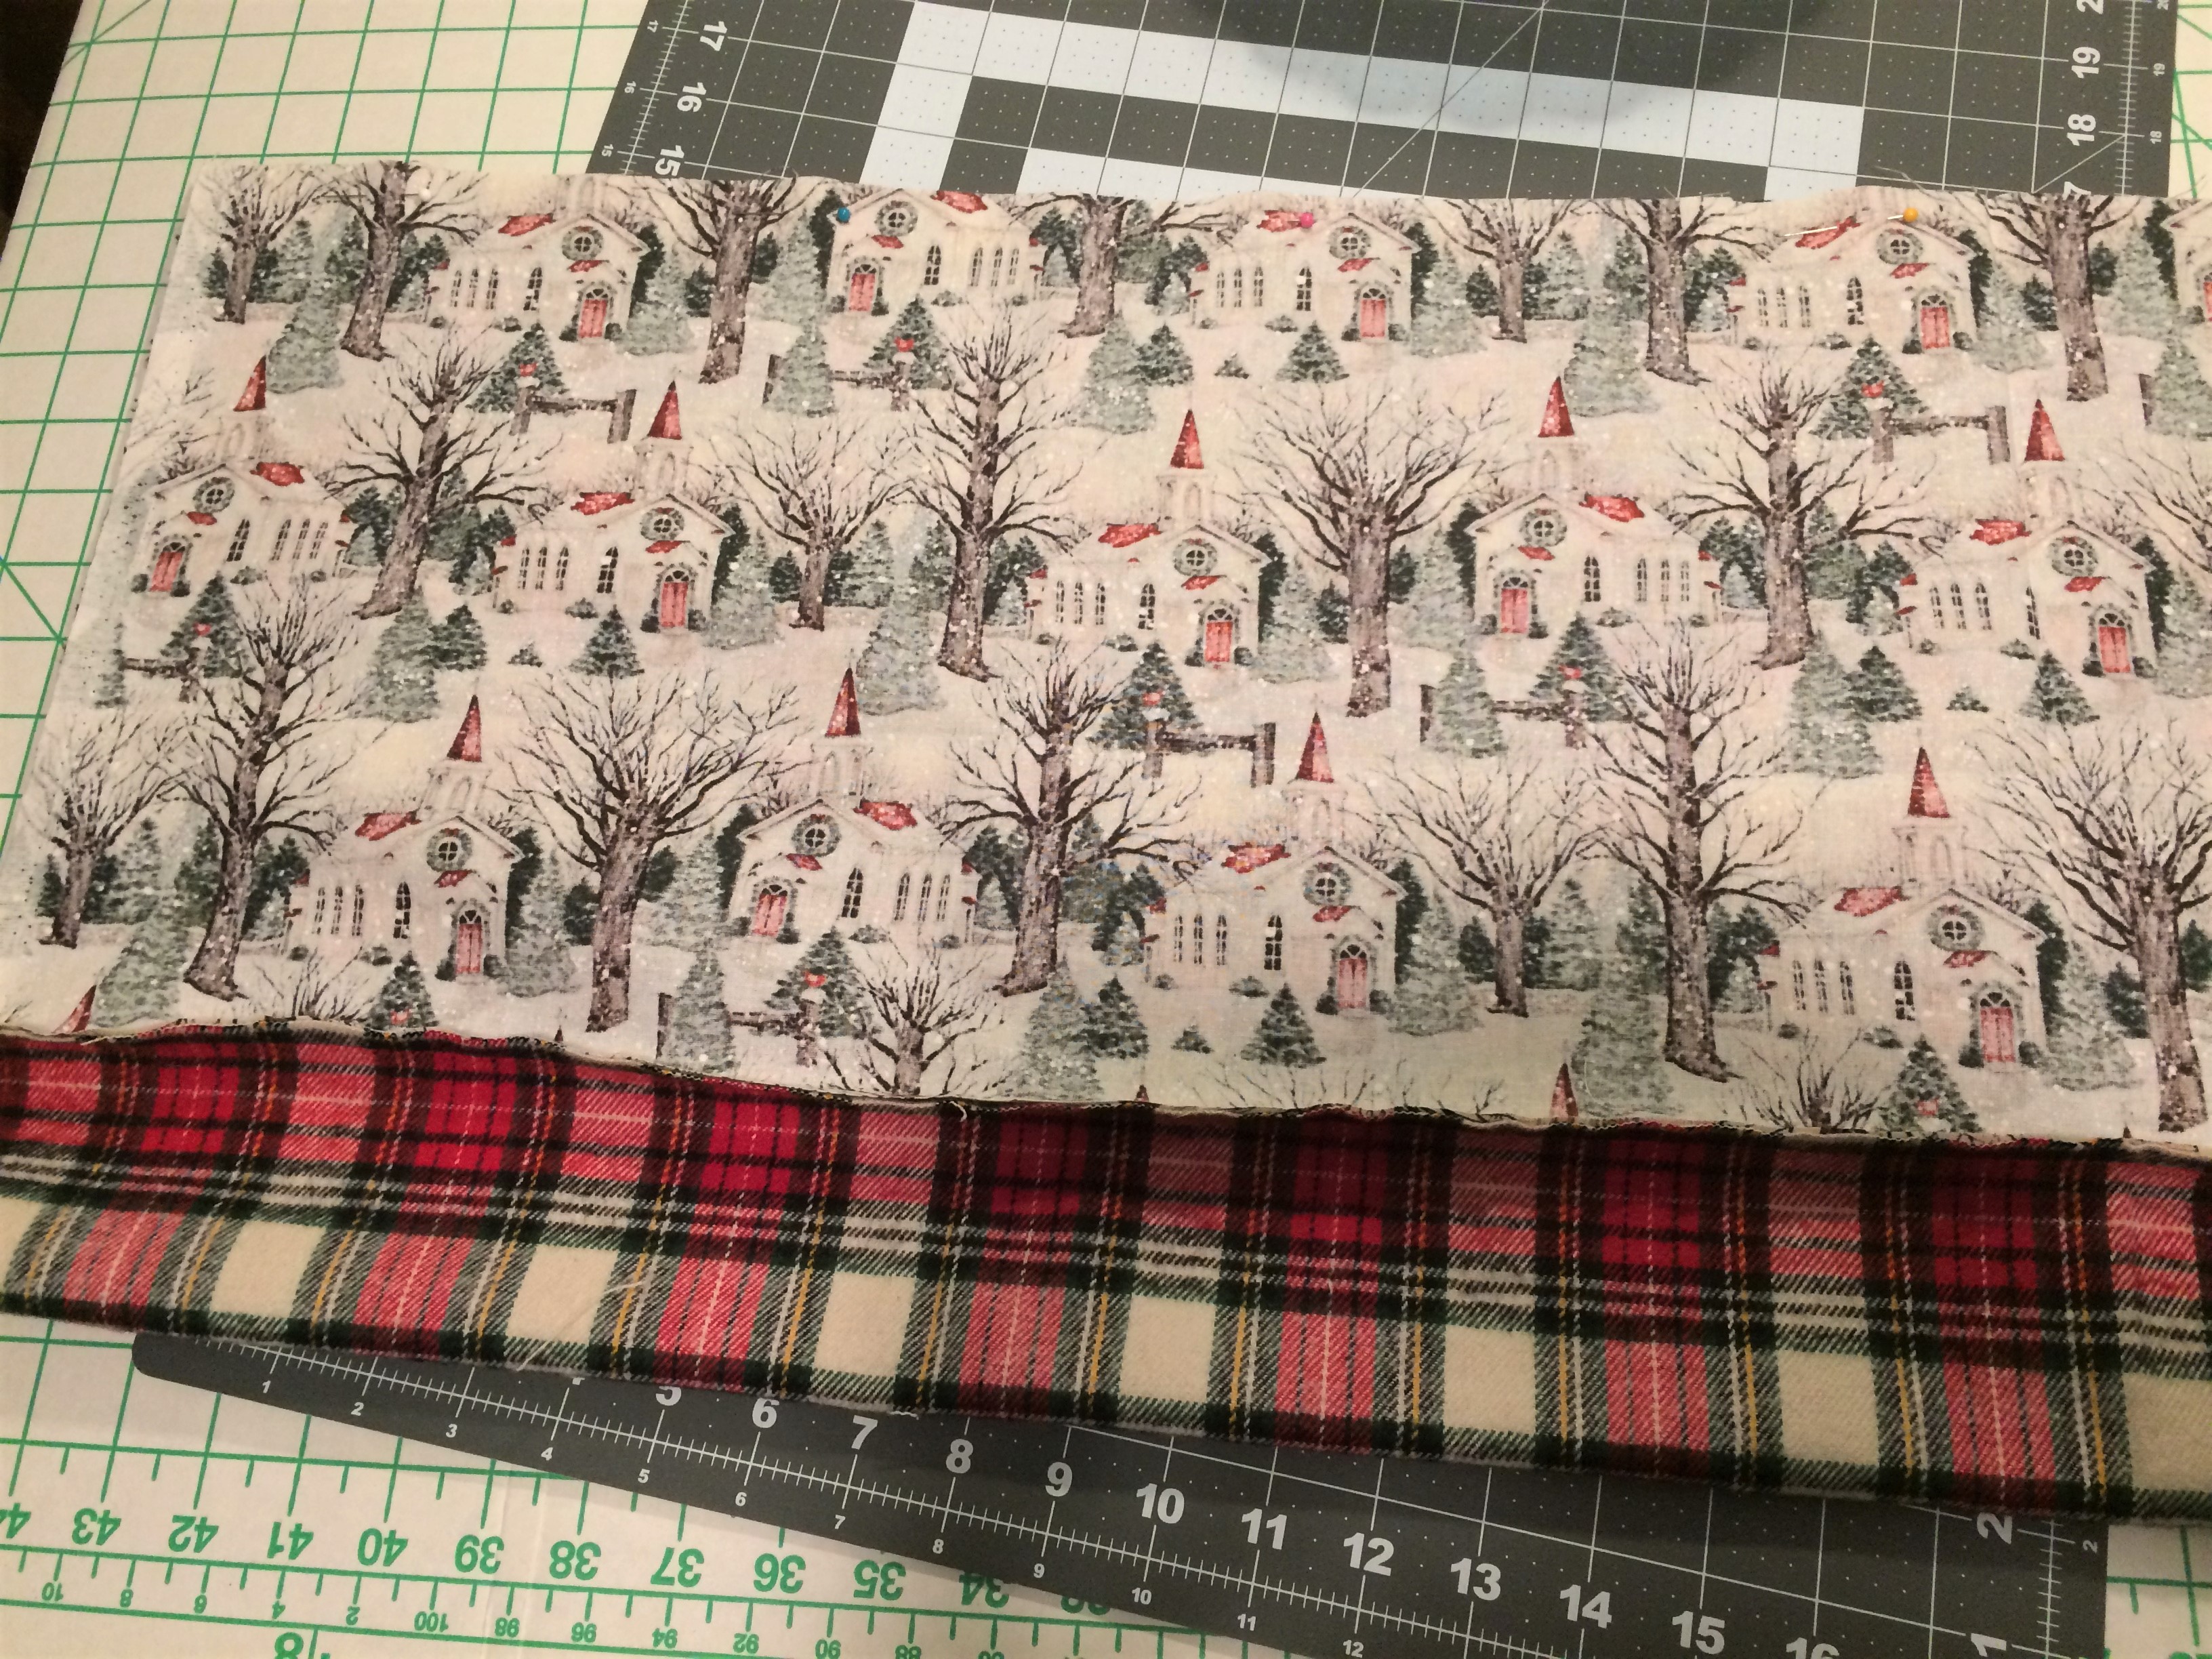
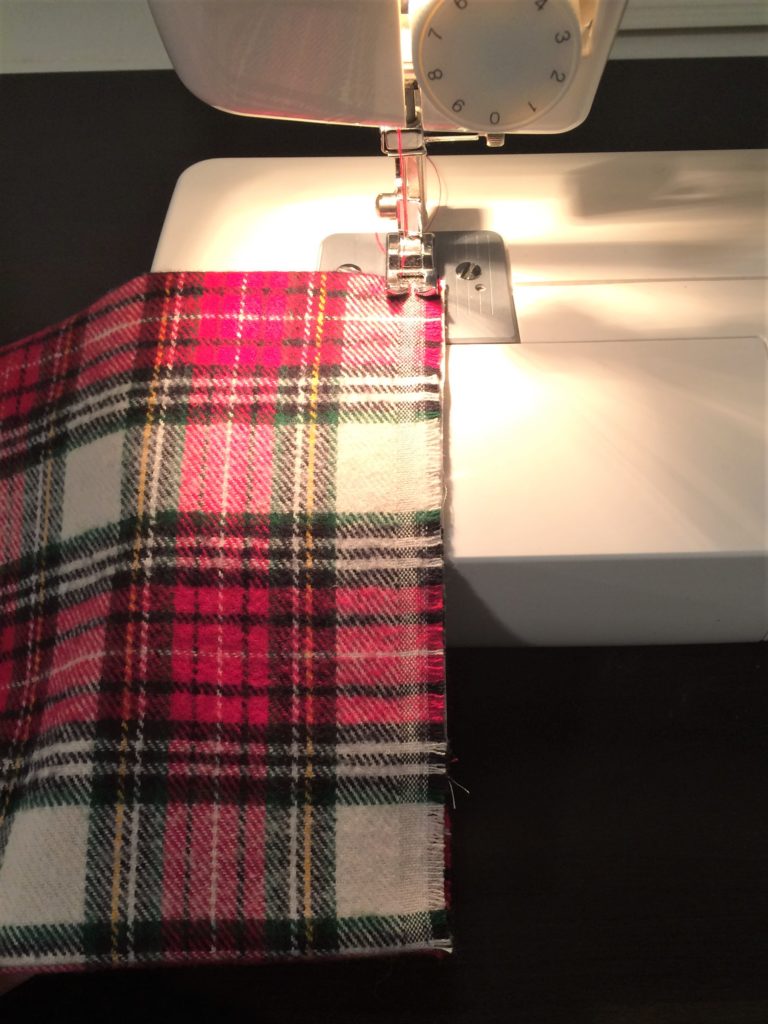
Once your fabric is cut, lay the middle fabric (the 1/3 yard) on top of the edging fabric (1/2 yard), with right sides together. Pin them together on the long side.
Now sew the side you’ve just pinned together with a simple long, straight seam. Then match up the other long sides and pin. It will not lay flat and nice at this point, you will have excess backing fabric on one side. (You might want to turn your iron on now, so it can heat up.)
Sew the second long side together, creating a tube that’s open on the short ends.
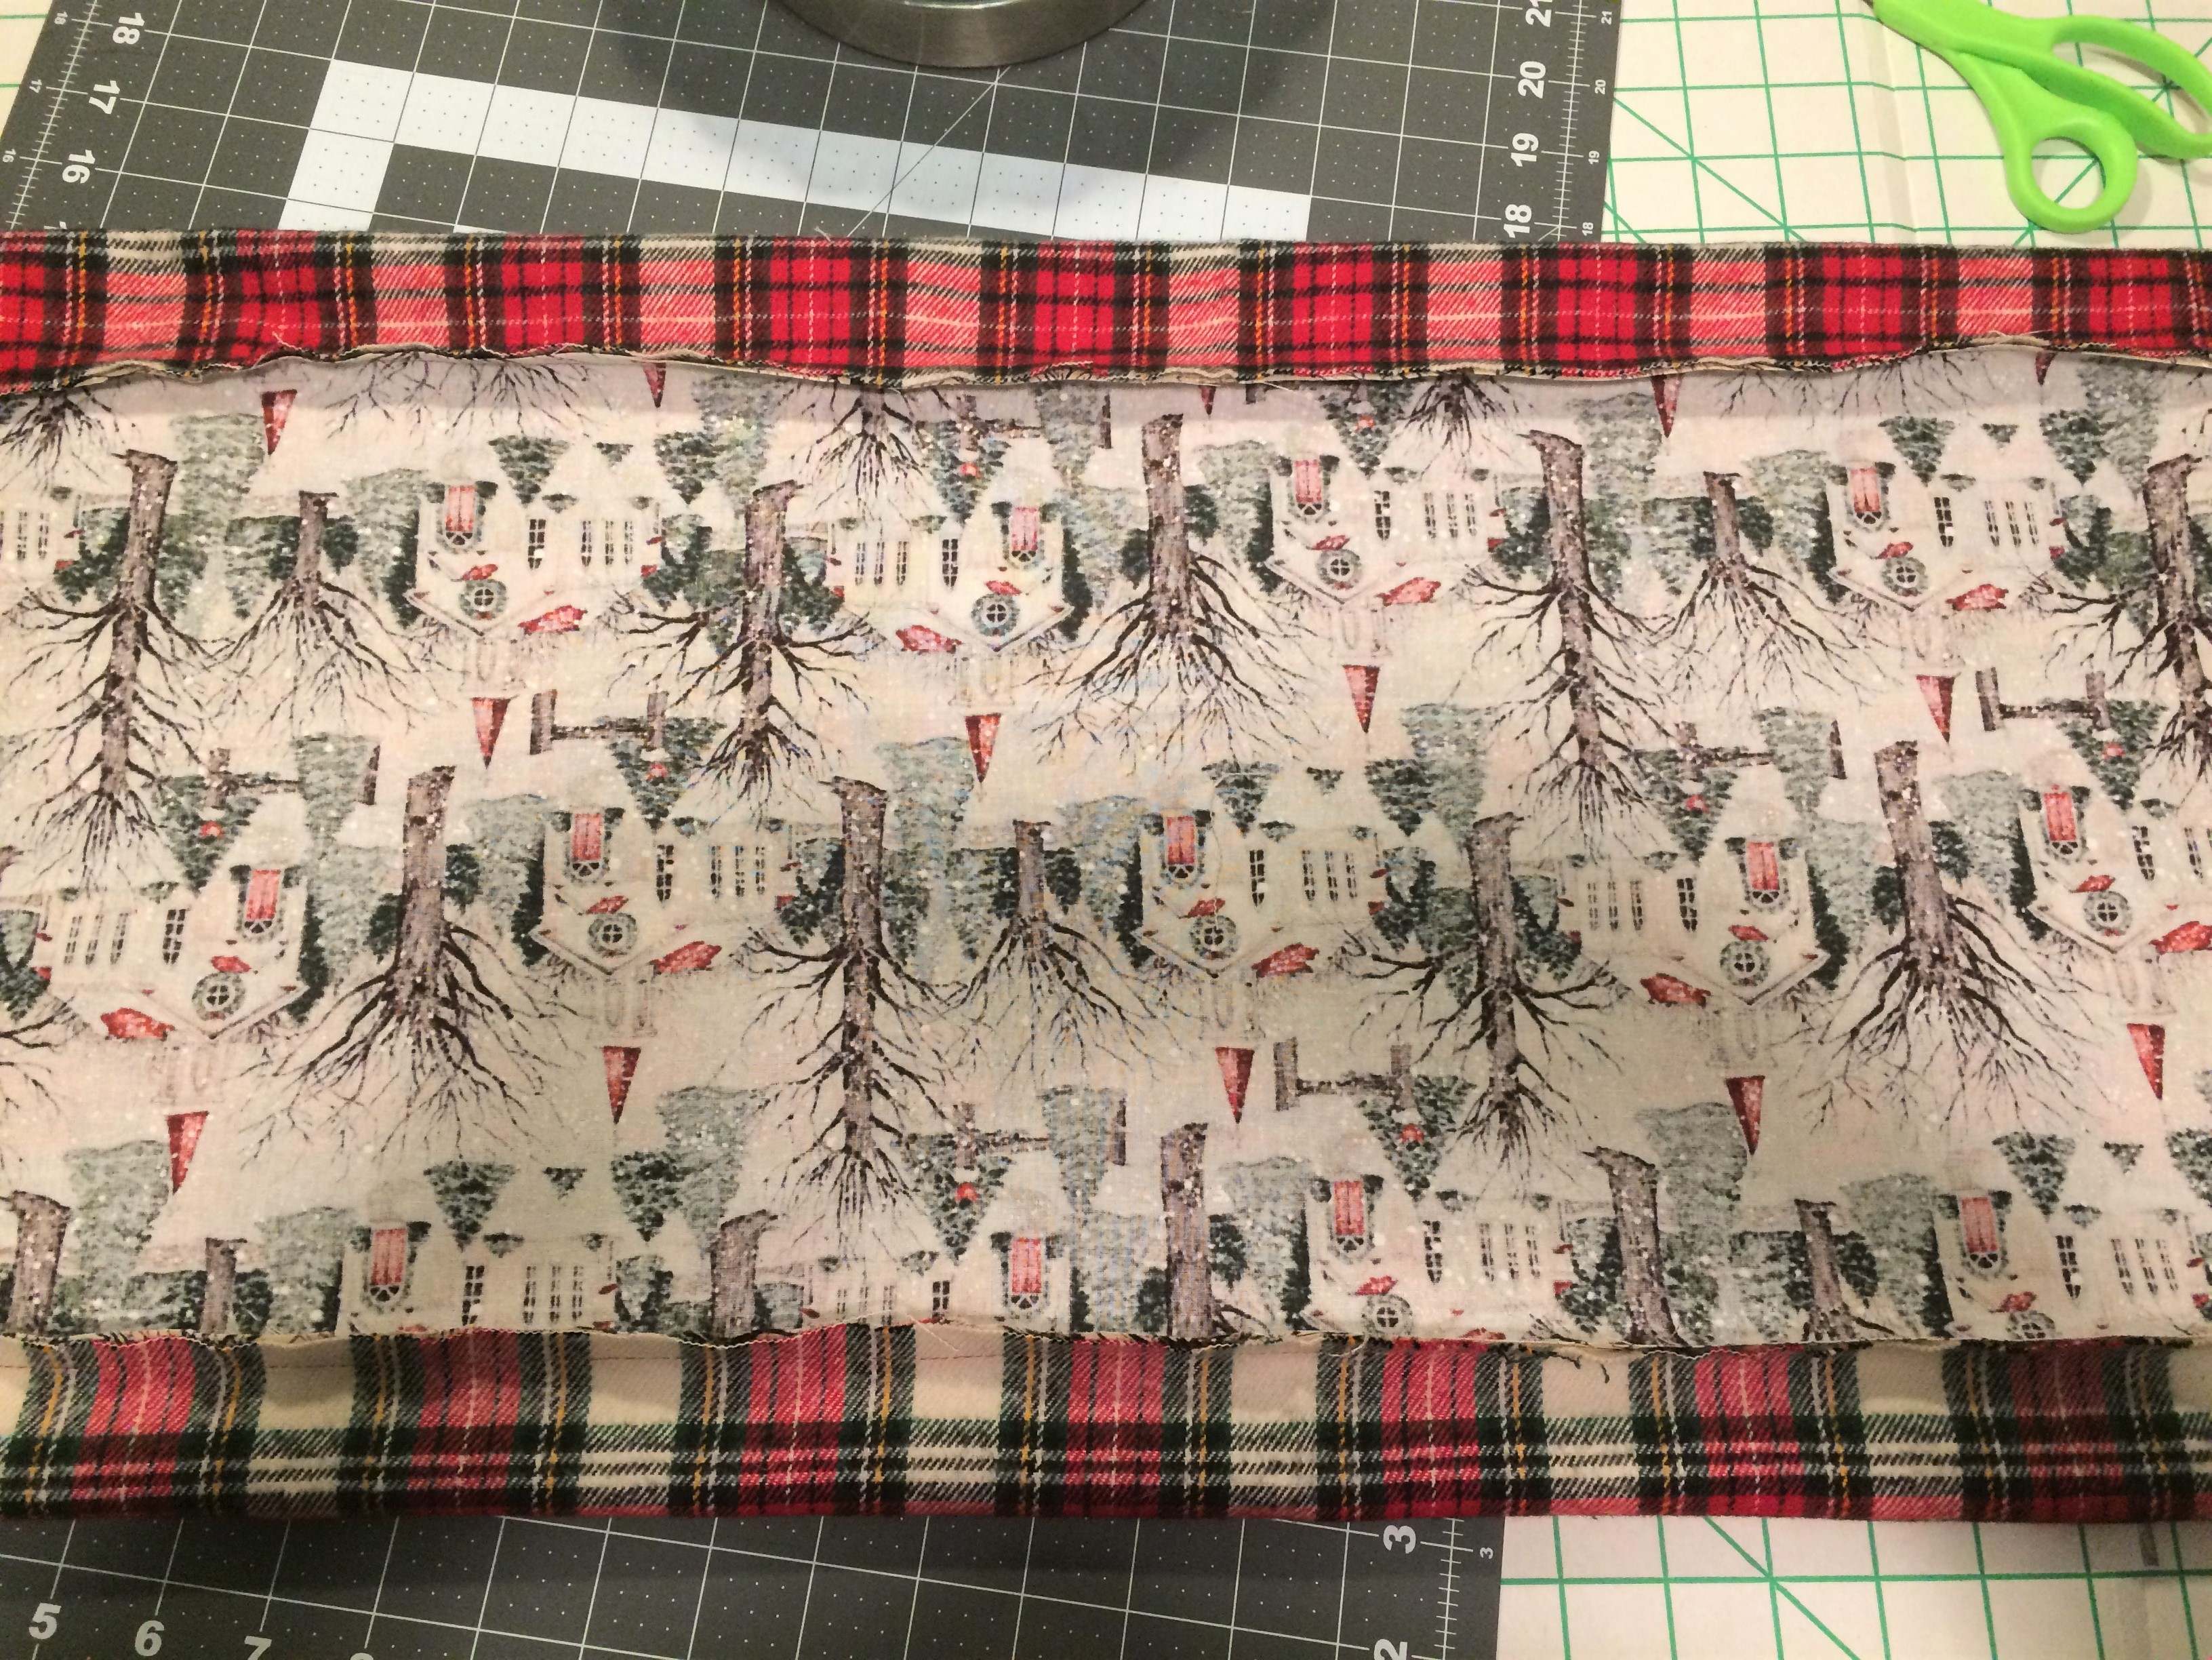
Turn your tube right side out. Center it so that the edging is even on both sides.

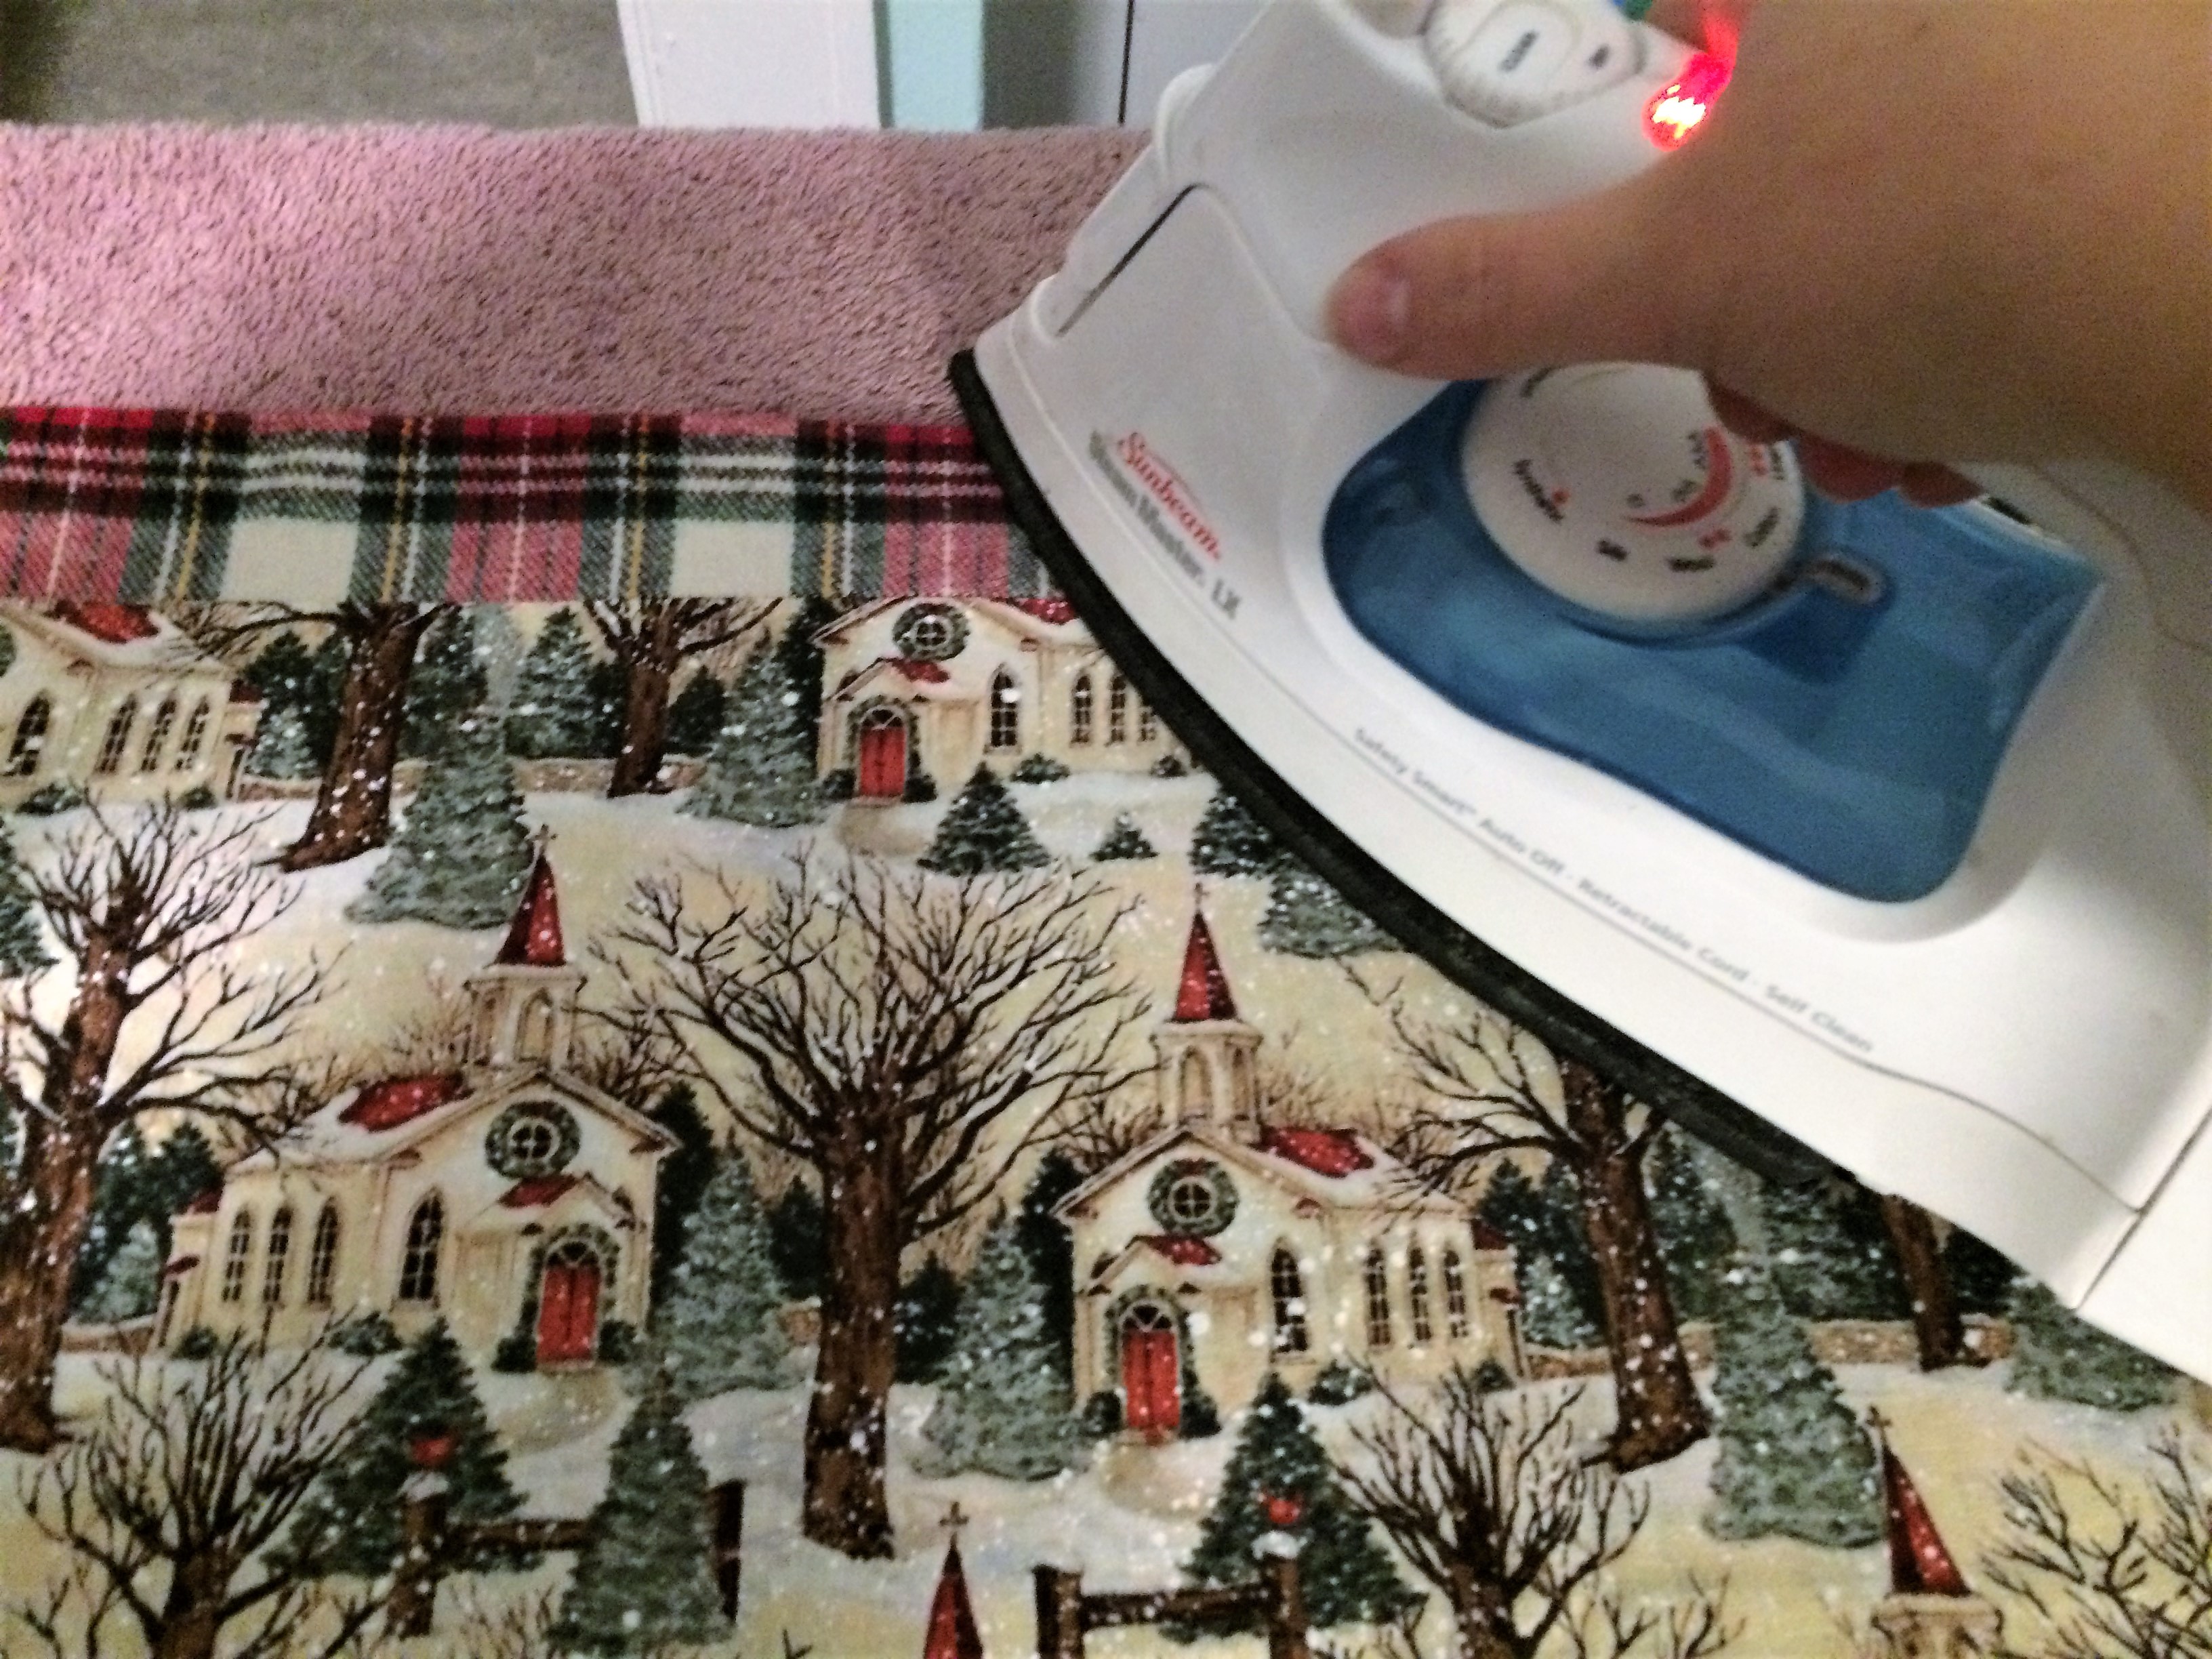
Iron the edges flat. (I’m usually all about skipping ironing when it’s not necessary, but trust me, this time it is! Your tablerunner will not lay right unless it’s ironed well.)
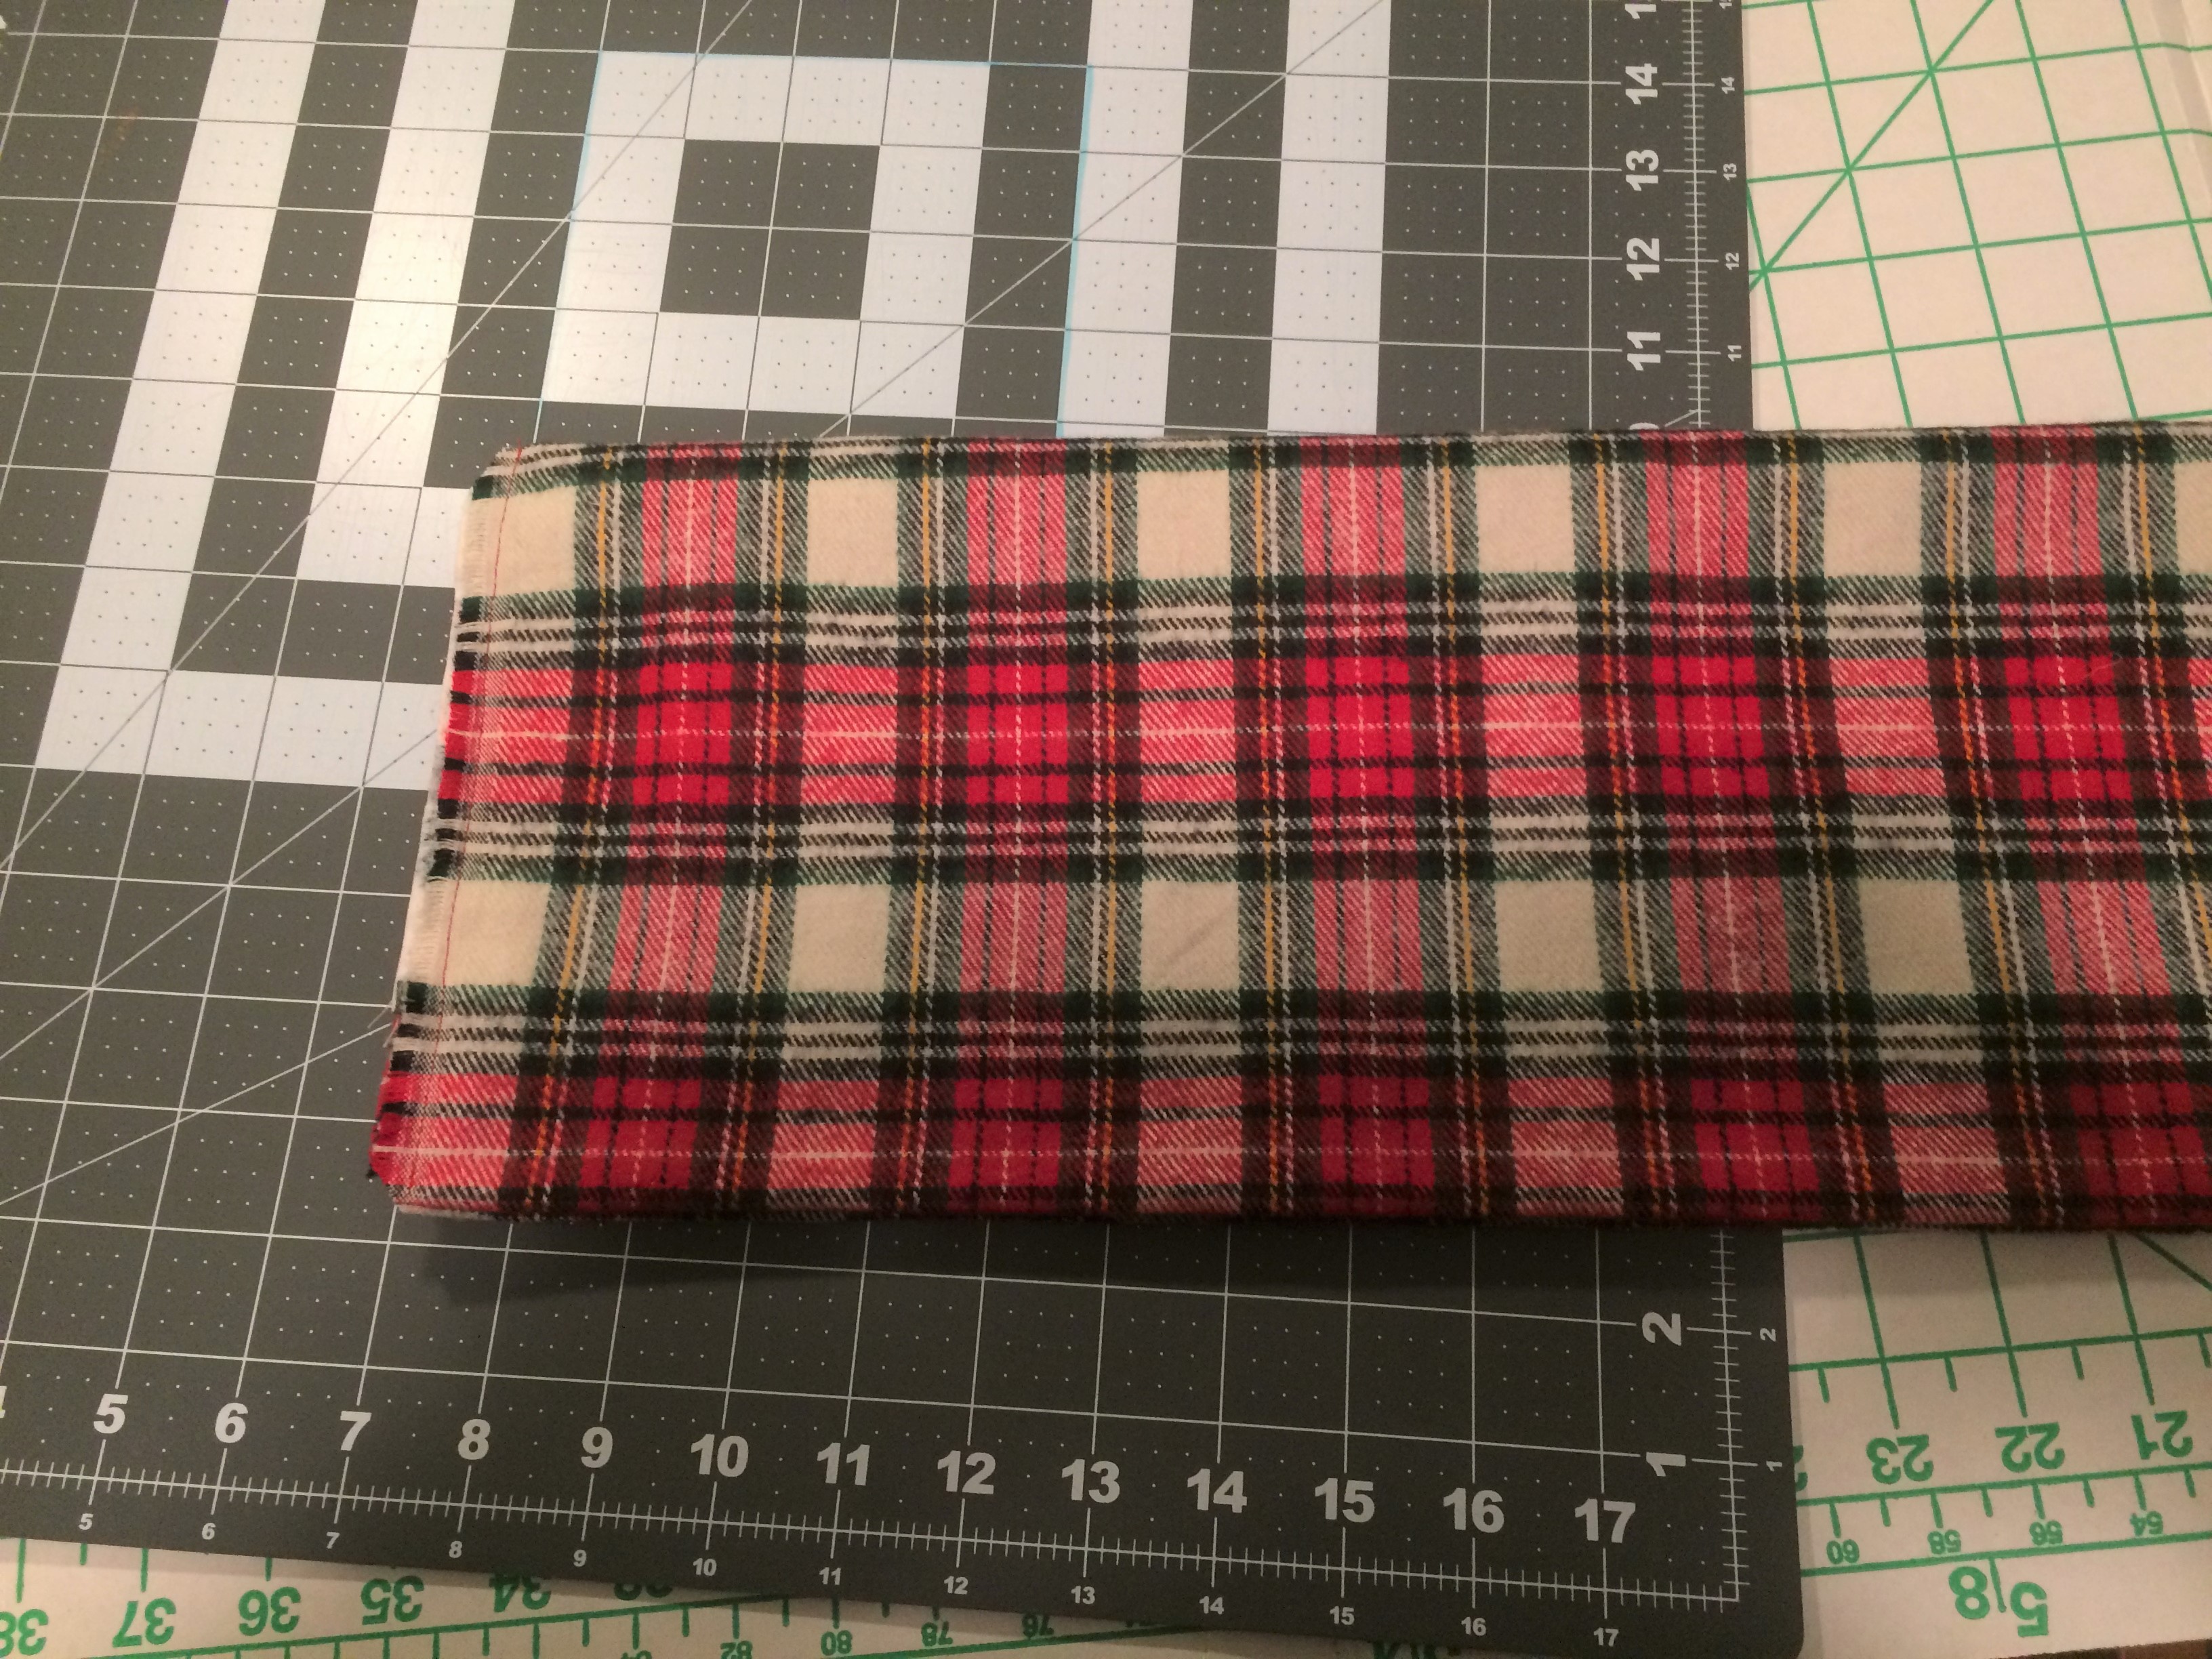
Now fold your tablerunner in half like a hot dog bun, with the right sides together. I really recommend pinning this! Even though it’s such a short distance to sew, you’re sewing four layers together. It can easily get just a little off and throw the whole thing out of whack! Sew these short ends up.
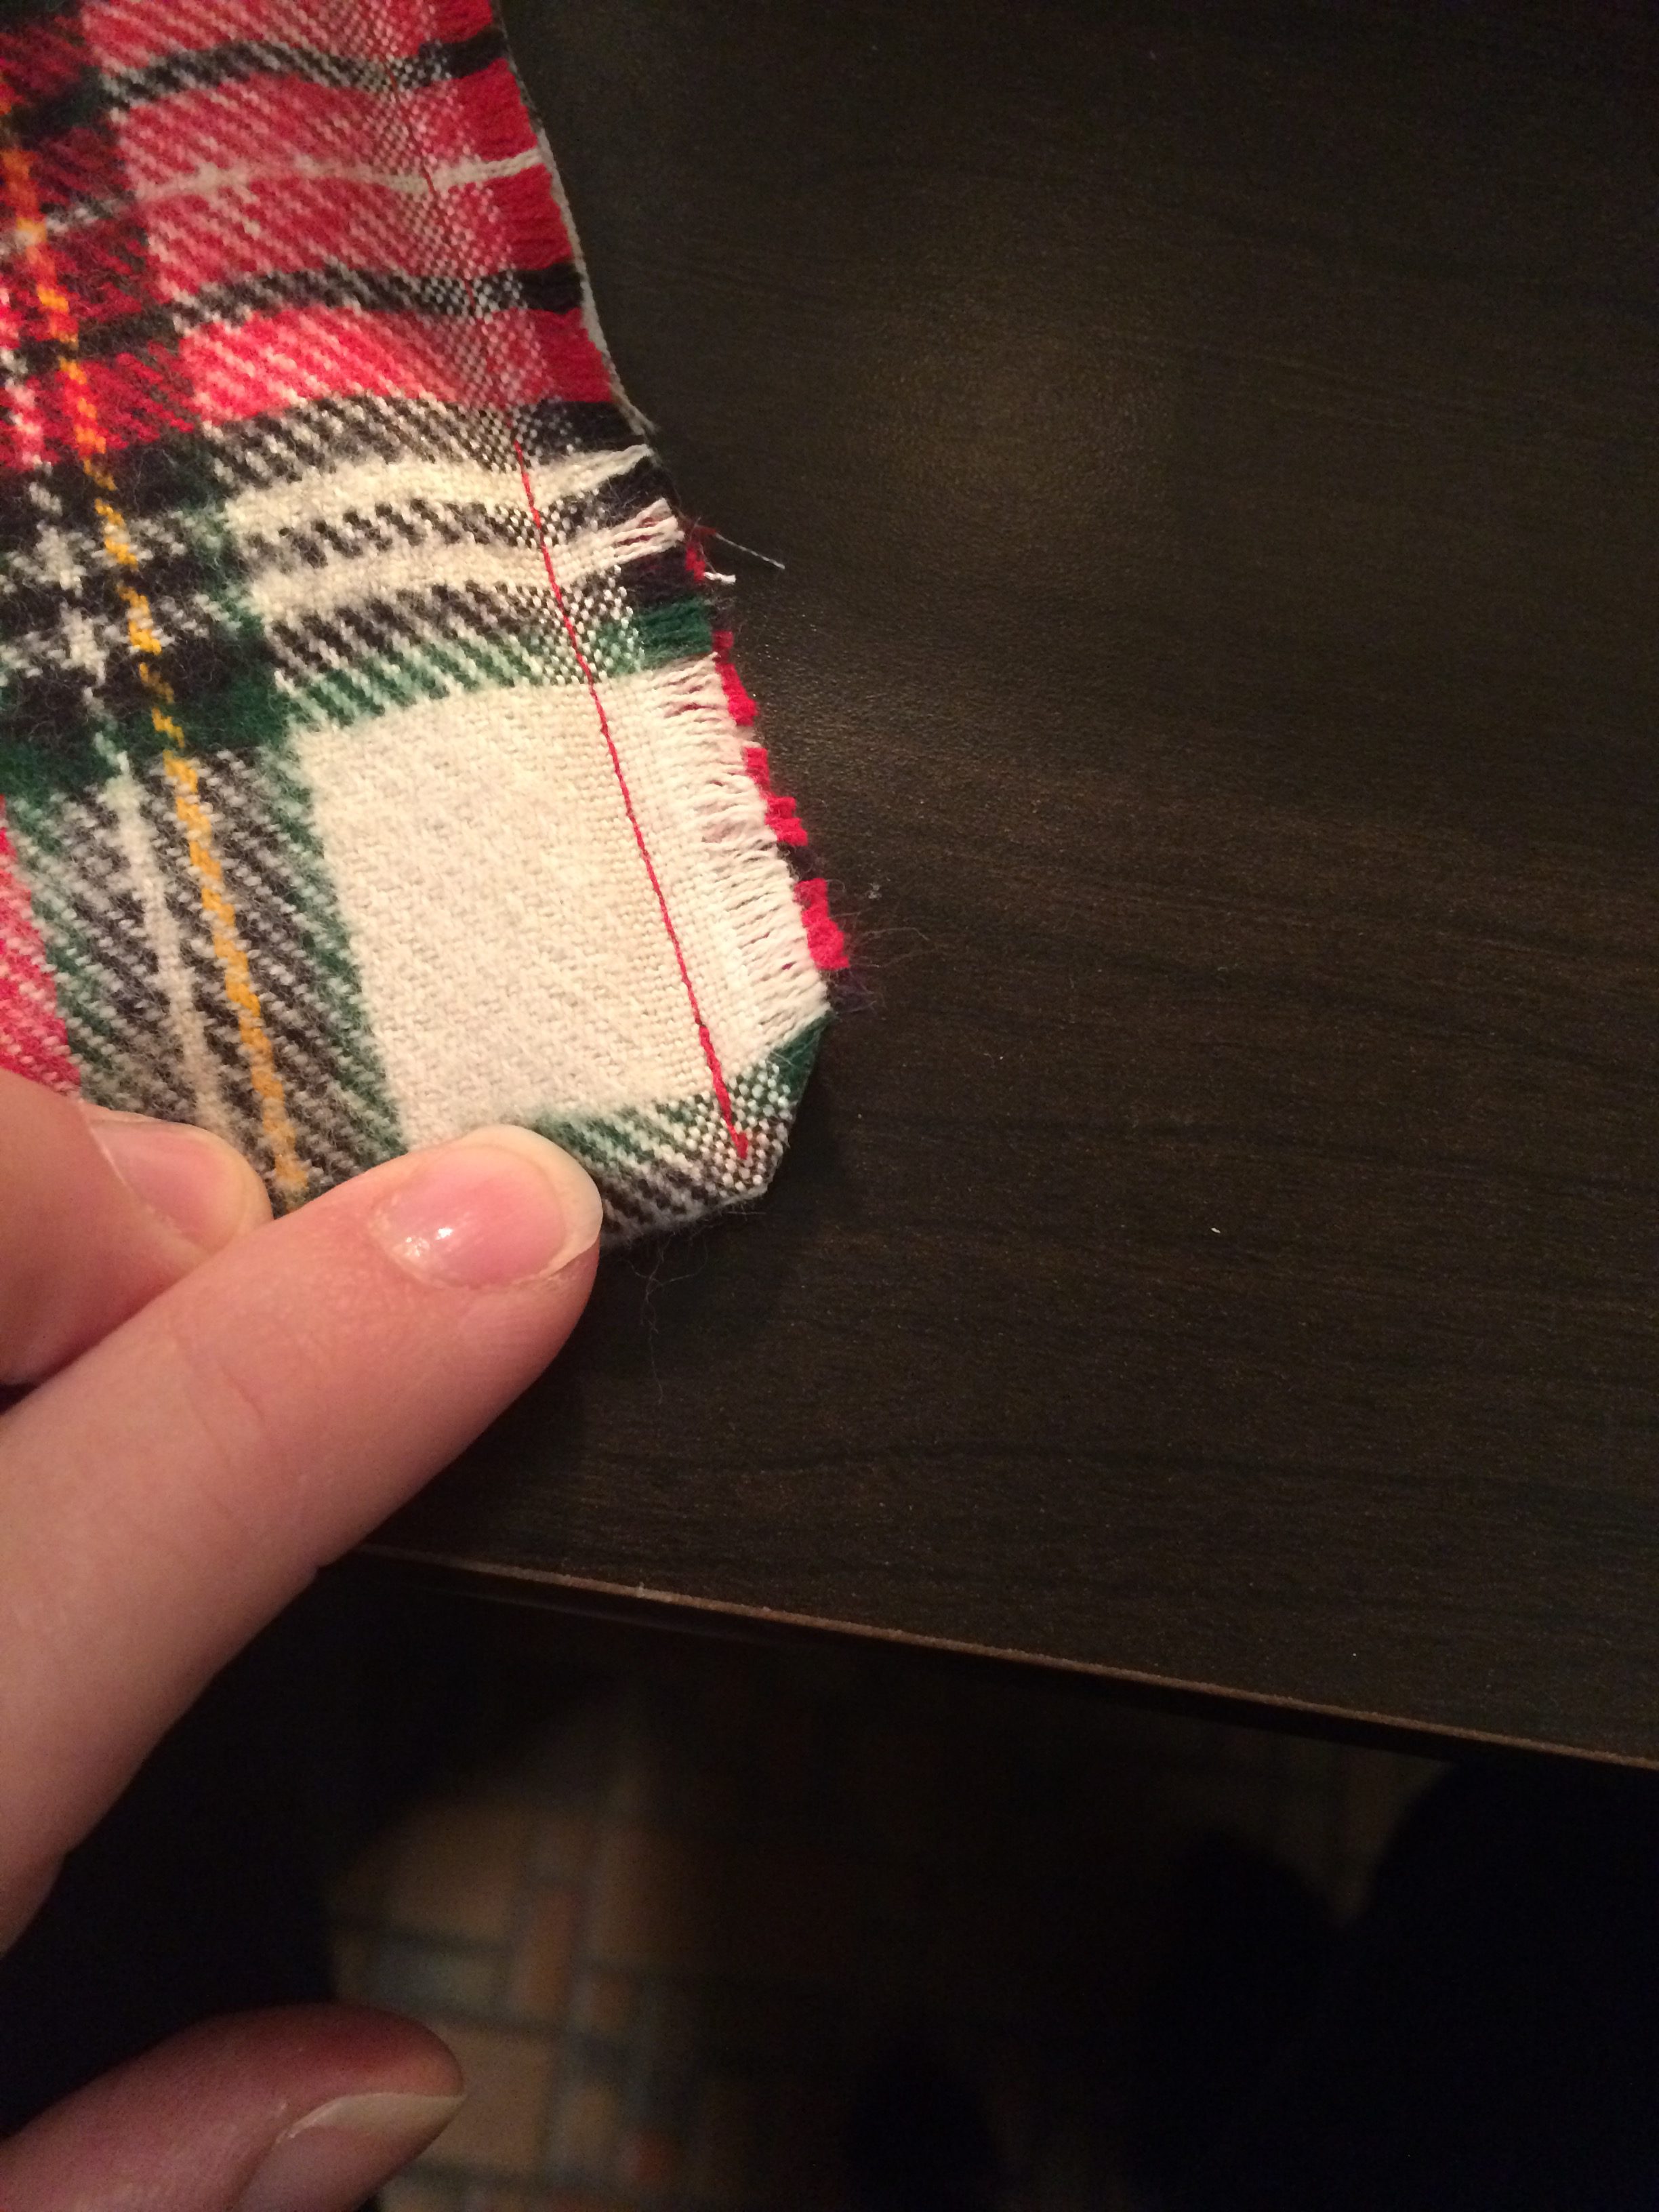
Trim the corners you just made, as well as any threads. This will give you nice, sharp points on the ends of your tablerunner.
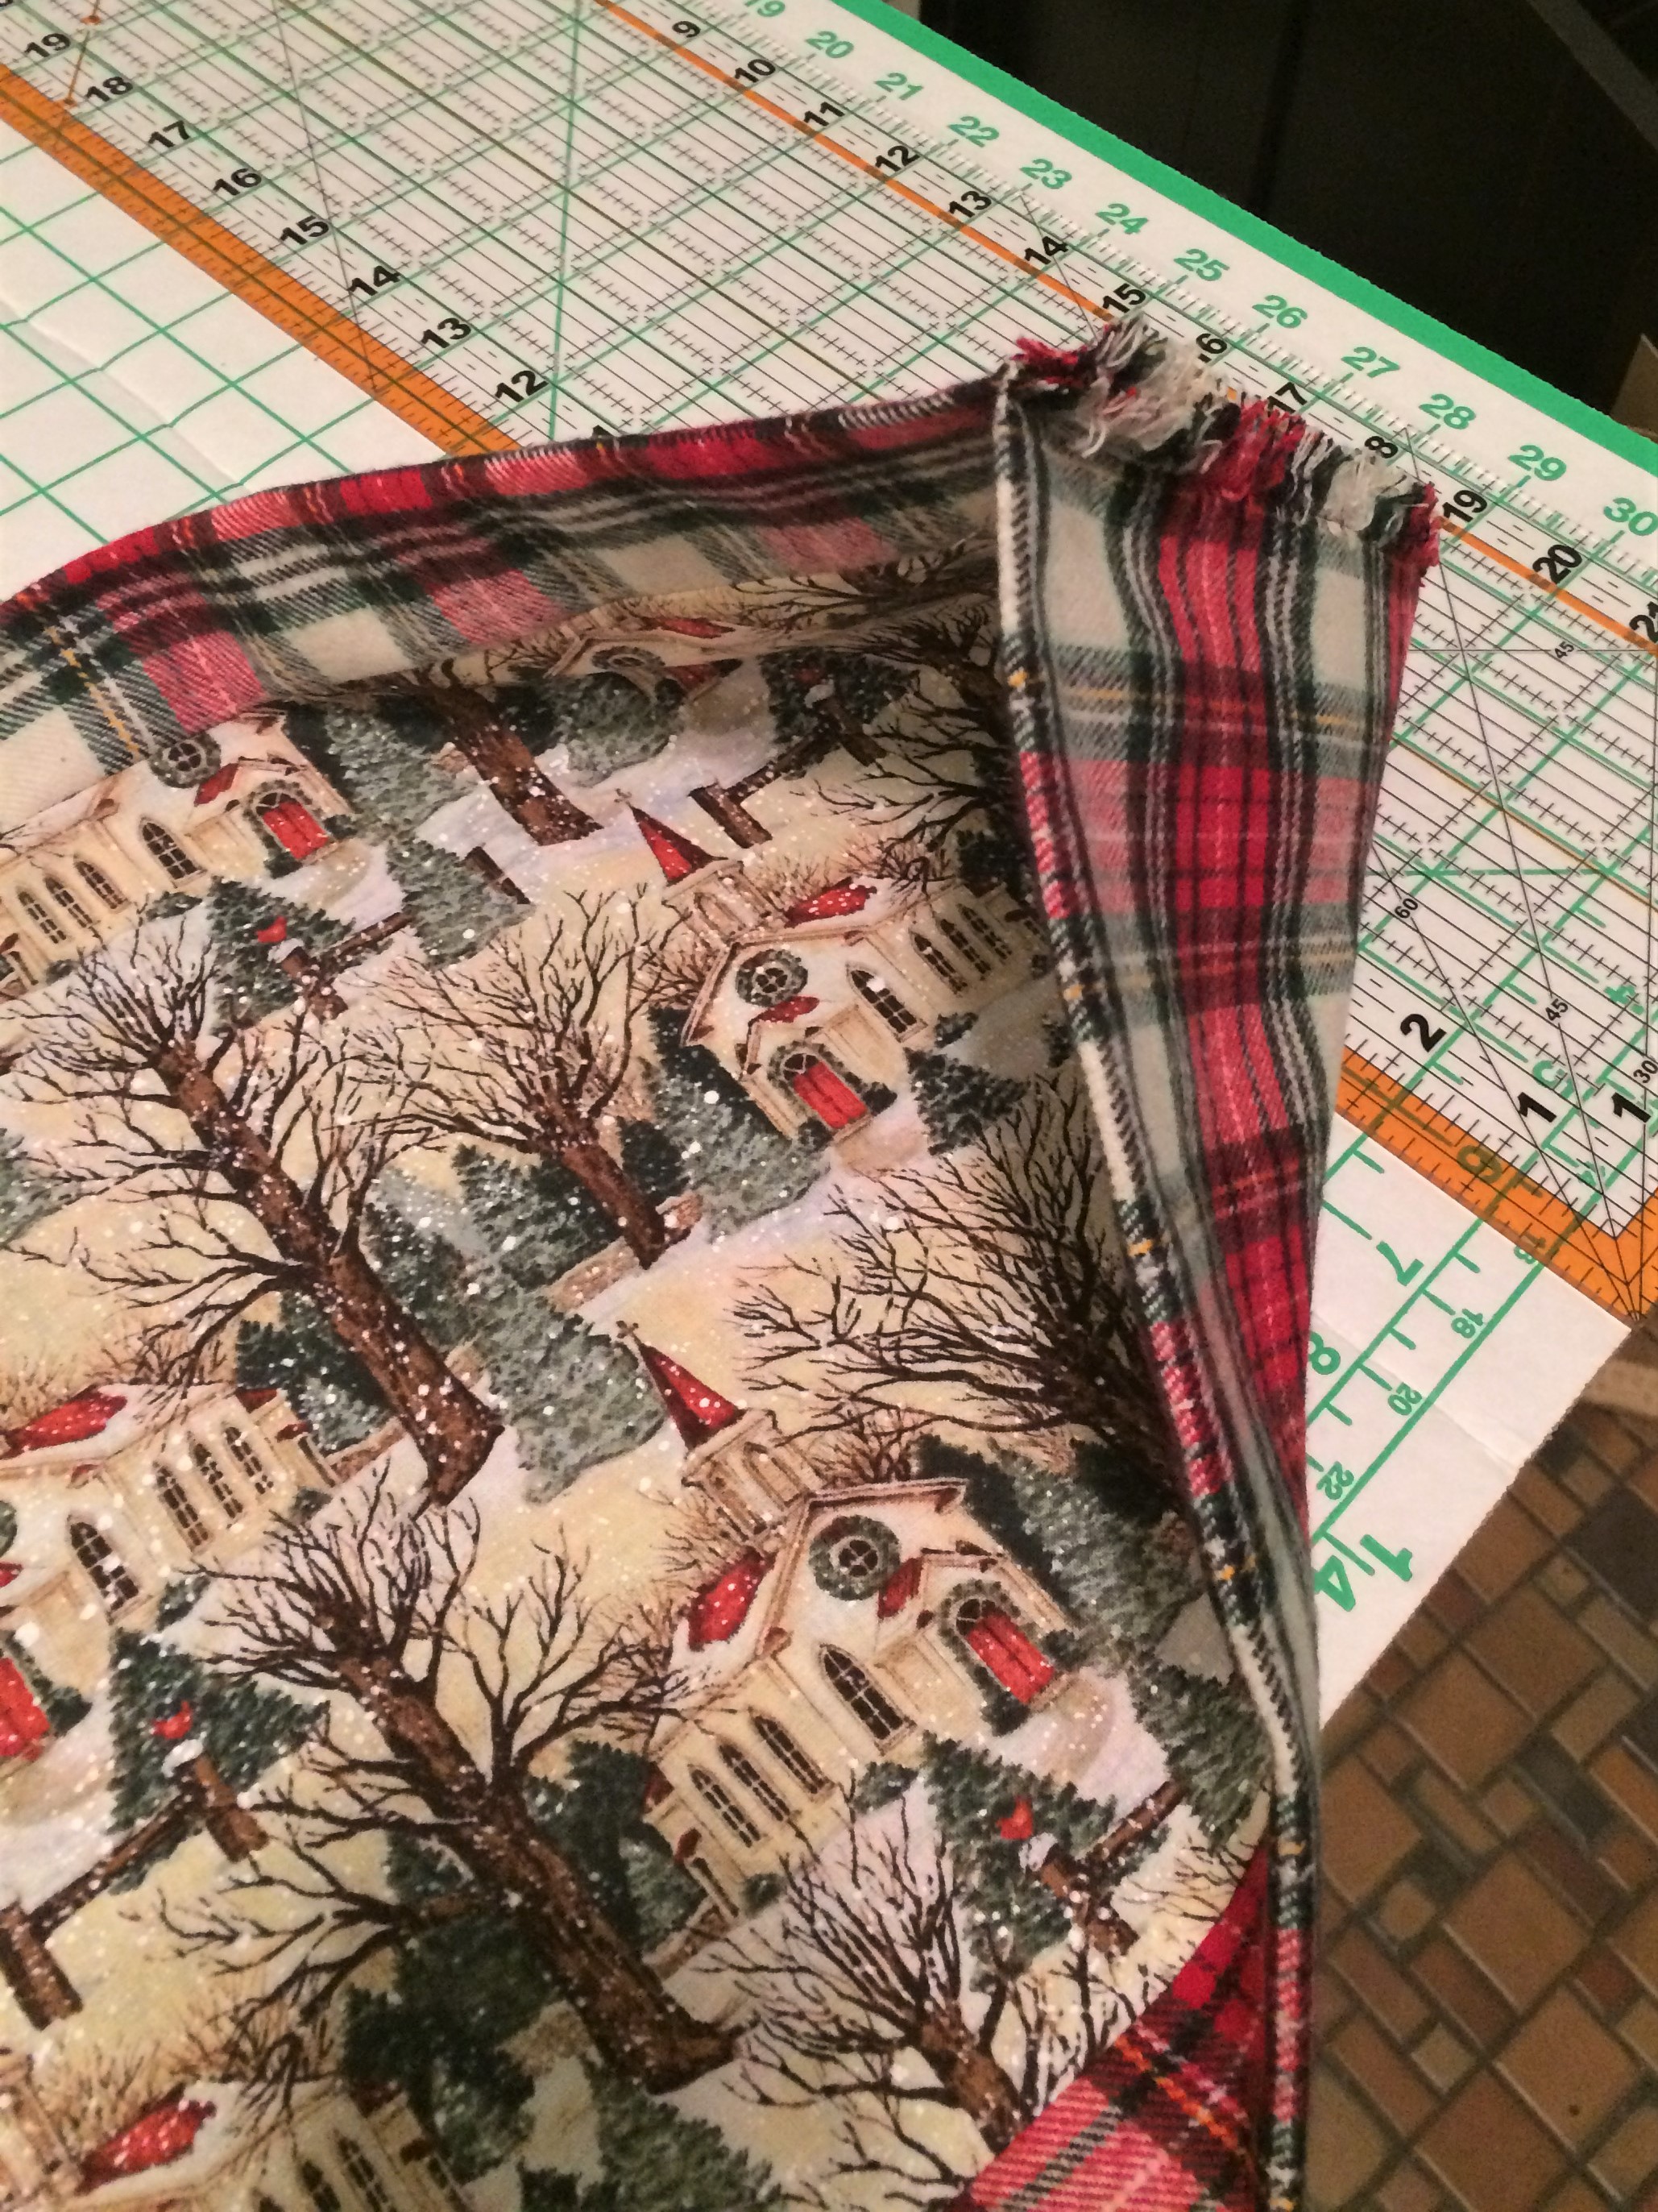
When you open the ends up, it will look odd, like a canoe.
Flip those ends inside out. This creates points on the ends of your tablerunner. Center the points, and iron again.
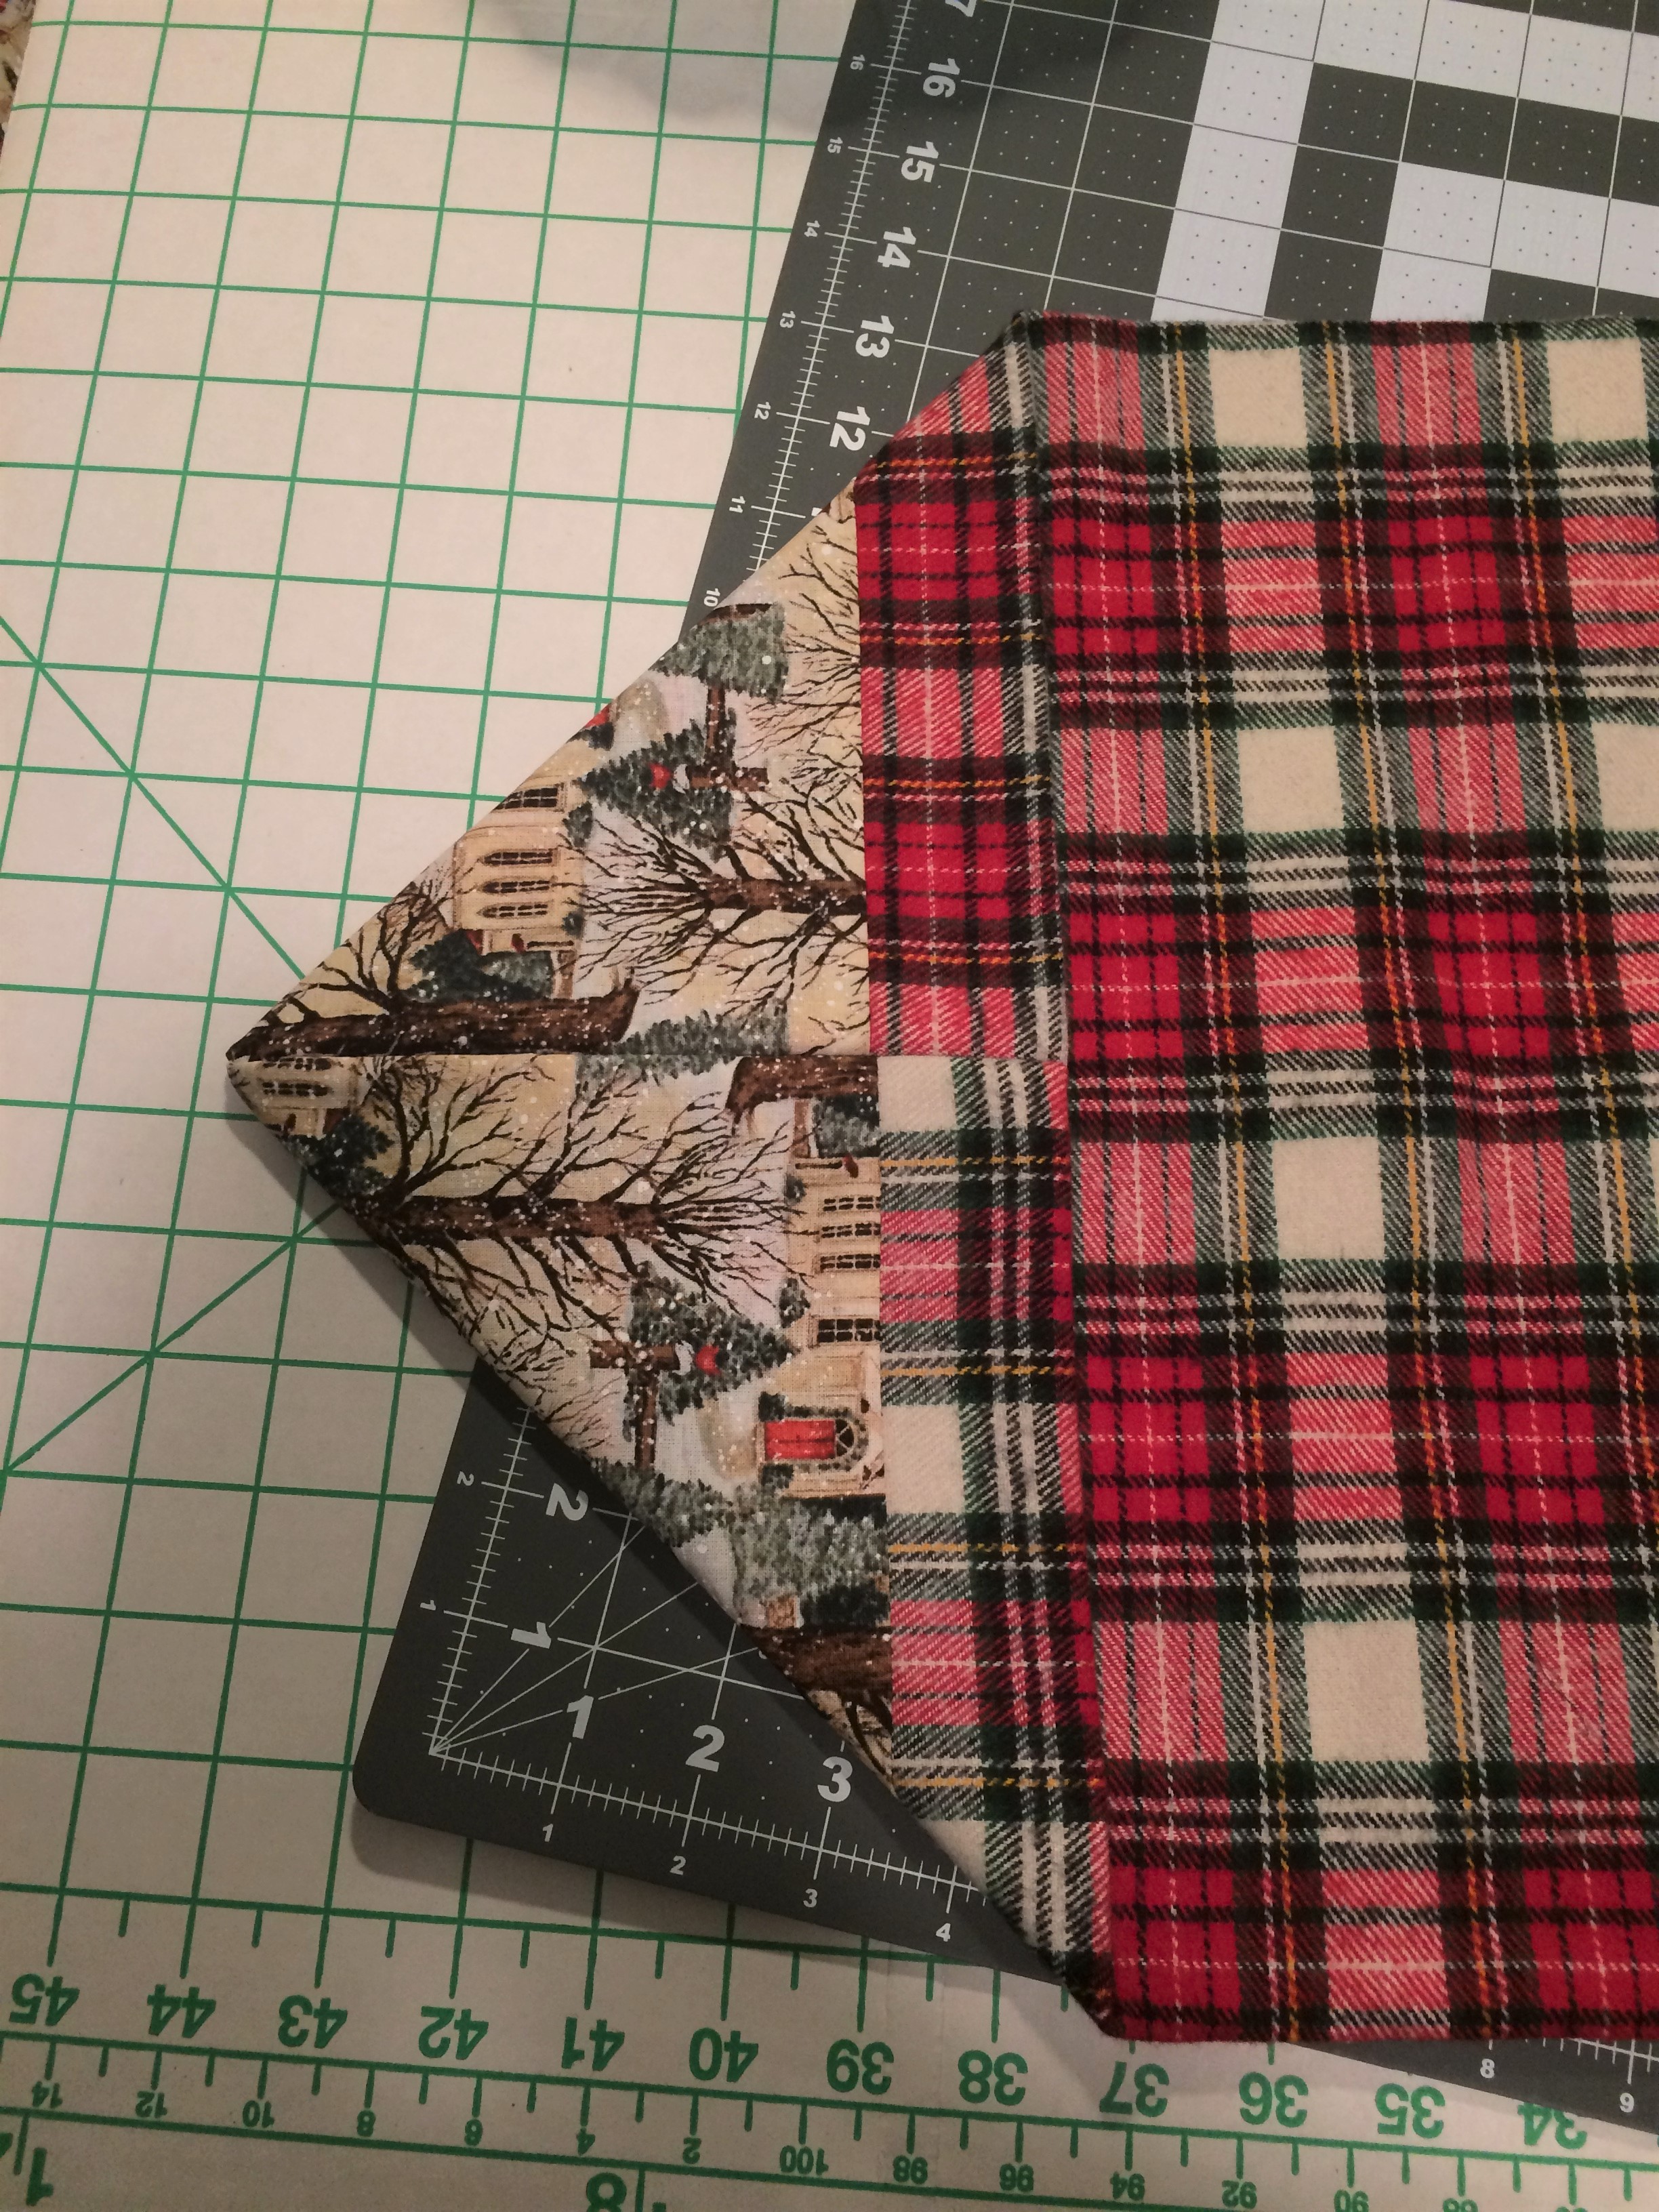
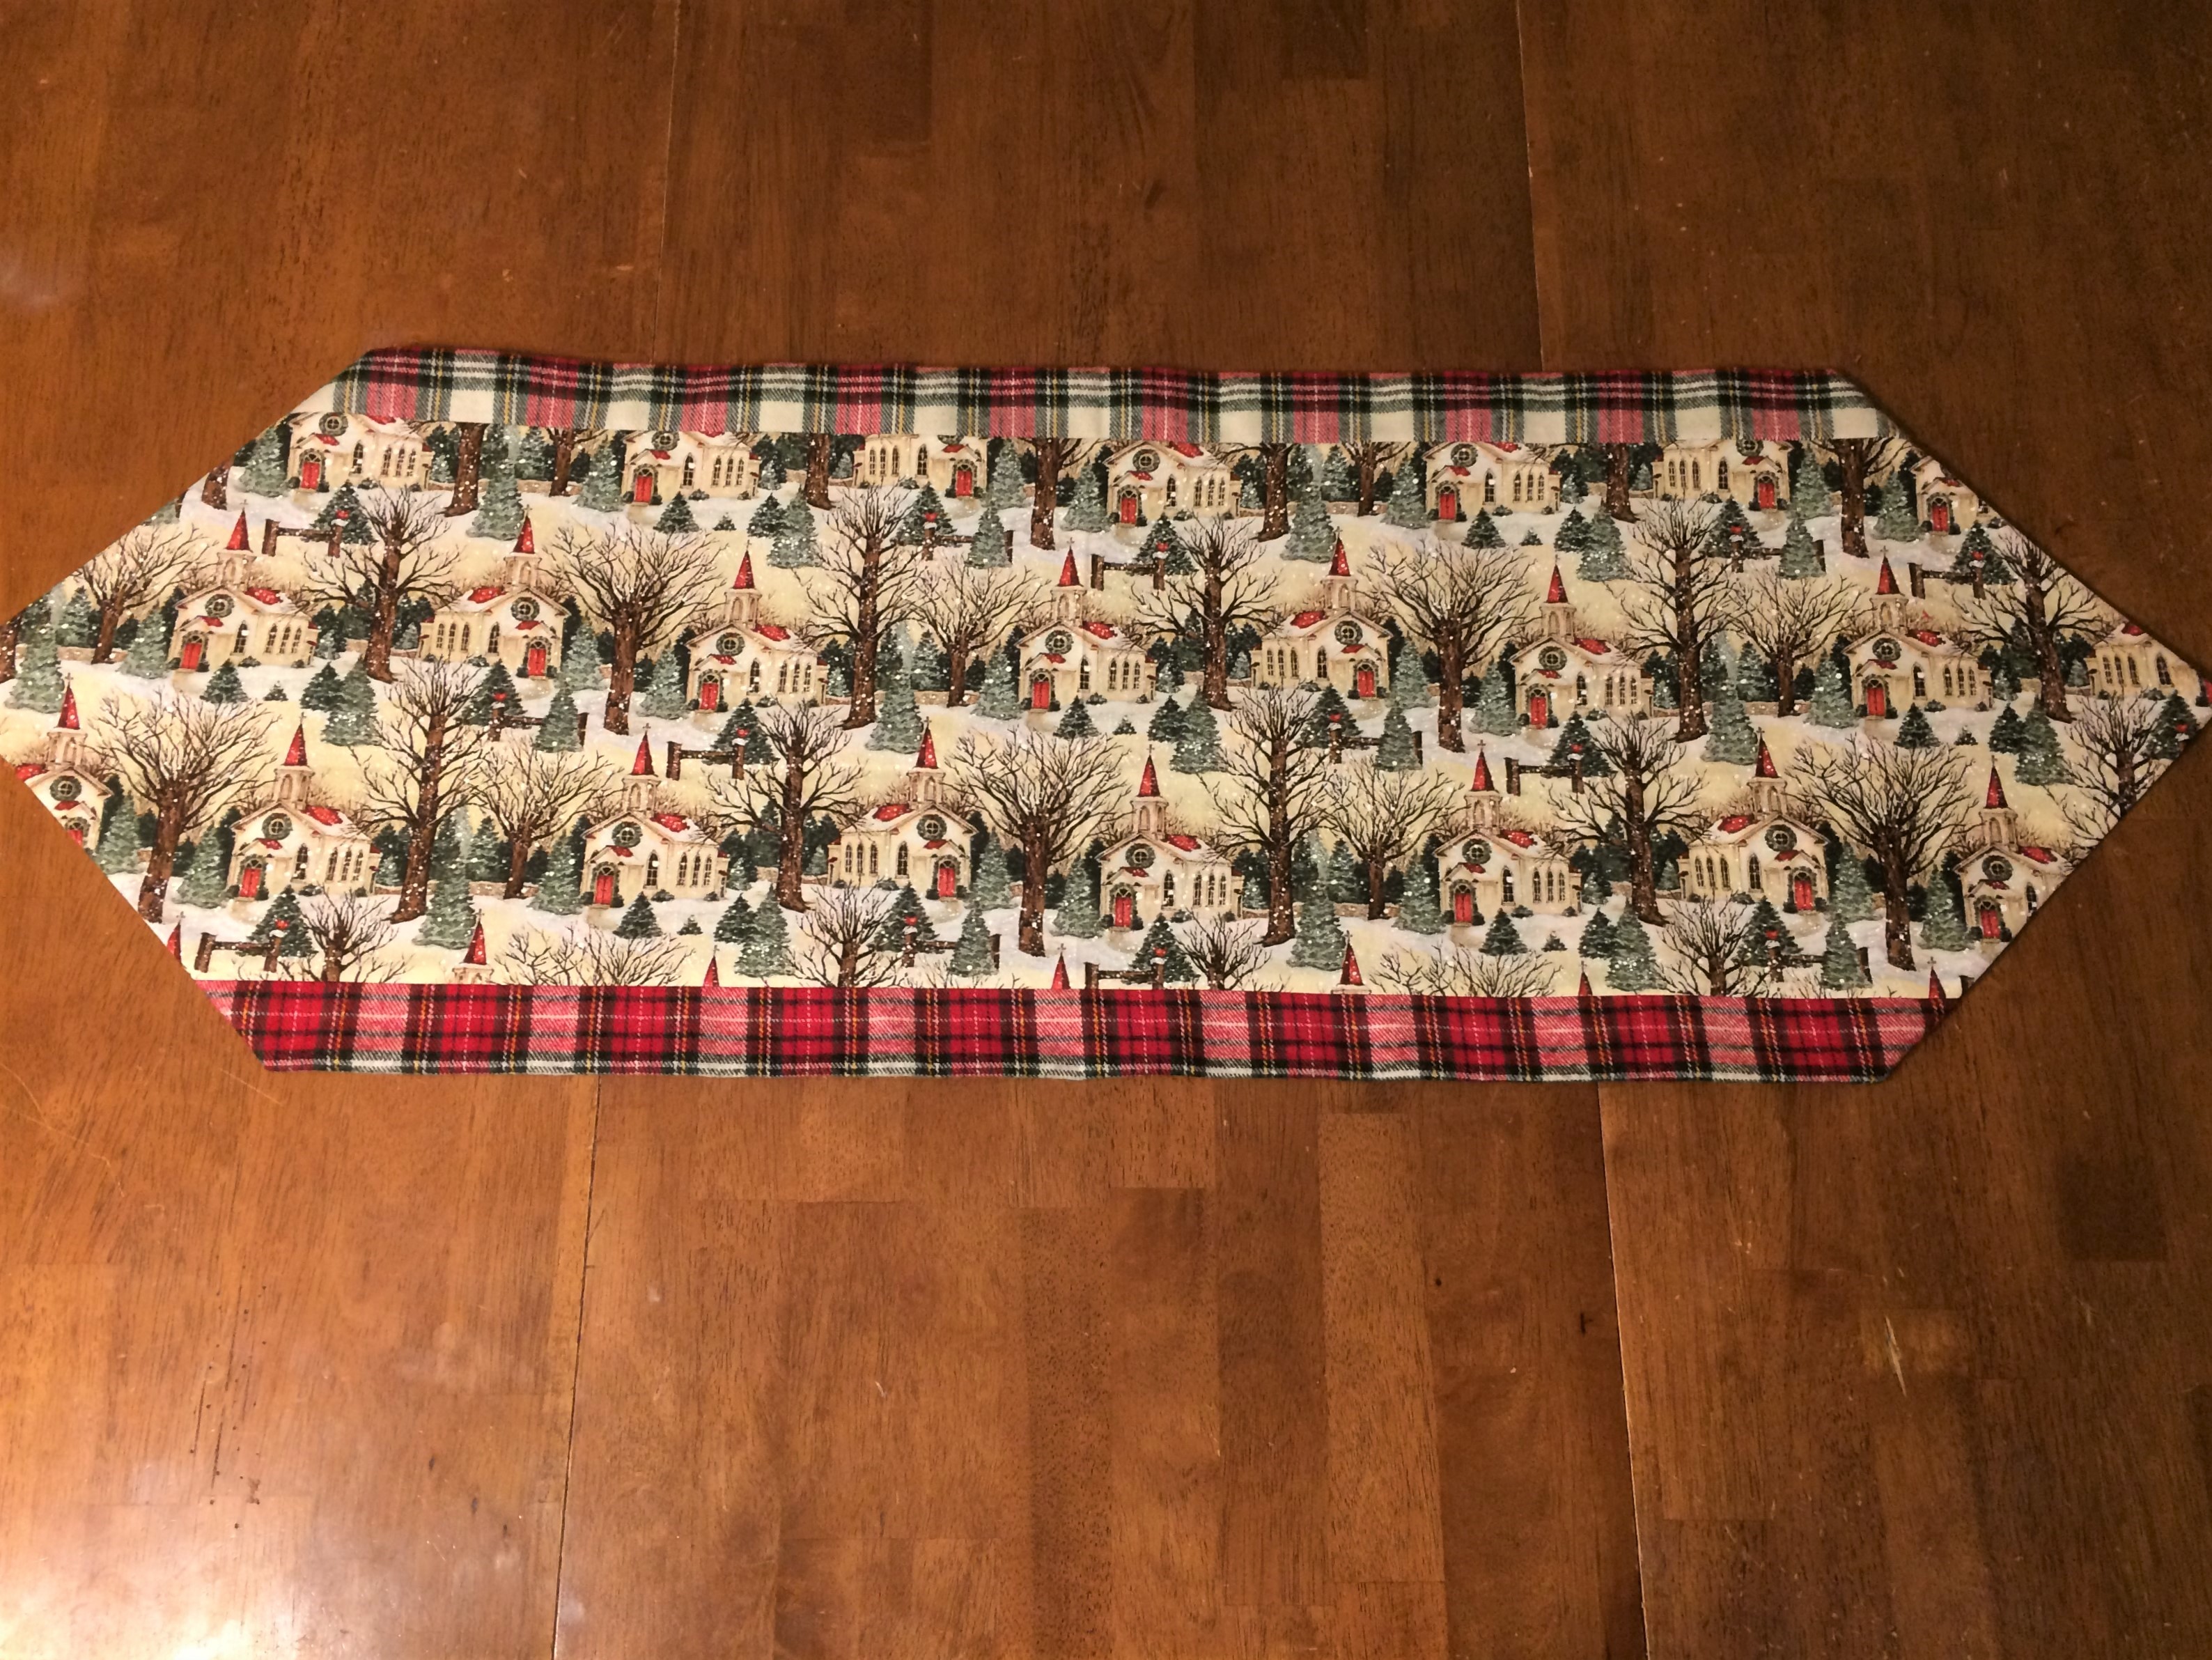
You’re done!
Have fun decorating with your tablerunner. They can be used for dining tables, end tables, mantels, coffee tables, even benches. Go crazy!

To reverse your tablerunner, just flip the points inside out. You can iron it again if it’s not laying nicely.
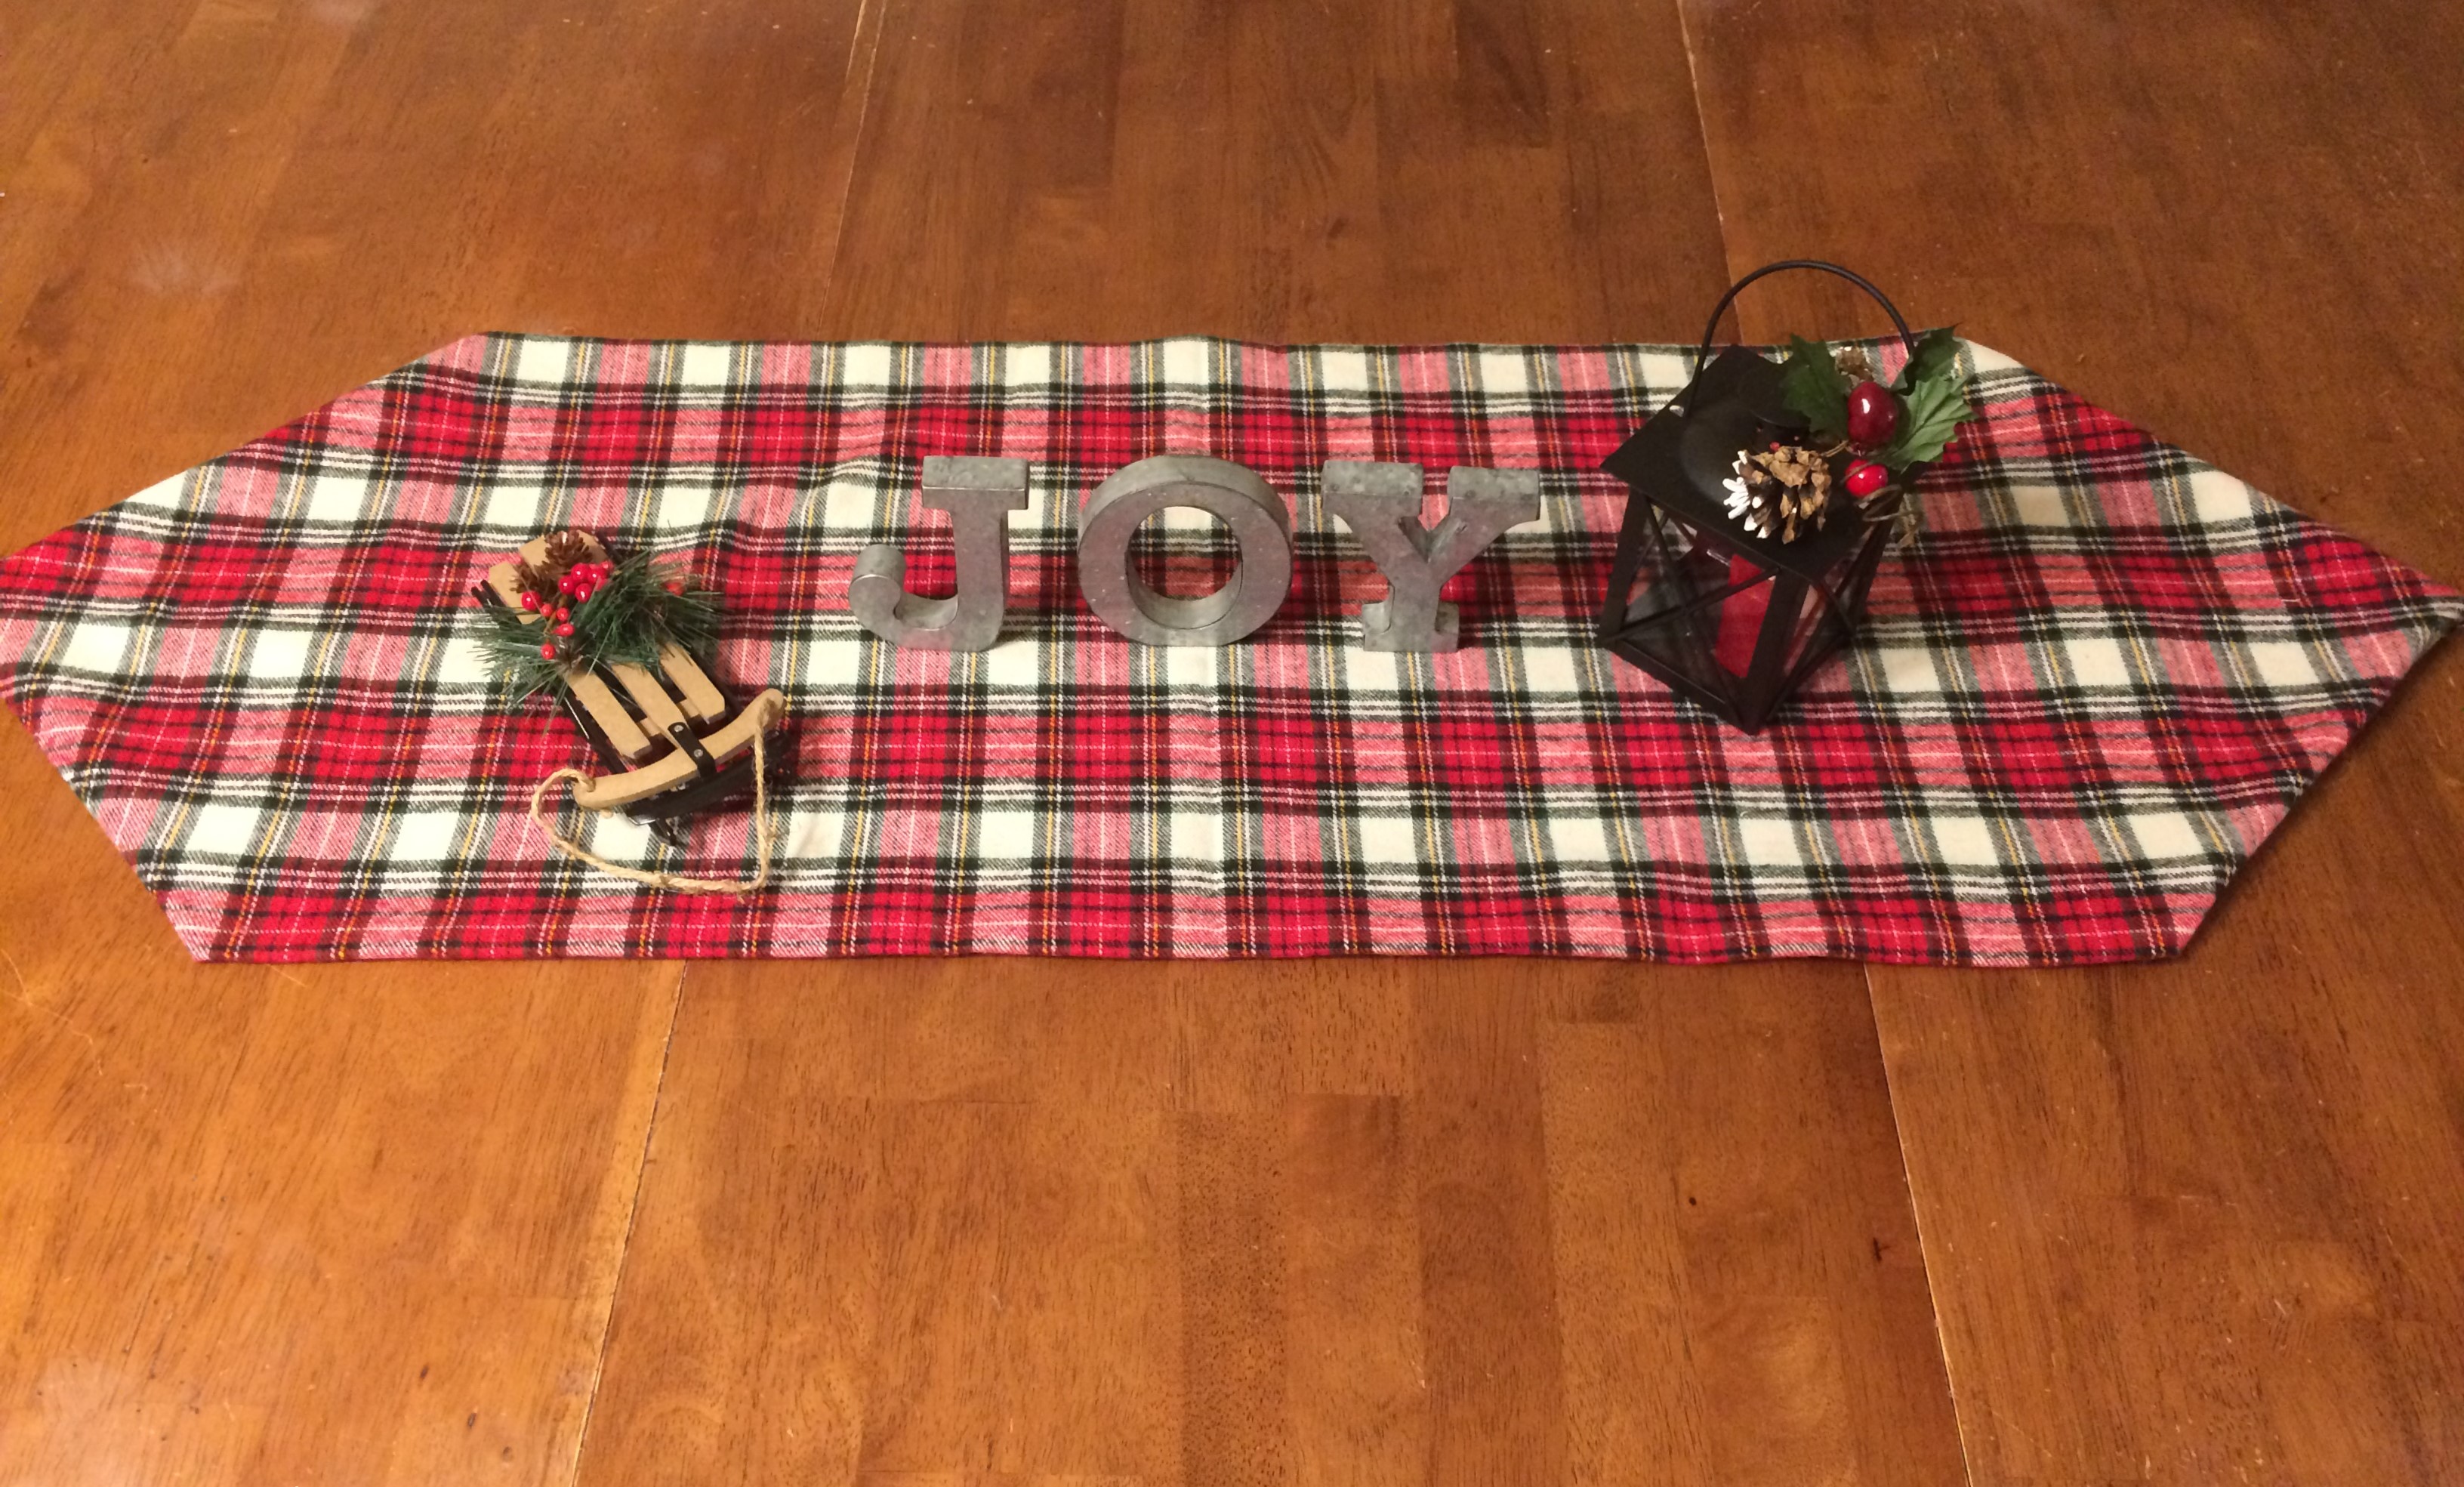
They’re so simple, you can make one for every season! I love giving them as gifts. My family members request various colors, styles, and sizes for different areas. Lengths and widths can be adjusted by changing up your fabric sizes. You can see that the red and green one here is smaller than the others, to fit my end table.

Pillow Materials
Now let’s move on to the pillows. My inspiration came from this tutorial from A Curiously Chic Life. These took me a little longer to make, but only because I’d never done it before. We’re still only talking half an hour for two pillows – they were so easy! Store-bought pillows are crazy expensive, but buying the pillow forms and switching out covers is quick and cheap. If you have old pillows, use those and save even more money. Here’s what you’ll need:
- Pillows or pillow forms, desired number and size – I bought two 16″x 16″ forms for $3.47 each at Walmart. (I love Hobby Lobby, but they were $9 each there!! Walmart was a much better option.)
- Fabric. For a 17 x 17 pillow or smaller, you will need 1/2 yard for each pillow.
- Coordinating thread
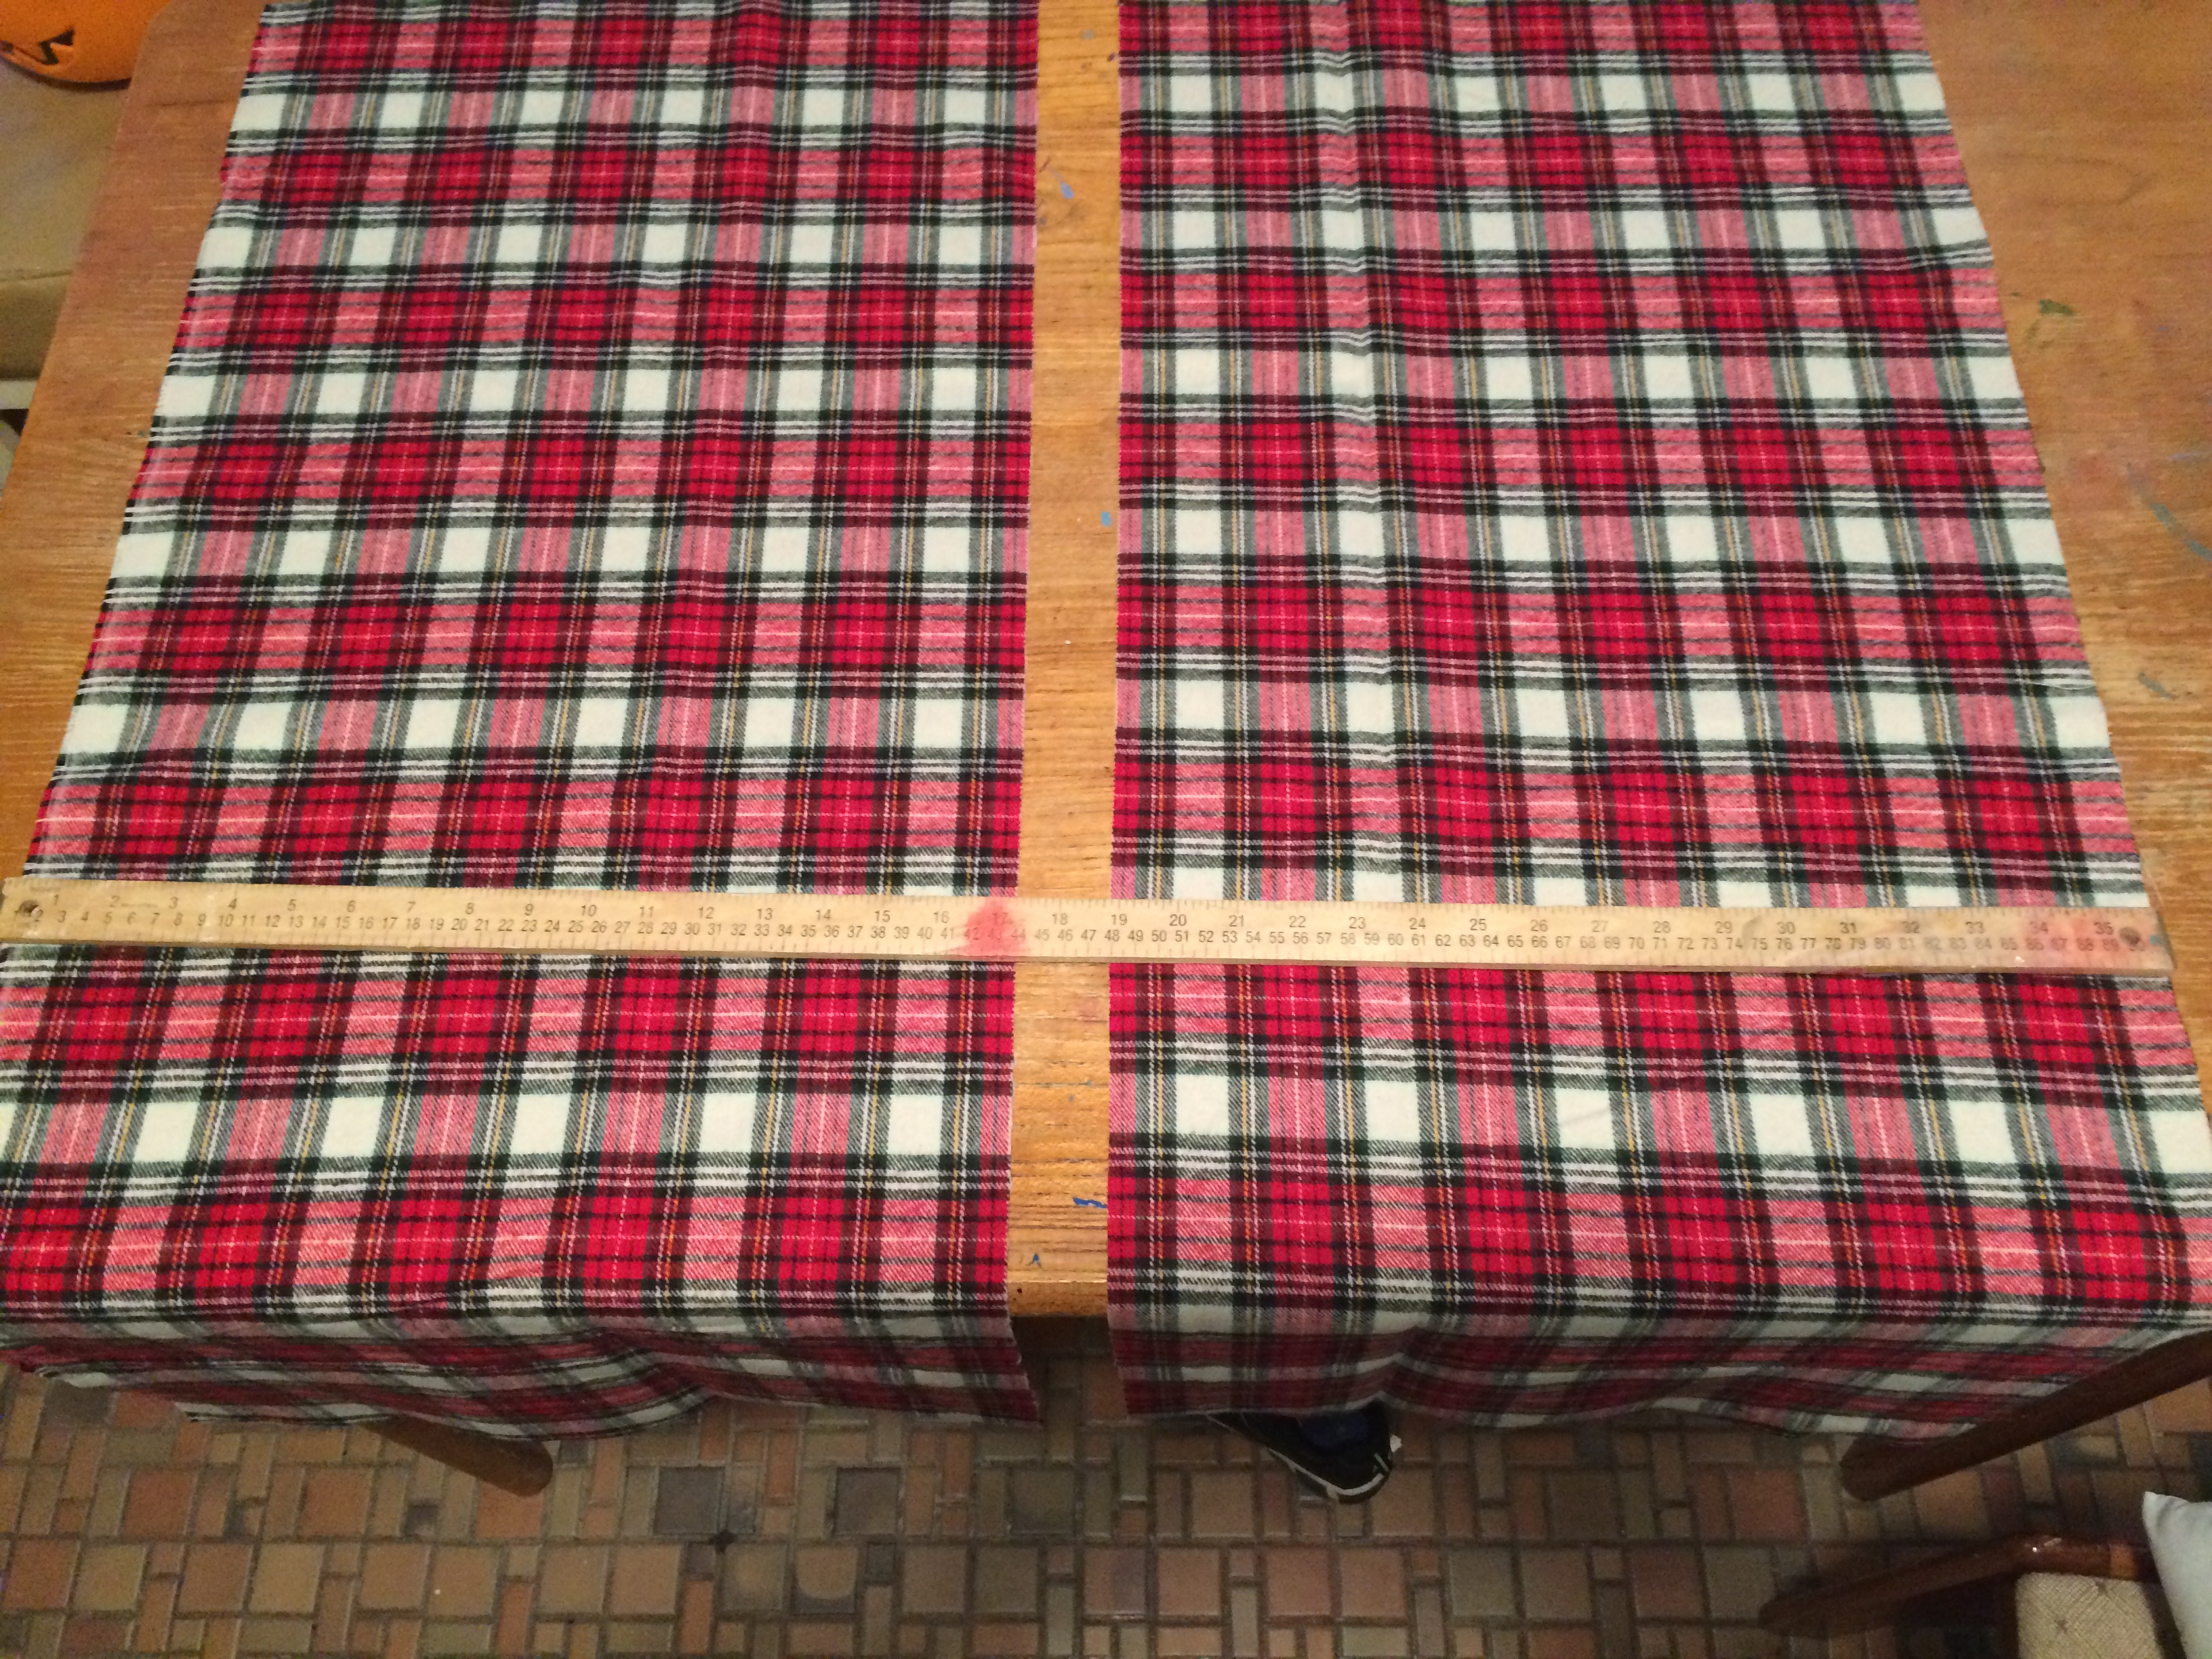
Cutting Your Pillow Cover Fabric
You’re going to need to do a little math to cut your fabric correctly. To find your fabric width, simply add 1 inch for seam allowances to the width of your pillow. The length is more complicated. Here’s the formula: [2 x pillow length] + 4 inch flap overlap + 2 inch seam allowance = length of fabric you will cut. My pillows were 16″, so [2 x 16] + 4 + 2 = 38 inches long. That said, I do wish my covers were just a wee bit tighter; next time I would only add an inch for seam allowances. My final measurements were 17 inches wide by 38 inches long.
Sewing Your Simple Pillow Covers
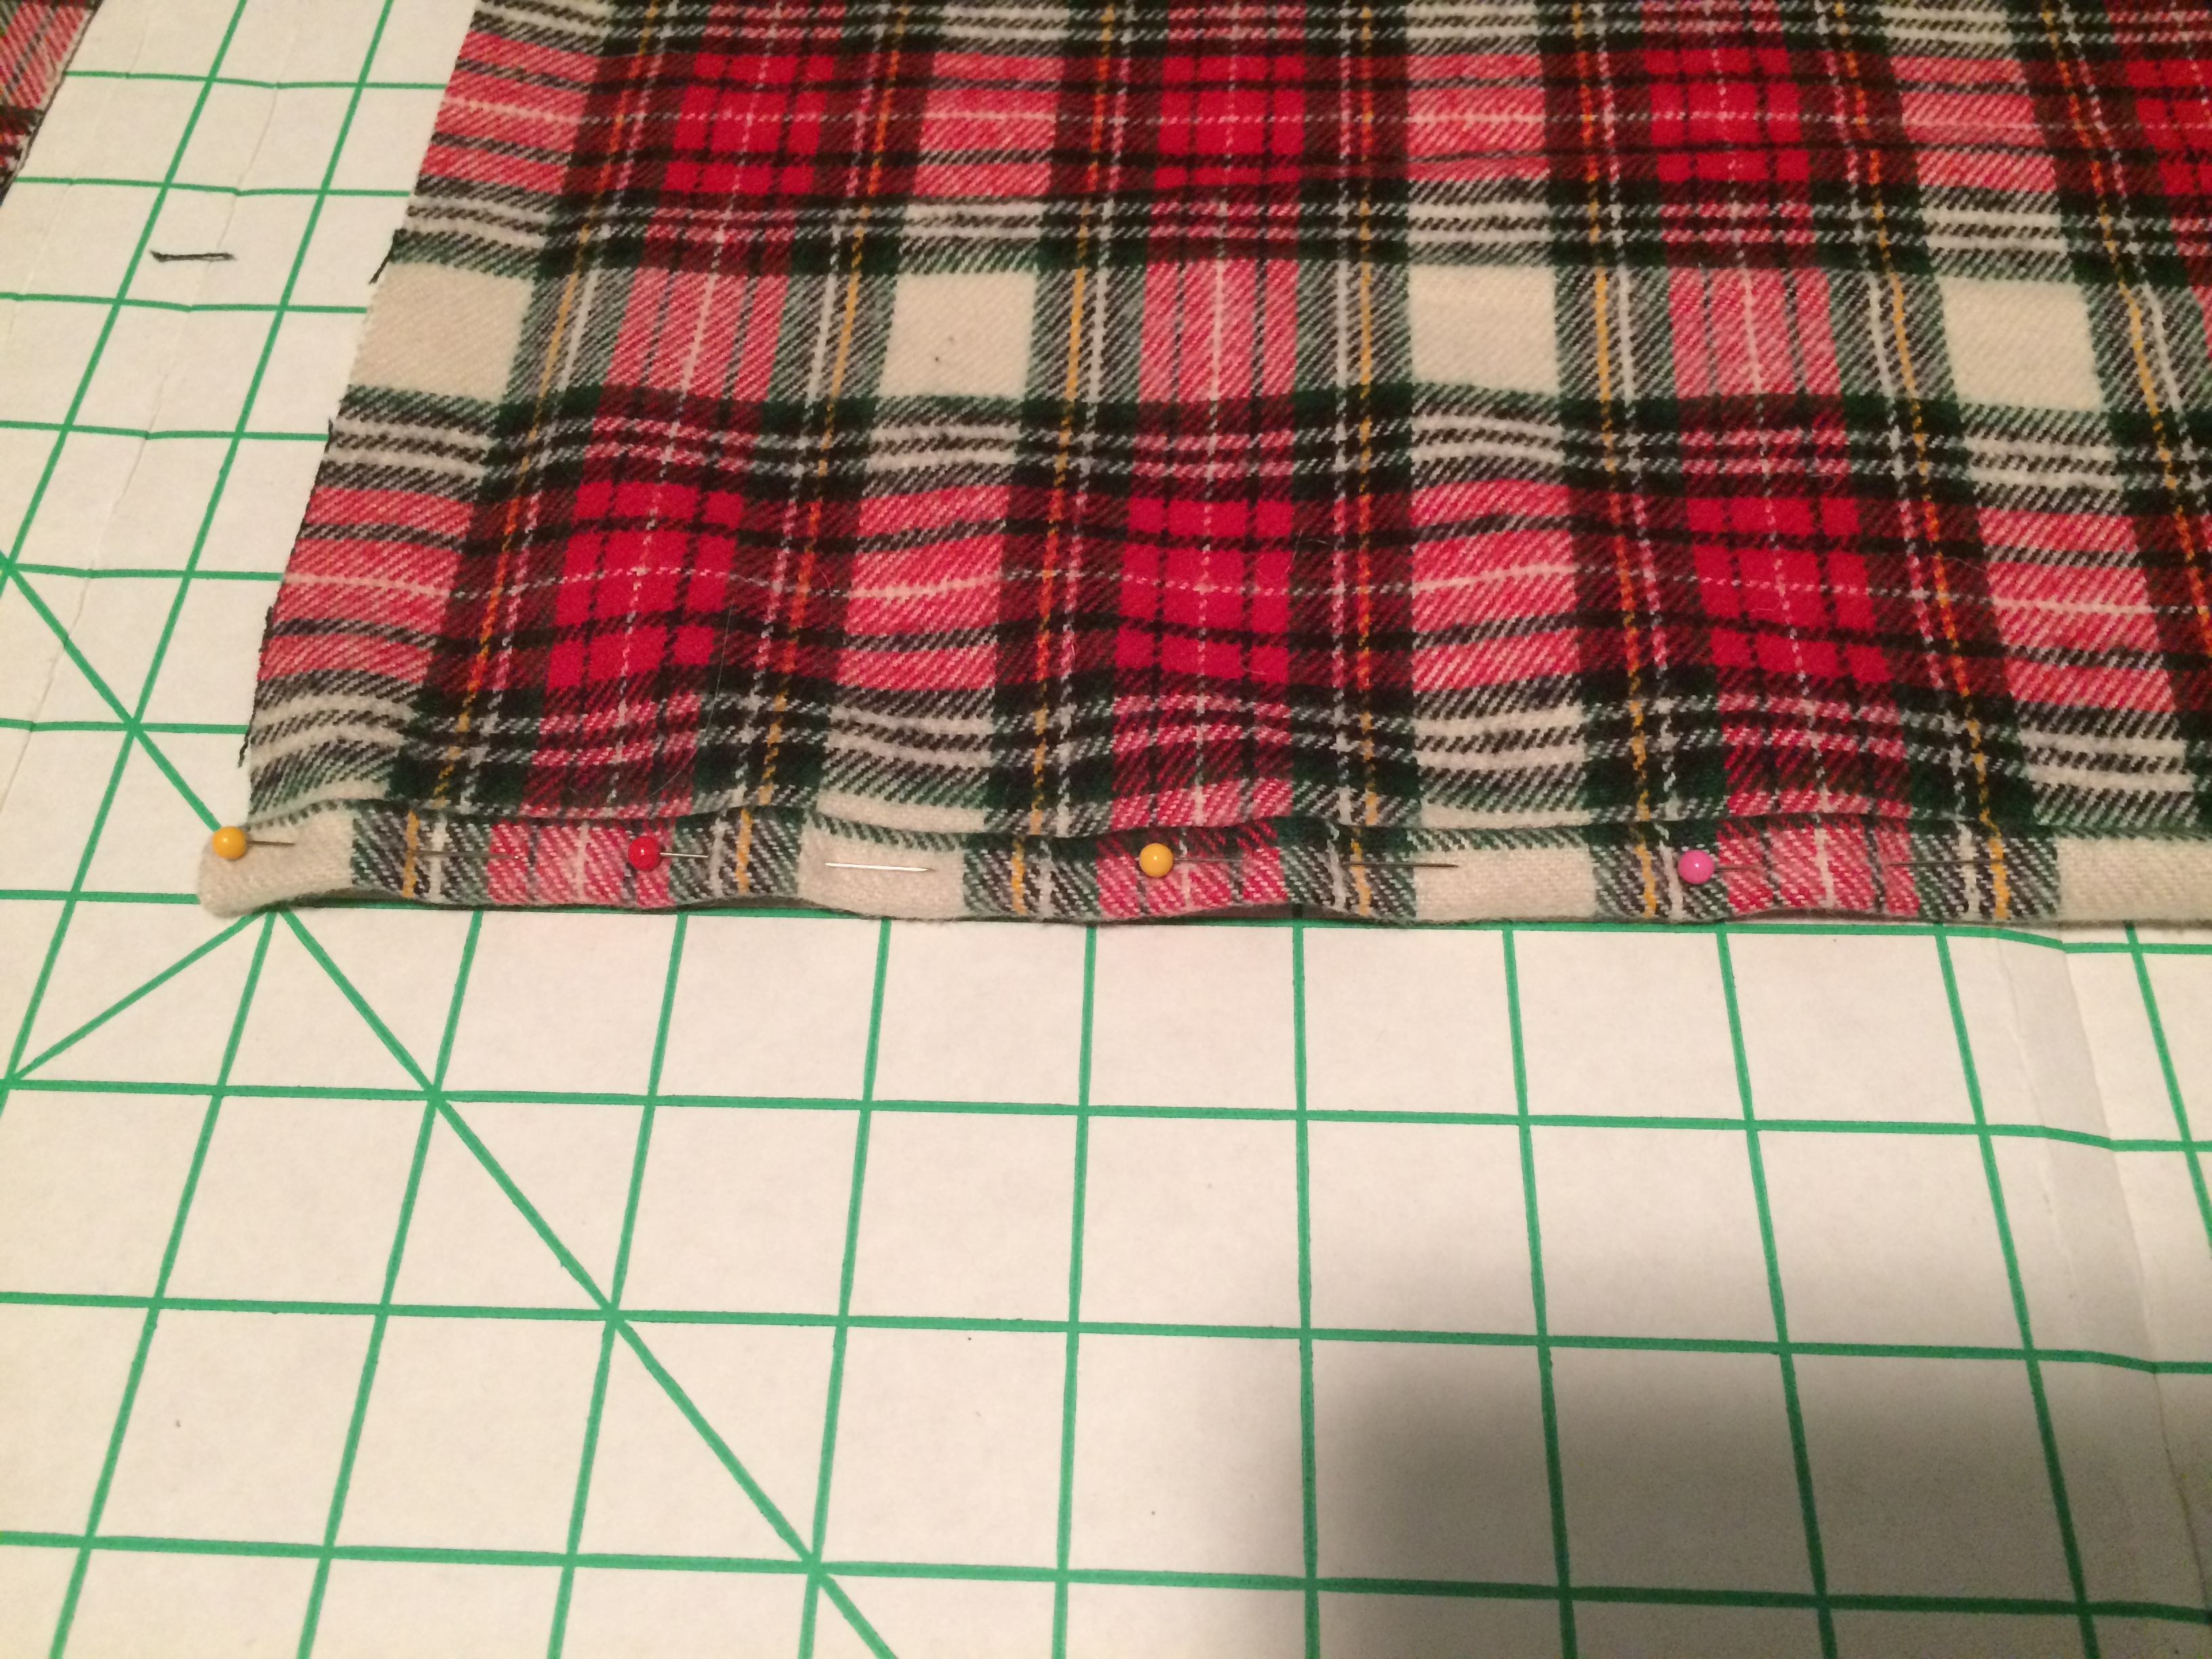
First you will hem up the short sides of your fabric. Fold the fabric over twice, pin, and sew. It saved a lot of time to do each step for both of my covers at the same time.
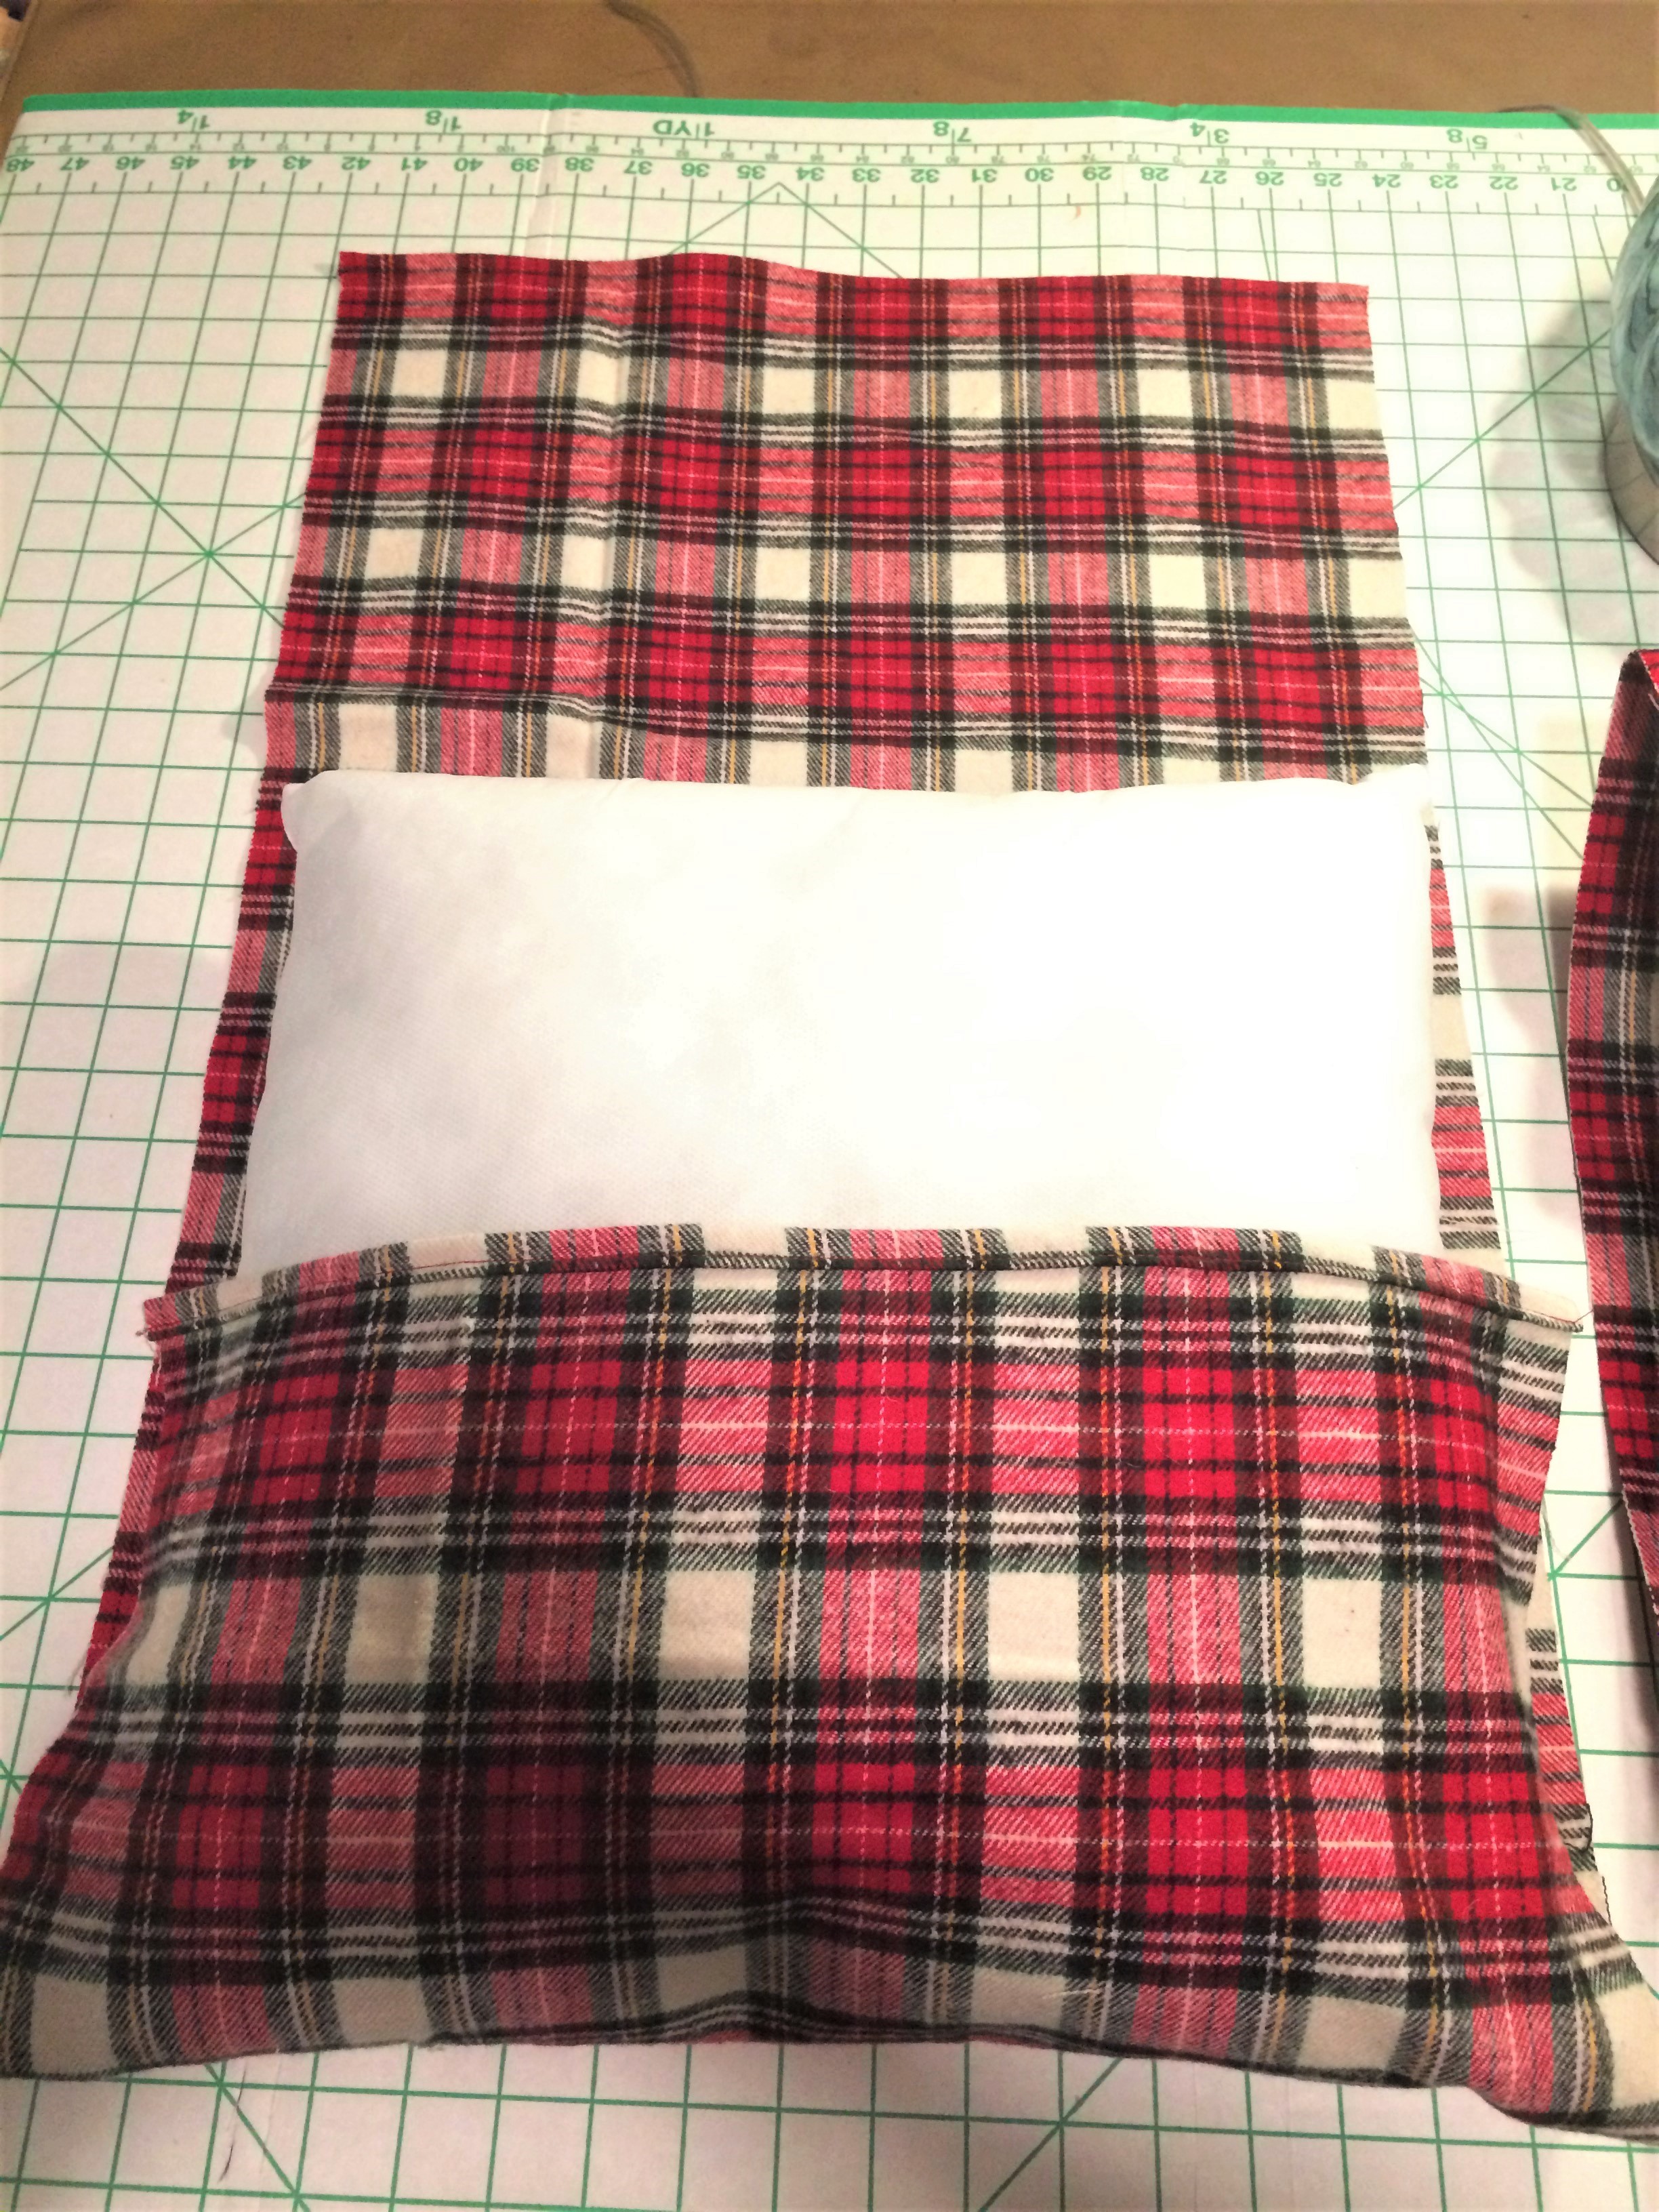
Now that you have the short ends hemmed, lay your fabric right side up on the table. This means that the folded seams you just made will be facing down. I know it’s hard to tell in my photo, since my fabric didn’t really have a “wrong” side! Place the pillow on top of the fabric. Fold the top and bottom of the fabric over the pillow (once folded your seams will face up).
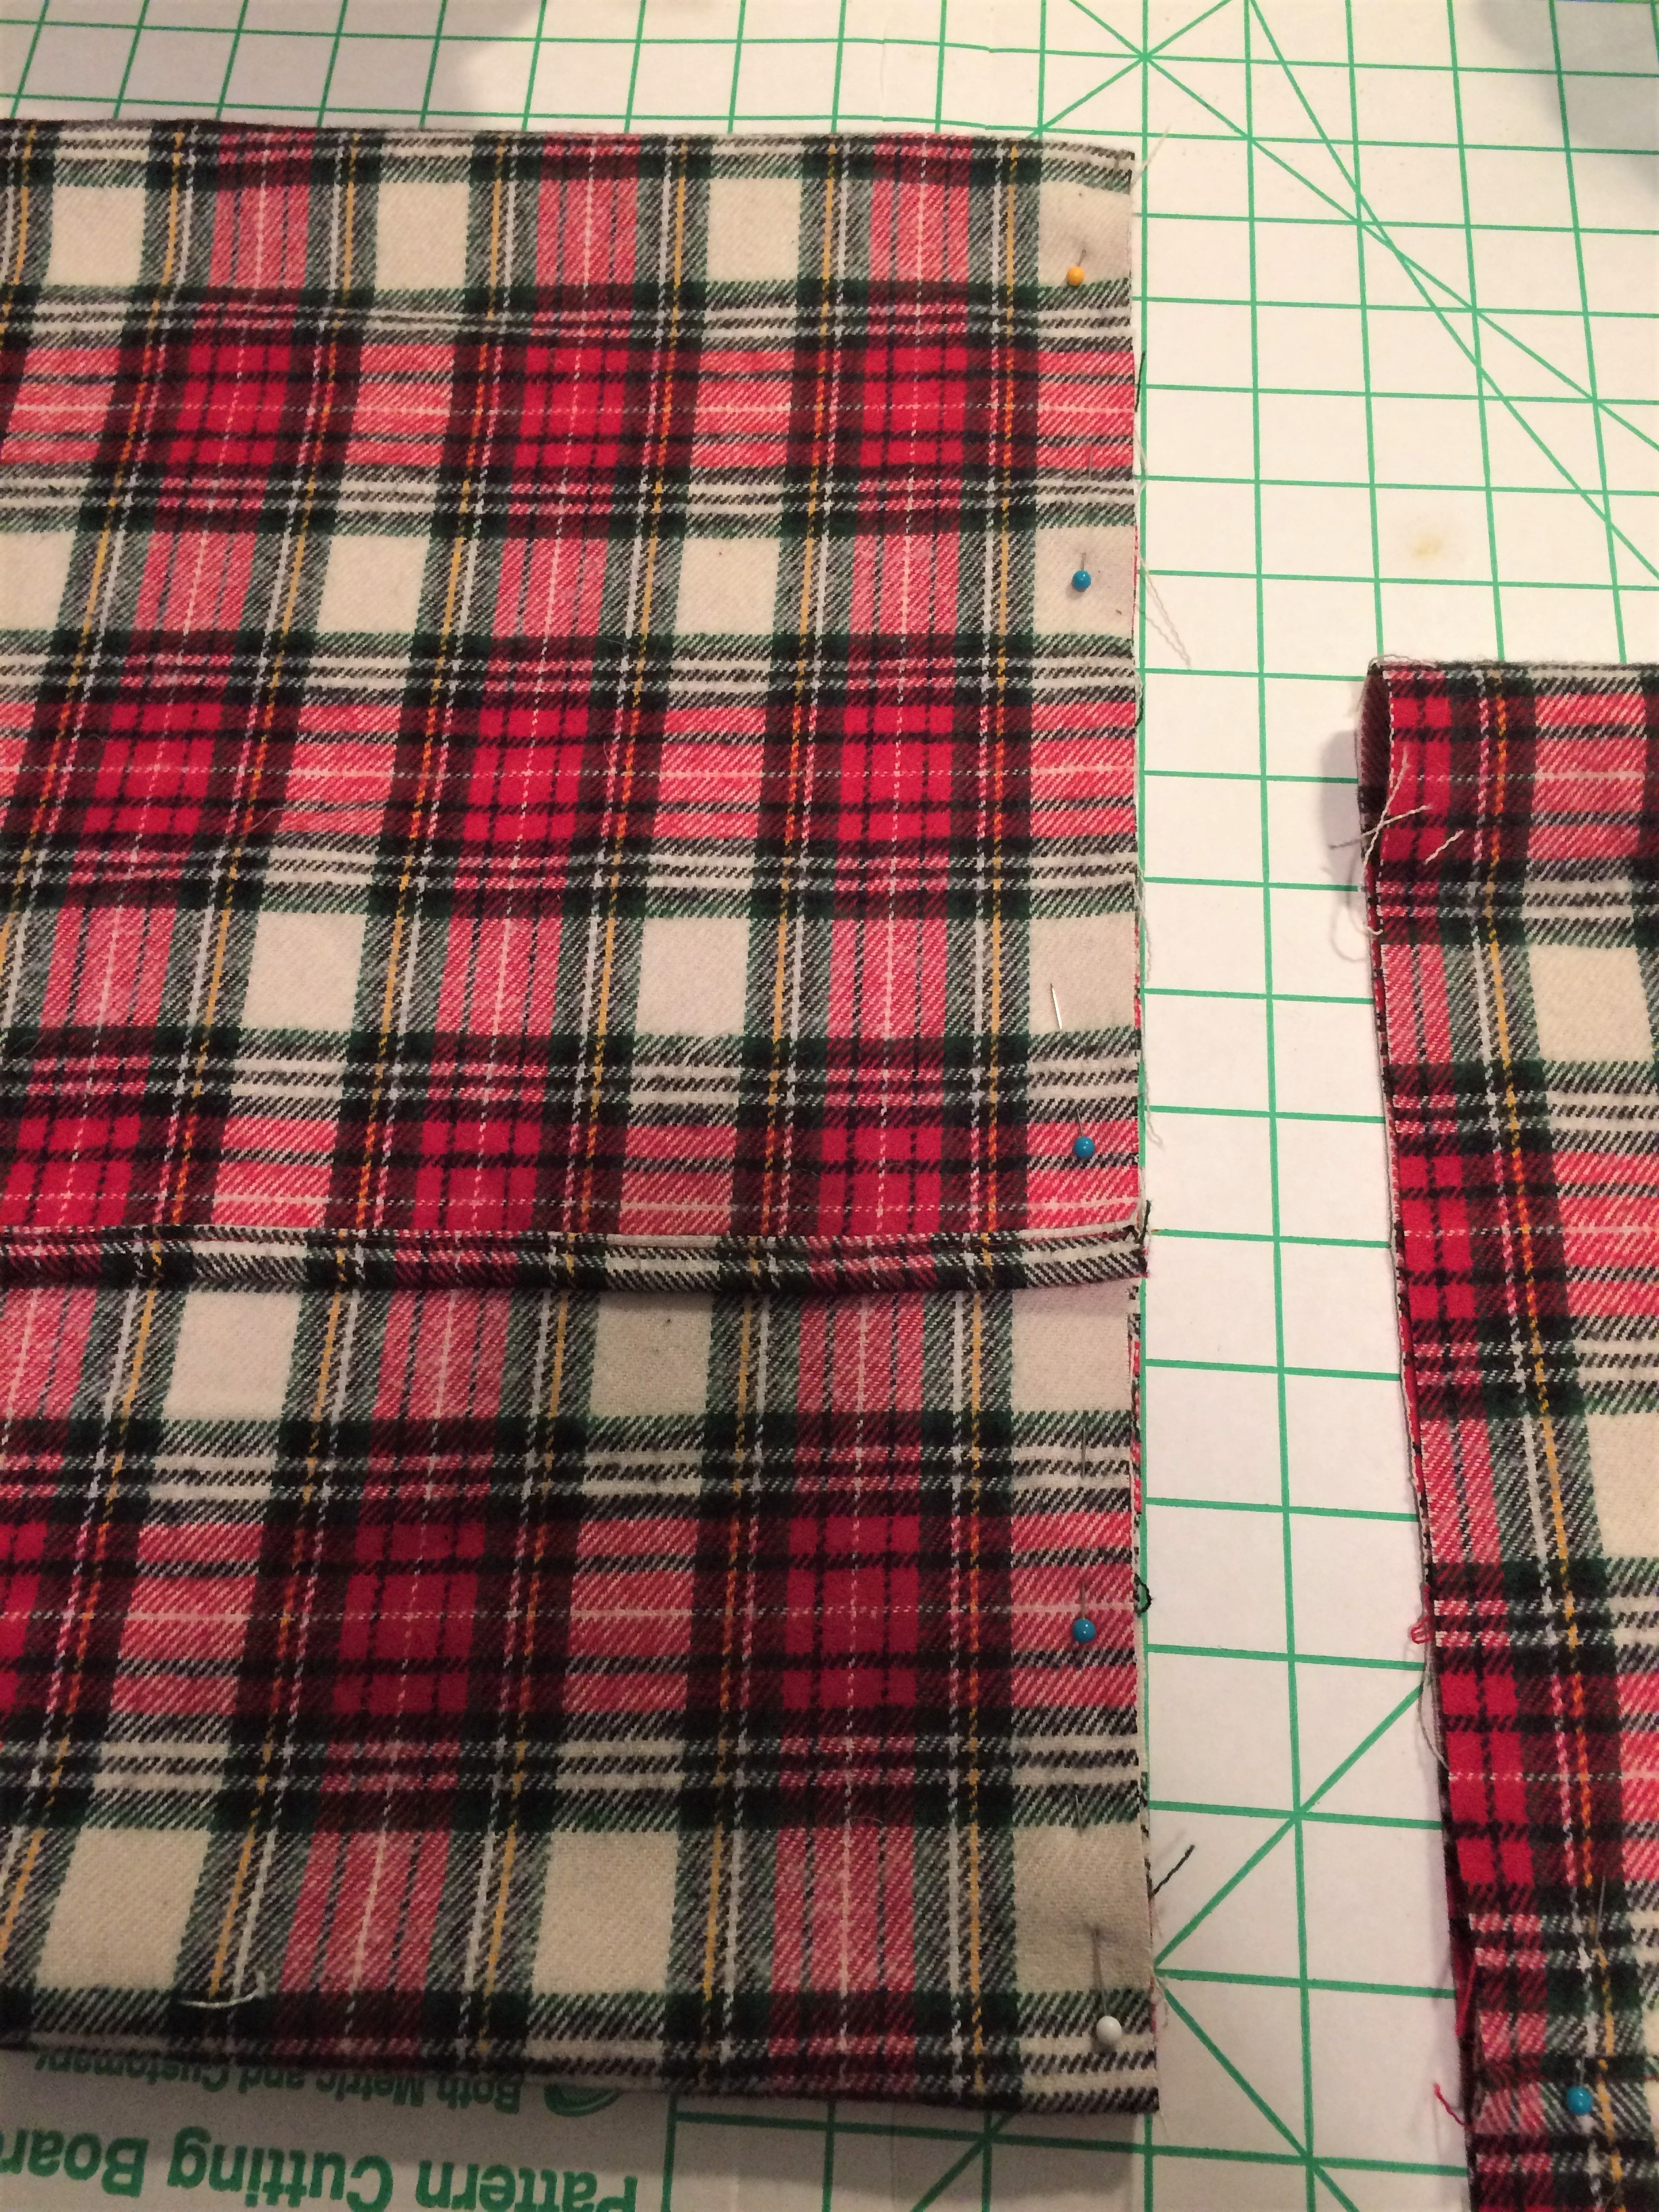
Pin the top two layers (the overlapping pieces) together on the sides. Just place one pin on each side for now, to keep the flaps in place. You want it nice and snug. I was trying to line my fabric pattern up, and didn’t go as tight as I should have!

Now slide the pillow form out from one of the sides. Lay your fabric flat, and pin all layers together along both sides.
Sew these sides together, removing pins as you go. Once sewn, flip your pillow case right side out through the flap.
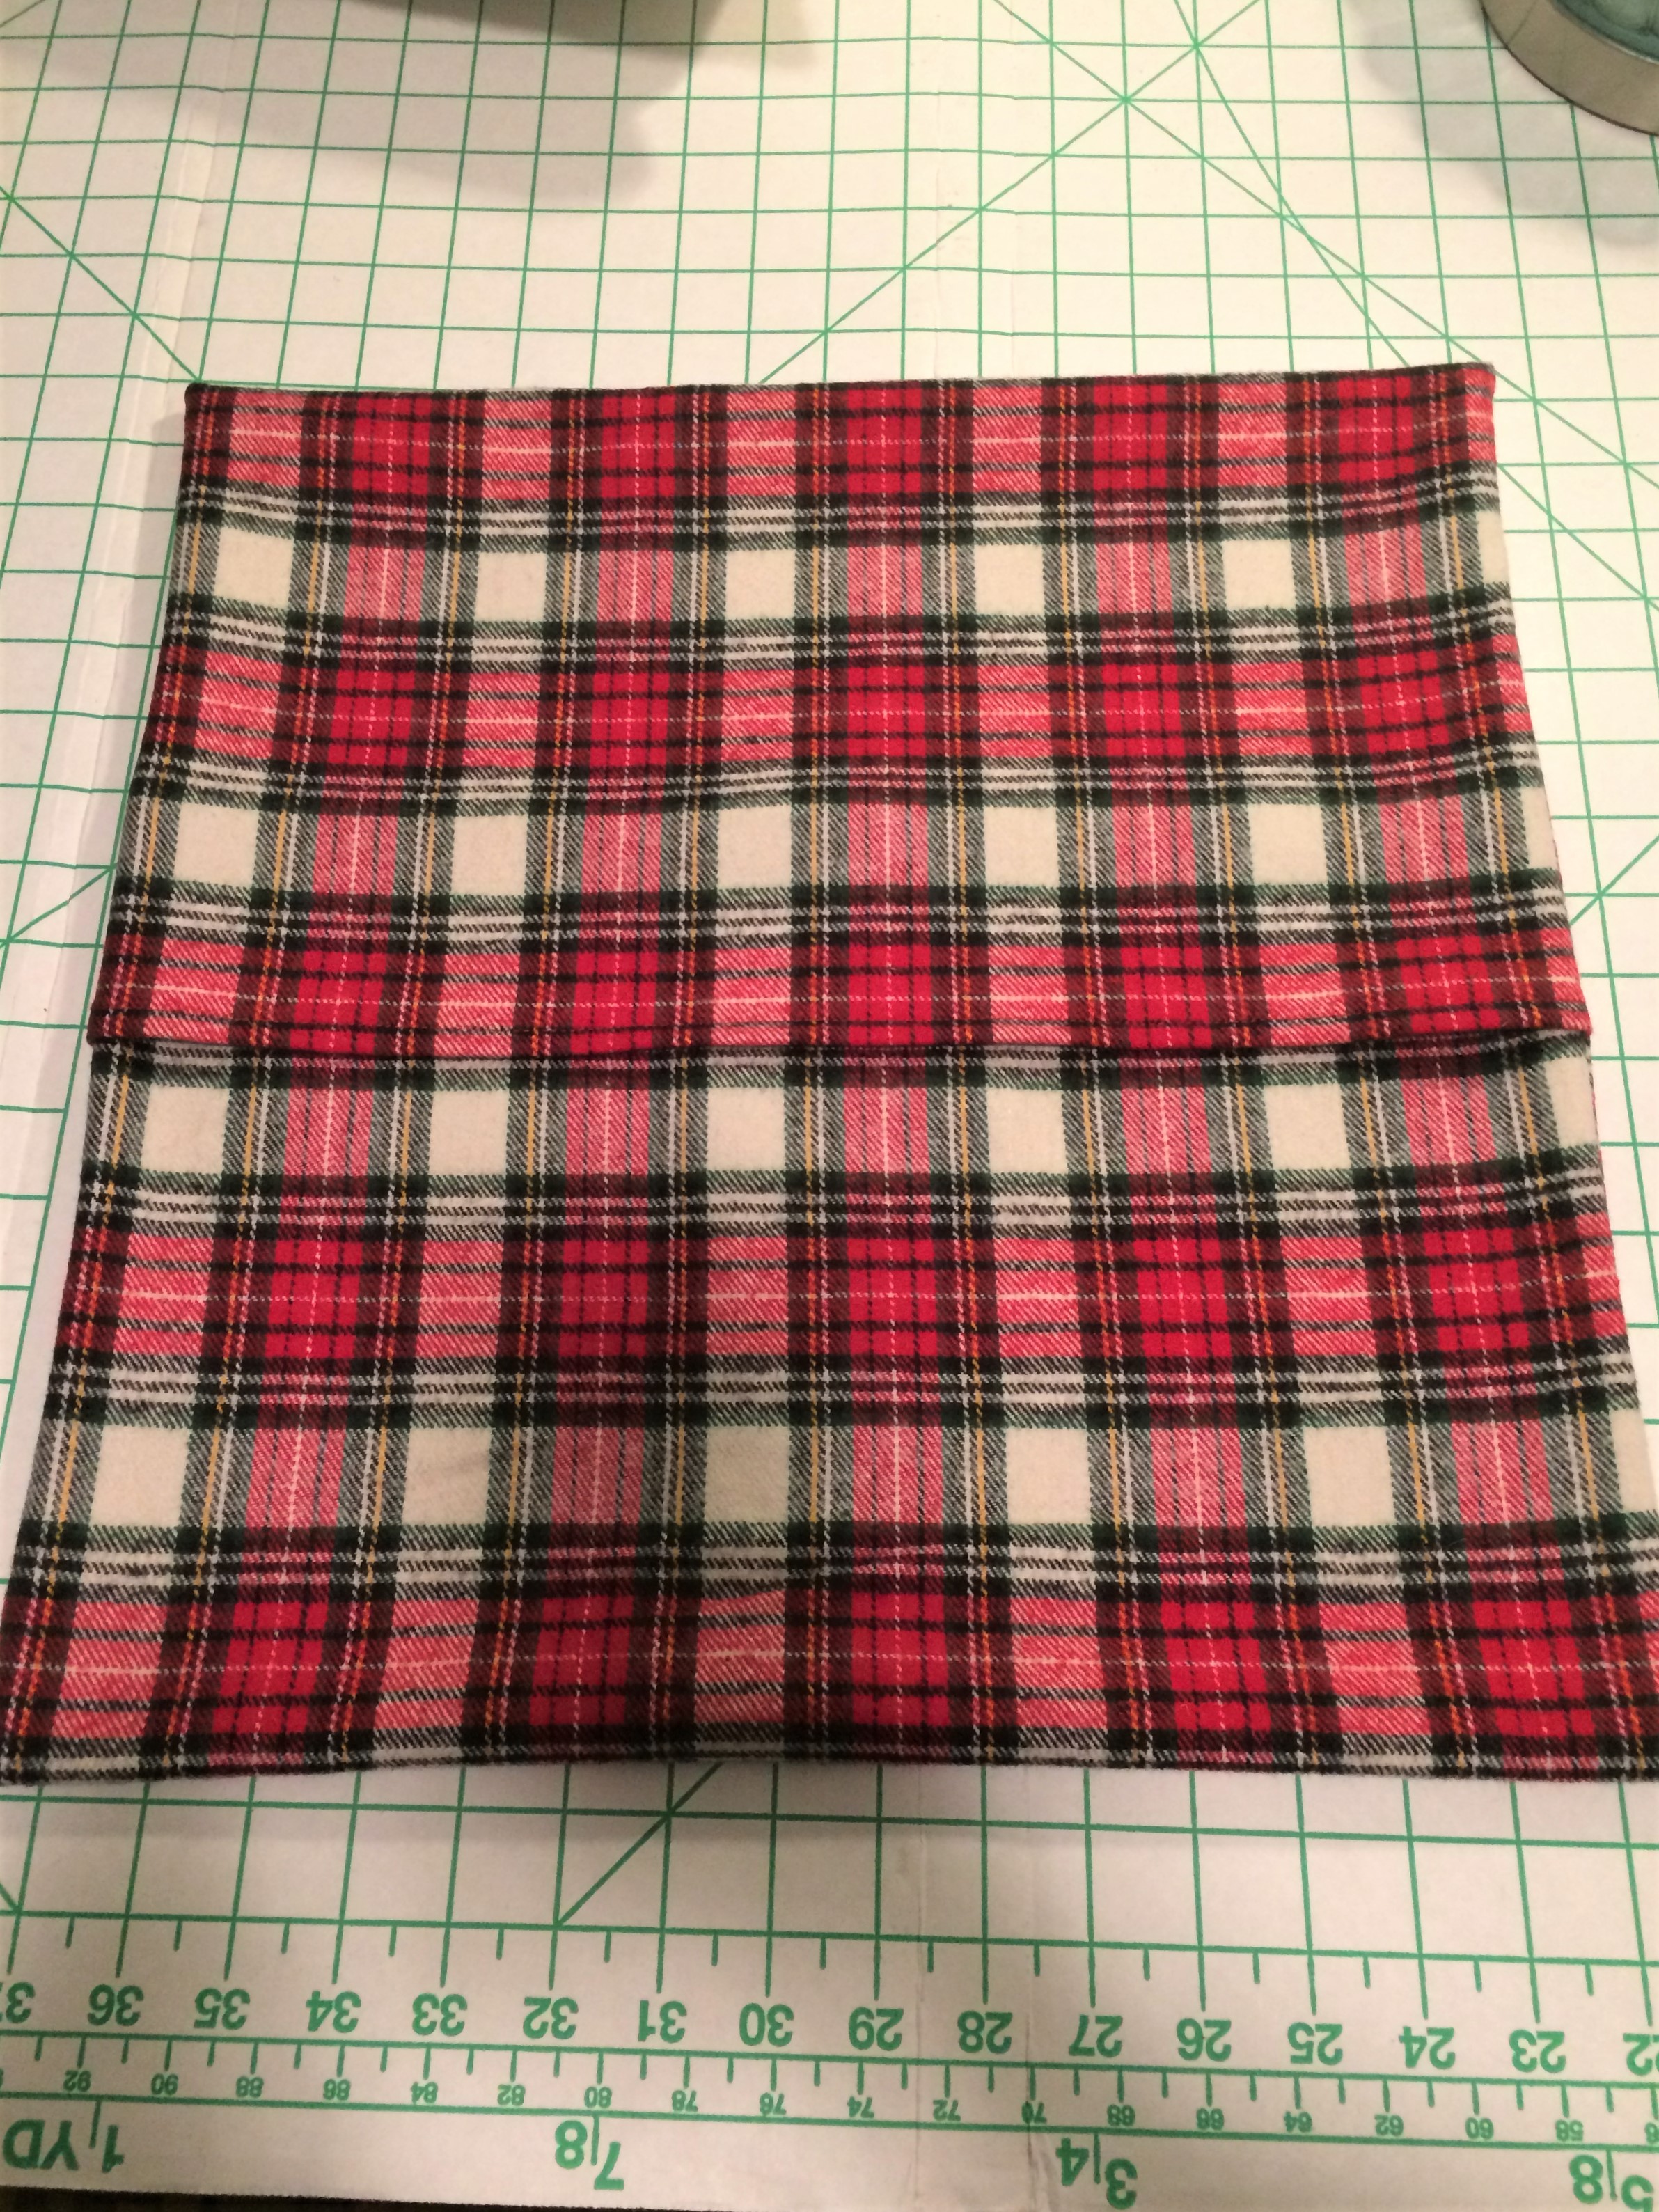
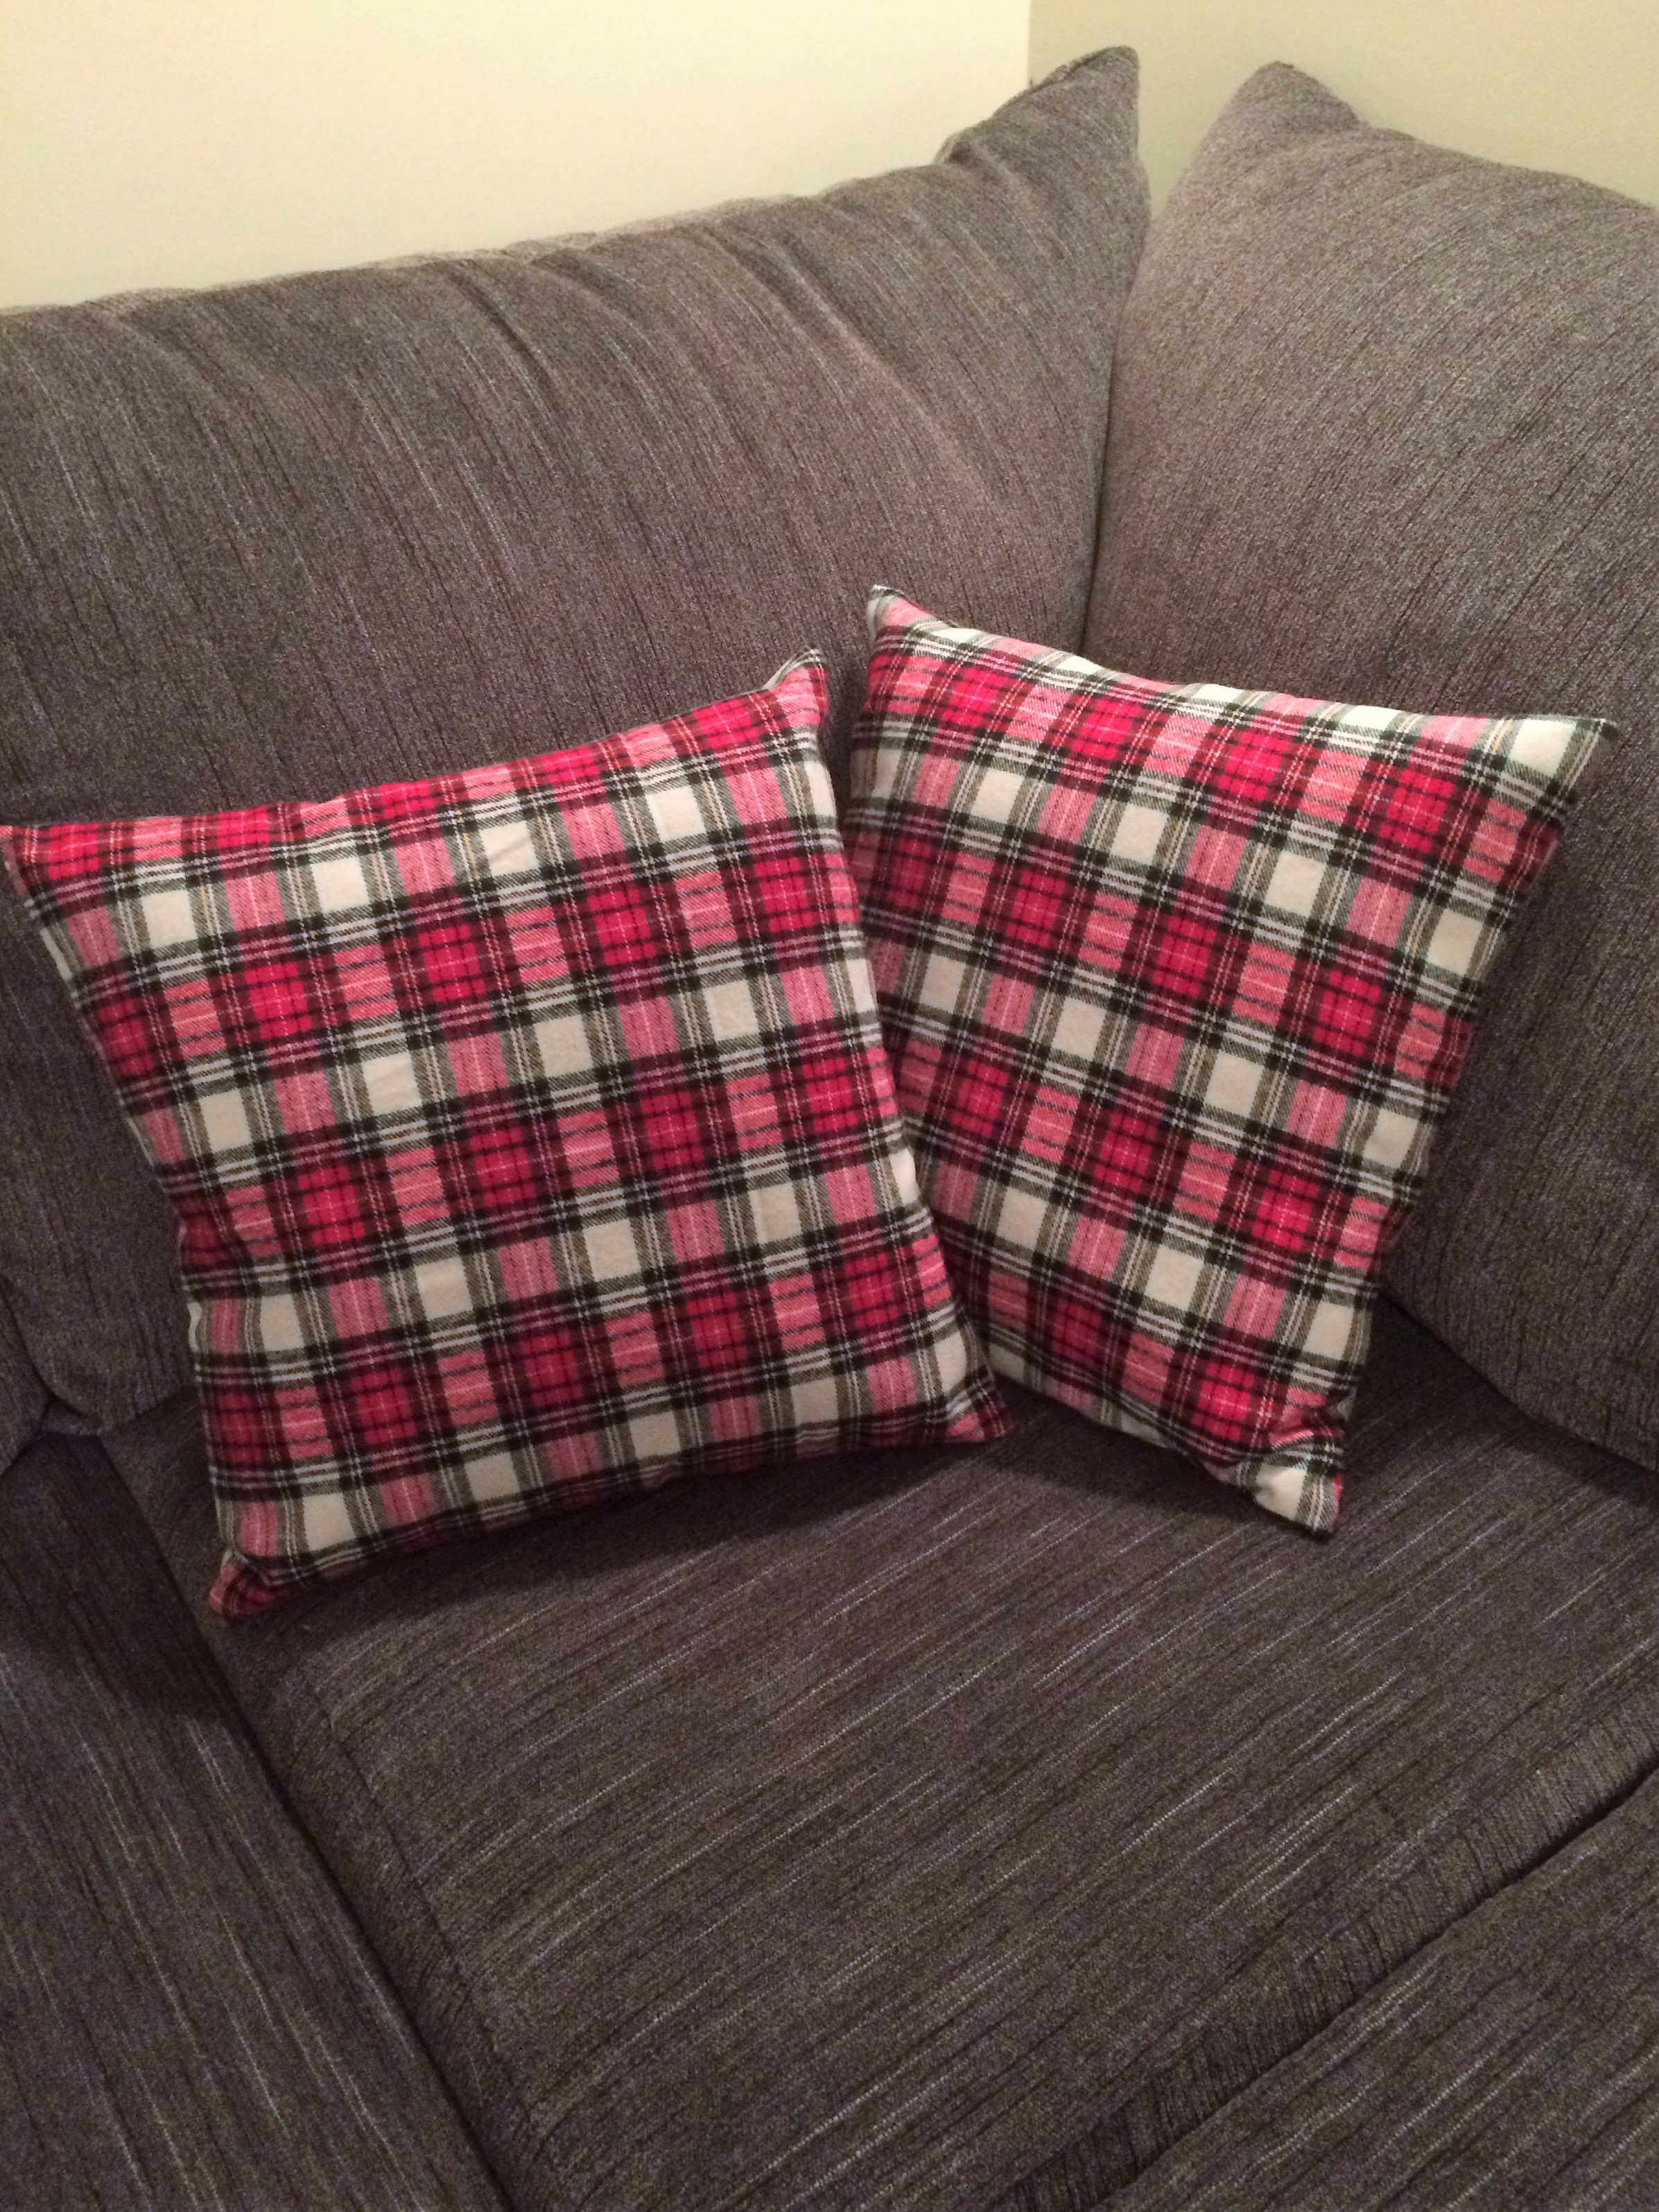
For the final step, just insert your pillow form. Ta-da! I told you you could do it.
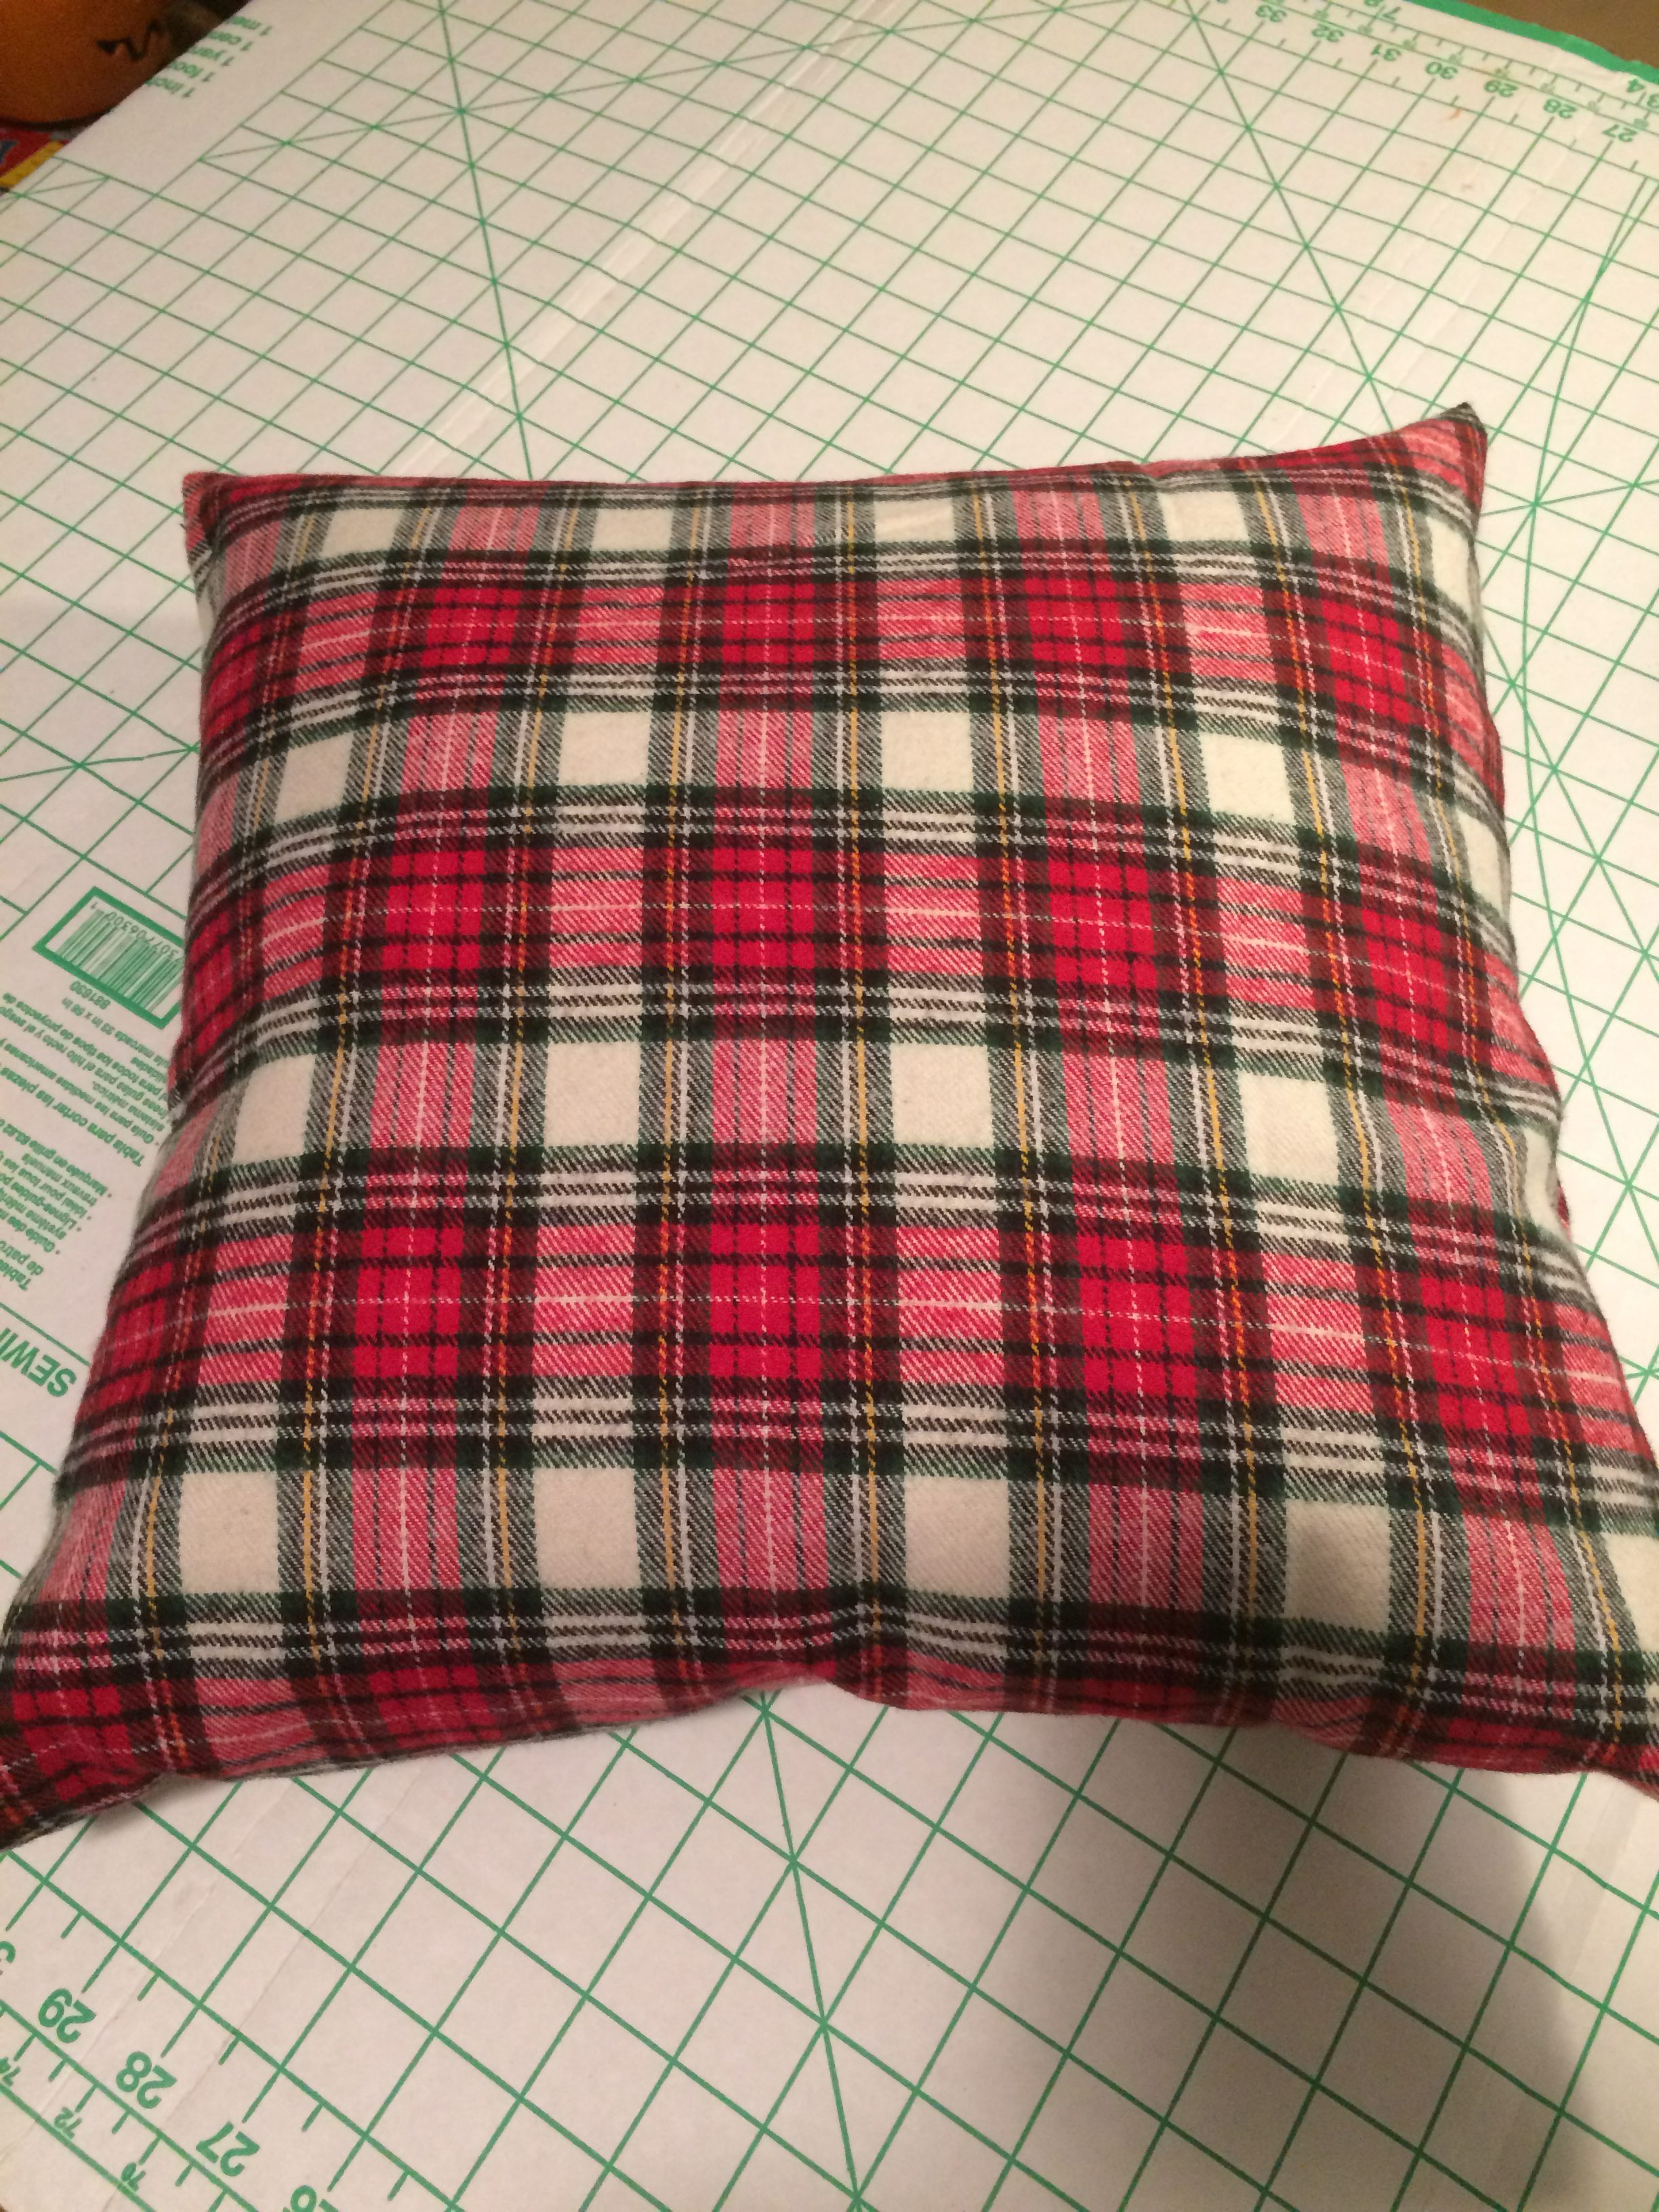
Now you have some amazing, festive holiday pillows – and the satisfaction of knowing you made them! These were so cheap and easy to do, I think seasonal pillows are going to be the new tablerunners in this house.
~~~